Intel Macs are long gone, but you can still install and run Windows on Macs with Apple Silicon.
Apple’s decision to ditch Intel processors and move the entire Mac range to using its home-grown Apple Silicon processors seems to have paid off. Its M1 and M2 processors–and now M3 chips–provide impressive performance and battery life.
But older Macs that had Intel processors inside did have one advantage over the new Apple Silicon chips–they made it easy for Mac users to run Windows as well. The Windows operating system was written specifically to run on Intel processors, and the fact that Macs adopted Intel processors back in 2005-2006 meant that they were also able to run Windows, as well as macOS itself.
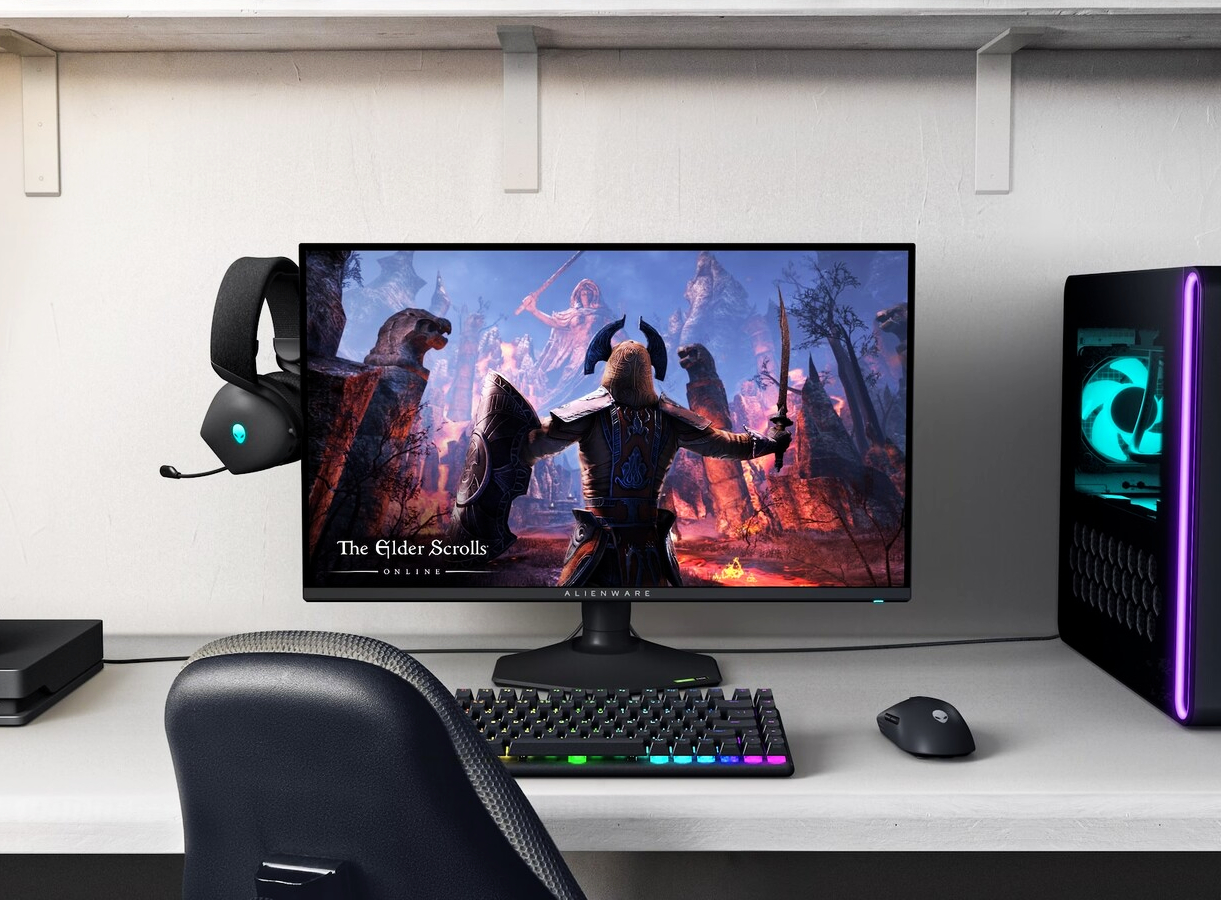
That was a real boon for many Mac users, as there are many professional-level apps in fields such as graphics and design that are only available for Windows PCs. And, of course, there are hundreds of PC games that never get released on the Mac, so having the ability to run Windows apps and games on the Mac gave Mac users the best of both worlds.
Different ways you can get Windows on Mac
Before we explain how to install Windows on a Mac (which you willl find below), we will run through the different ways you can (and could) run Windows on a Mac.
Boot Camp
Intel Macs had two options for running Windows, using either Apple’s own Boot Camp software or virtualization tools such as the popular Parallels Desktop or VMware Fusion.
Boot Camp allowed Intel Macs to partition their internal hard drive, splitting it into two sections. One partition stored the macOS and all your normal Mac apps, while the Boot Camp software allowed you to install Windows on the second partition. When you turned your Mac on you could then use a handy keyboard shortcut and tell your Mac whether you wanted to boot the computer into macOS, or into Windows instead (a process known as dual-booting). The only disadvantage of using Boot Camp was that you had to choose–either you booted into the macOS or Windows. The two operating systems remained entirely separate, so you couldn’t run Mac apps and Windows apps at the same time. If you wanted to run the Mac version of Photoshop while you’re at work, but maybe switch to Windows for a quick spot of Diablo 4 action at lunchtime, then you’d have to keep rebooting your Mac to switch back and forth between the macOS and Windows.
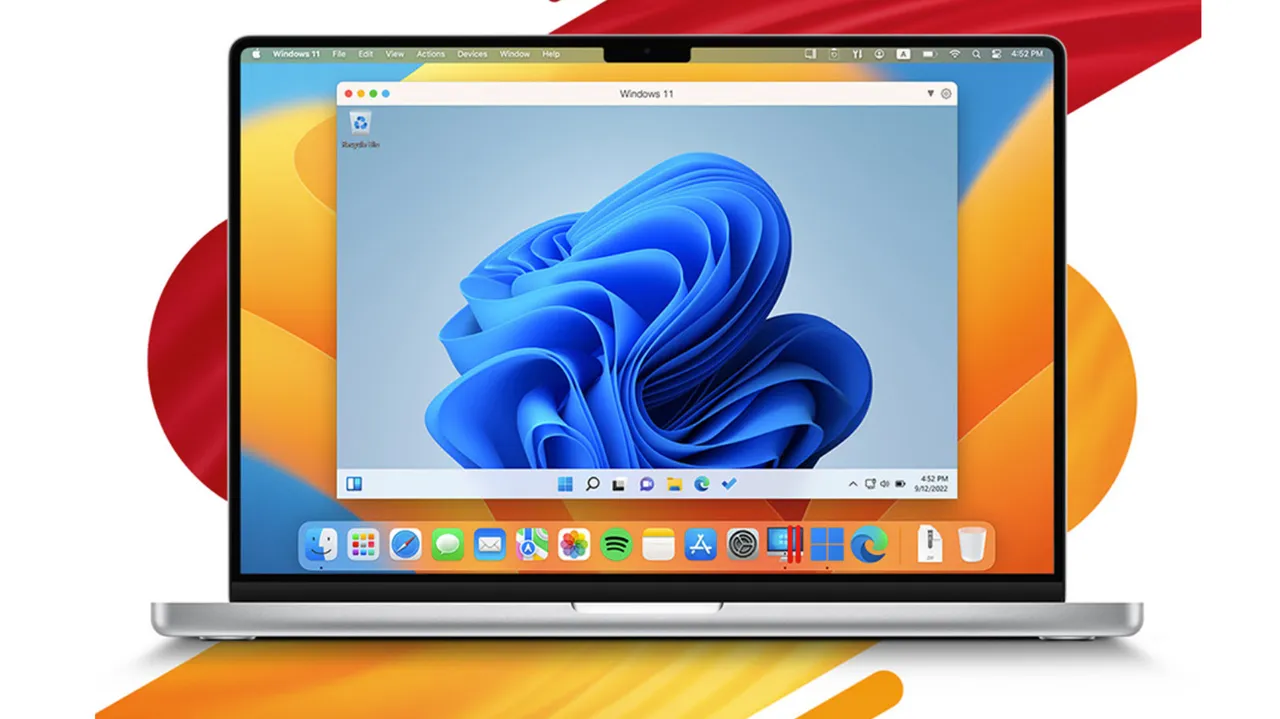
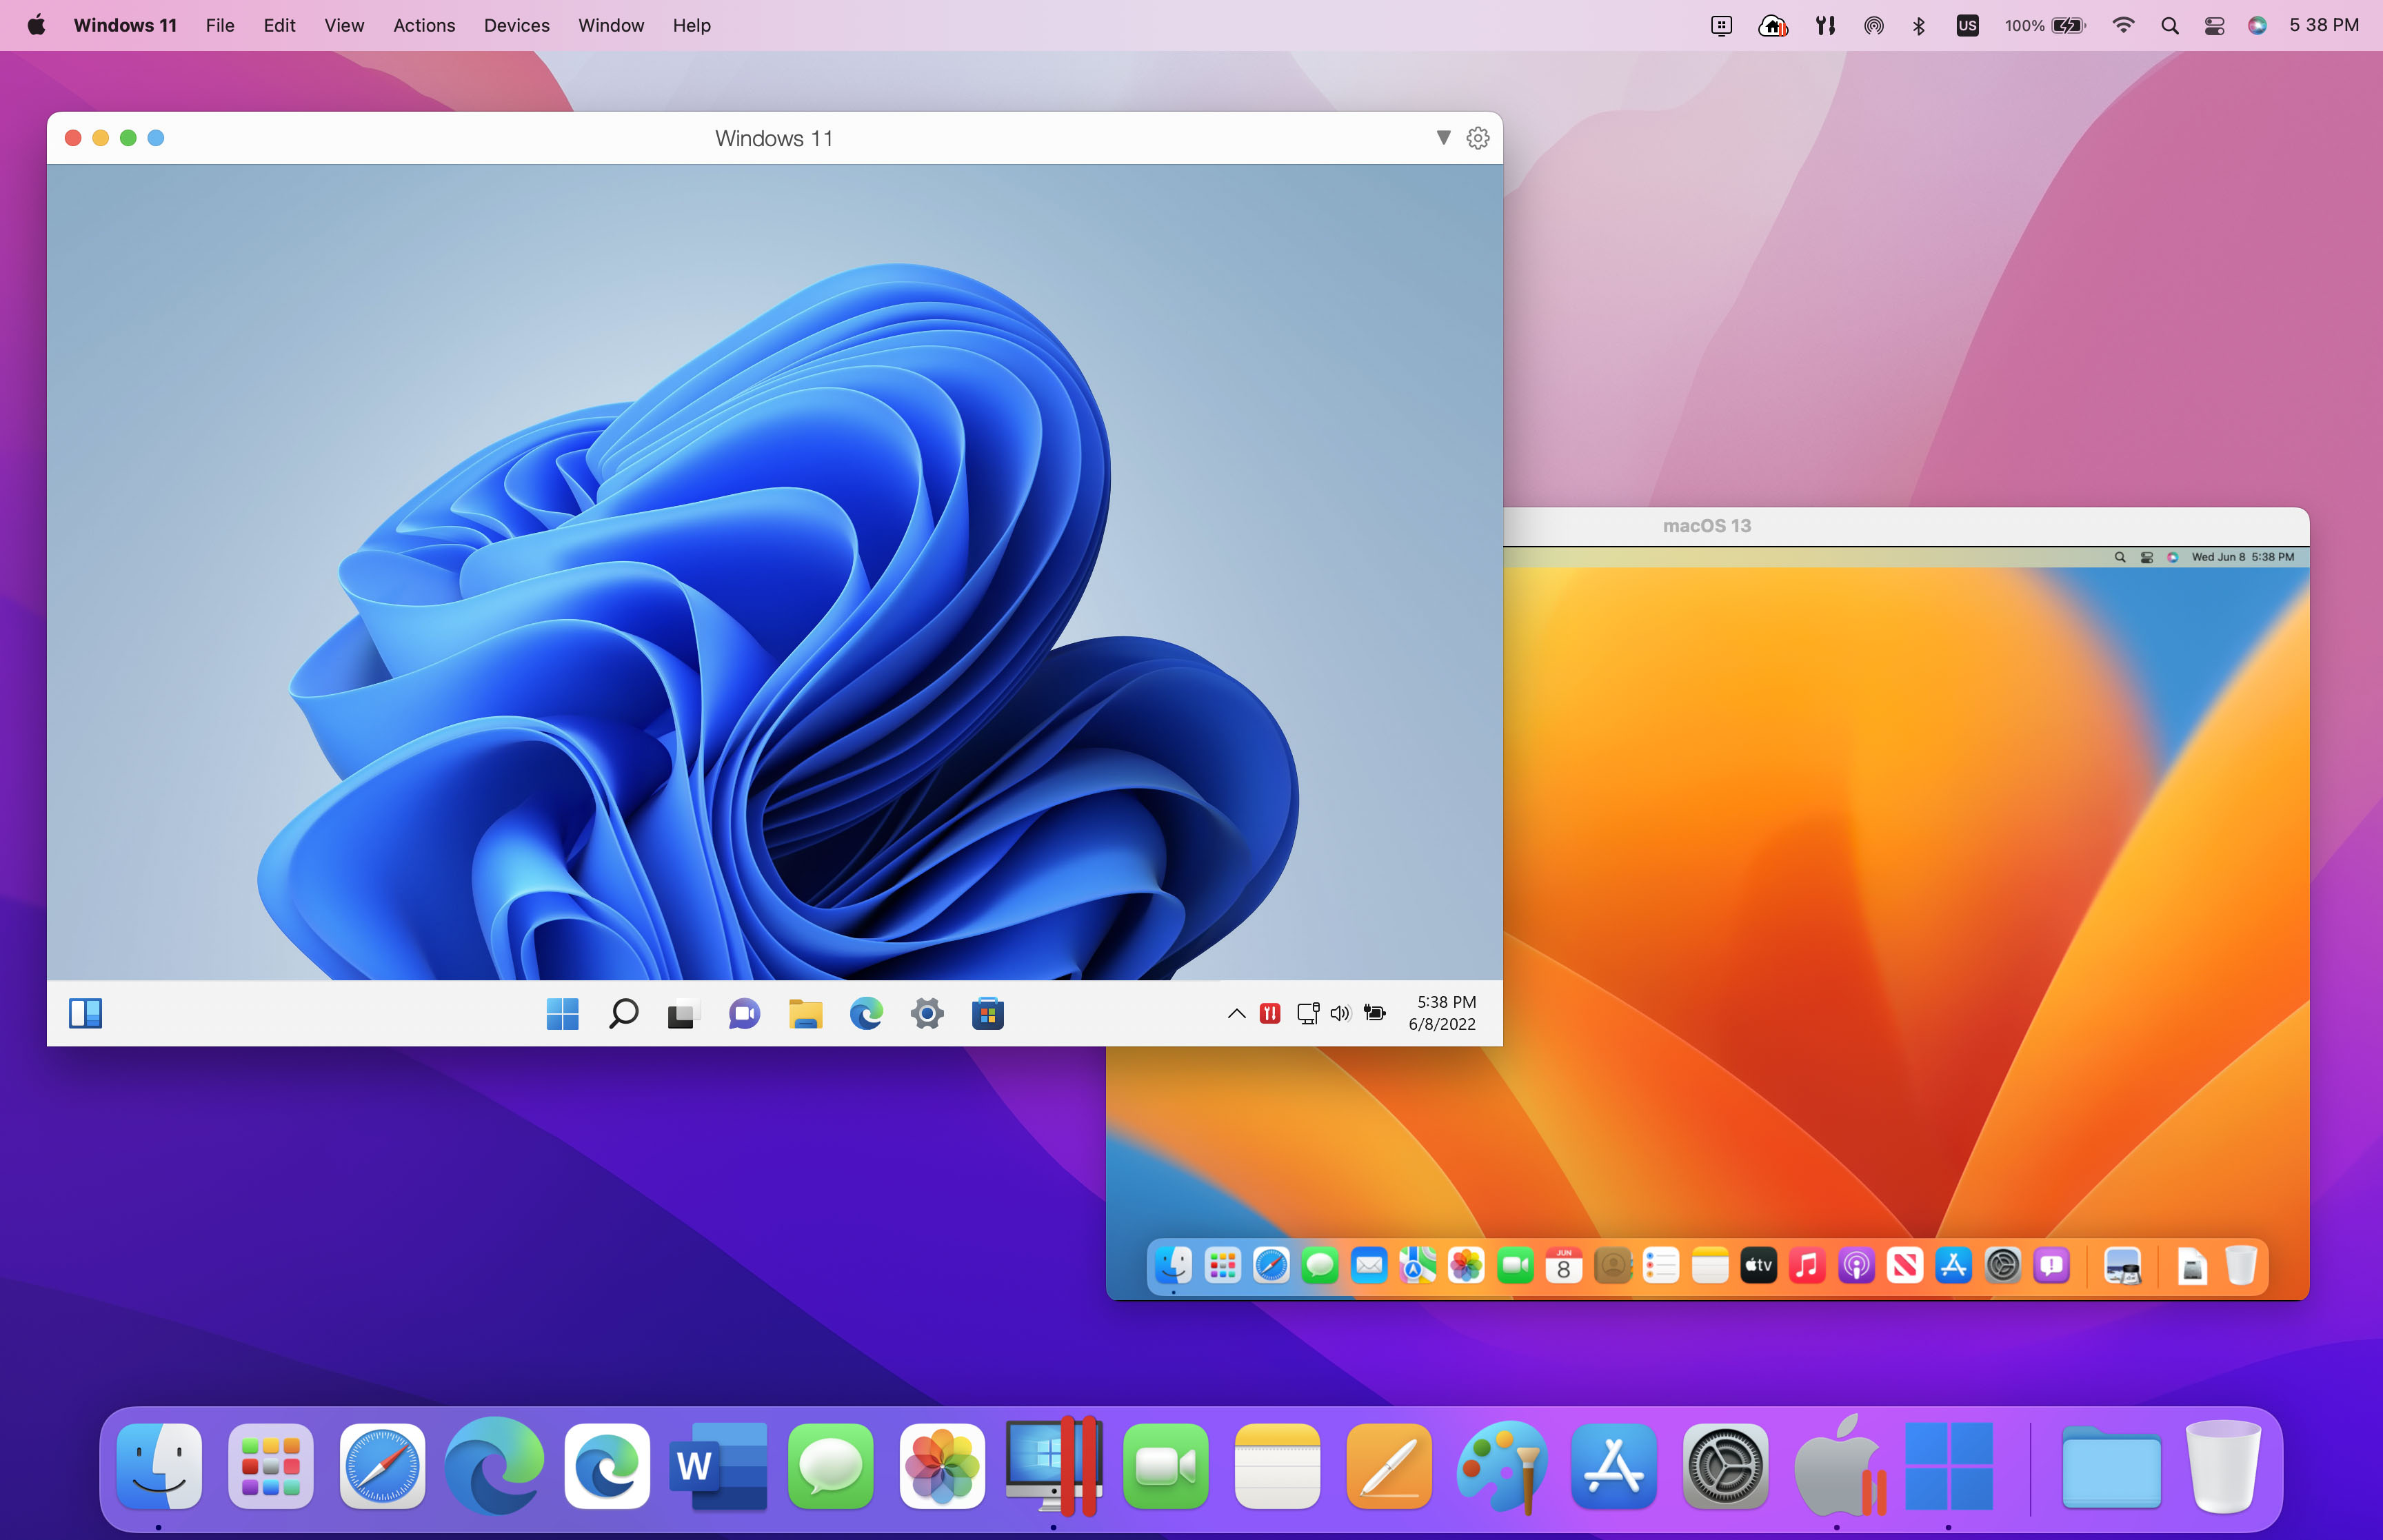
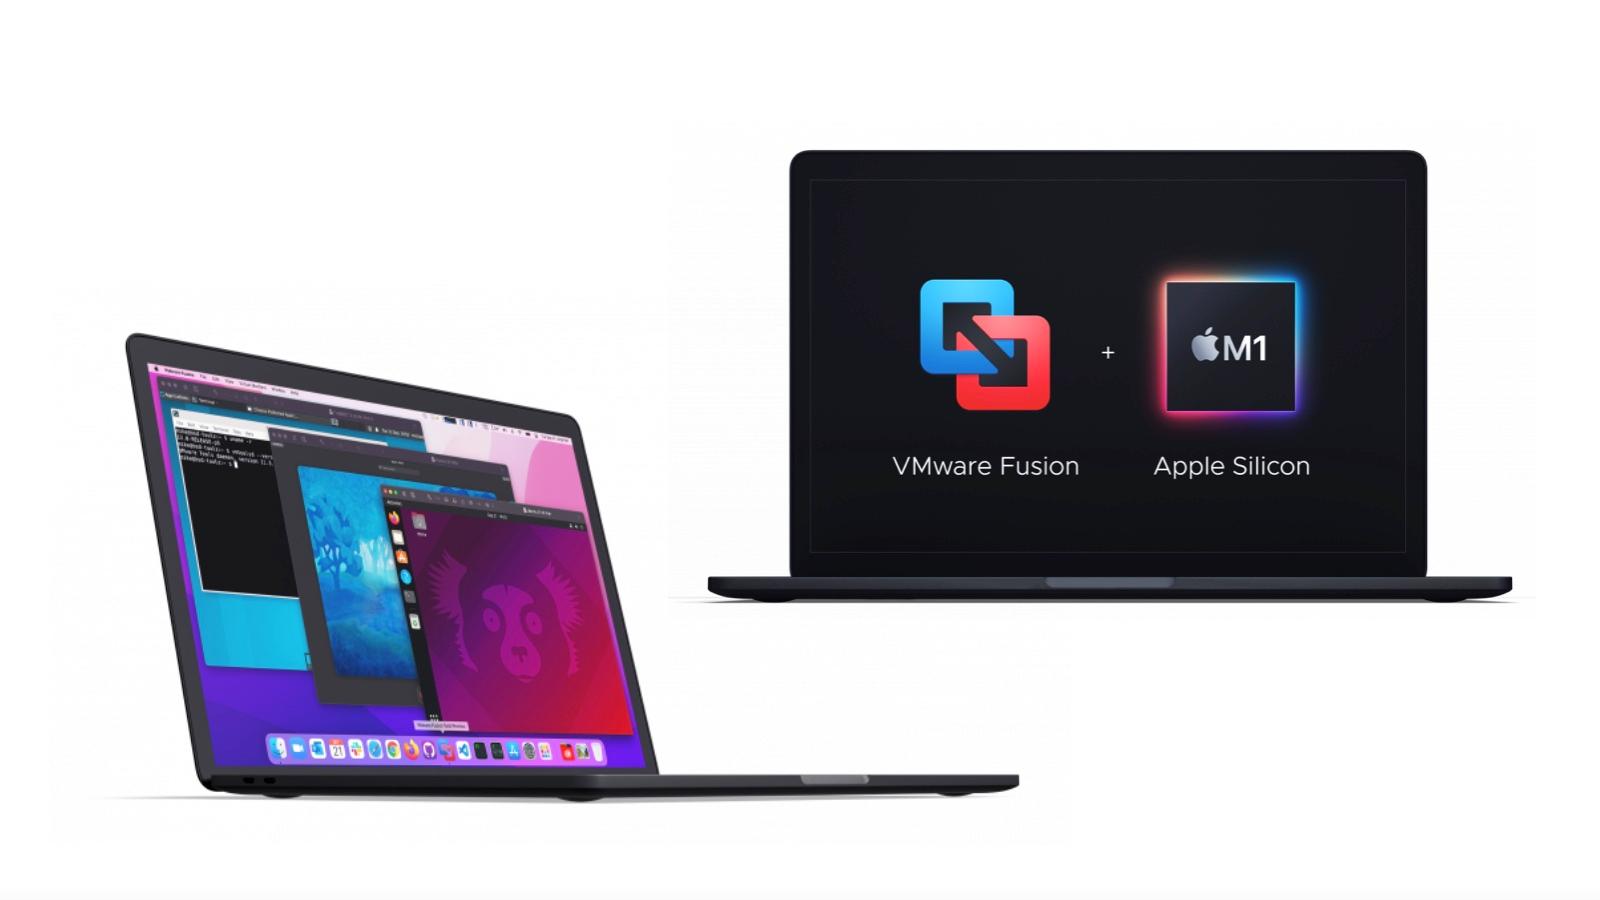
The other option is known as virtualization–sometimes also called emulation–and this is the approach taken by apps such as Parallels Desktop and VMware Fusion. Boot Camp is no longer available for Macs that have Apple Silicon, but Parallels Desktop and VMware Fusion have both been updated to run natively on Macs with Apple Silicon.
It’s also worth mentioning that there are two other options available (although they don’t actually involve installing Windows itself directly onto your Mac). Microsoft has its own streaming service, called Windows 365, which runs Windows on a special cloud server, and then allows you to stream Windows to your Mac via the Internet. This can be a useful option if you have a fast enough broadband connection, but it does require a monthly subscription fee, so it can end up being quite expensive if you use it regularly.
The other option is a program called CrossOver, available from Codeweavers, which cleverly allows you to run Windows apps and games on your Mac without even needing a copy of Windows at all. CrossOver costs $64 with 12 months of technical support, but it is quite a complex piece of software and it may not suit everyone. However, there’s a free trial available so that you can see how it works before deciding if you want to buy the full version.


