New to Canva? No problem! These five tips and tricks will help you get started quickly.
If you’re one of those who have only recently entered the fascinating world of Canva, then you’ve come to the right place. Canva is an incredibly versatile tool that allows even beginners to quickly and easily create great graphics, social media posts, presentations, and much more–without having to be a graphic design expert.
To help you hit the ground running right from the start, we’ve put together five tips and tricks to help you get started with Canva.
1. Use templates
Even though Canva requires no prior knowledge of graphic design, the extensive range of templates can be overwhelming at first. There are so many things to consider to make a post successful:
- How long should my text be?
- Where do I place it?
- Which colours go well together and which ones clash?
Our first tip is… don’t make your life unnecessarily difficult!
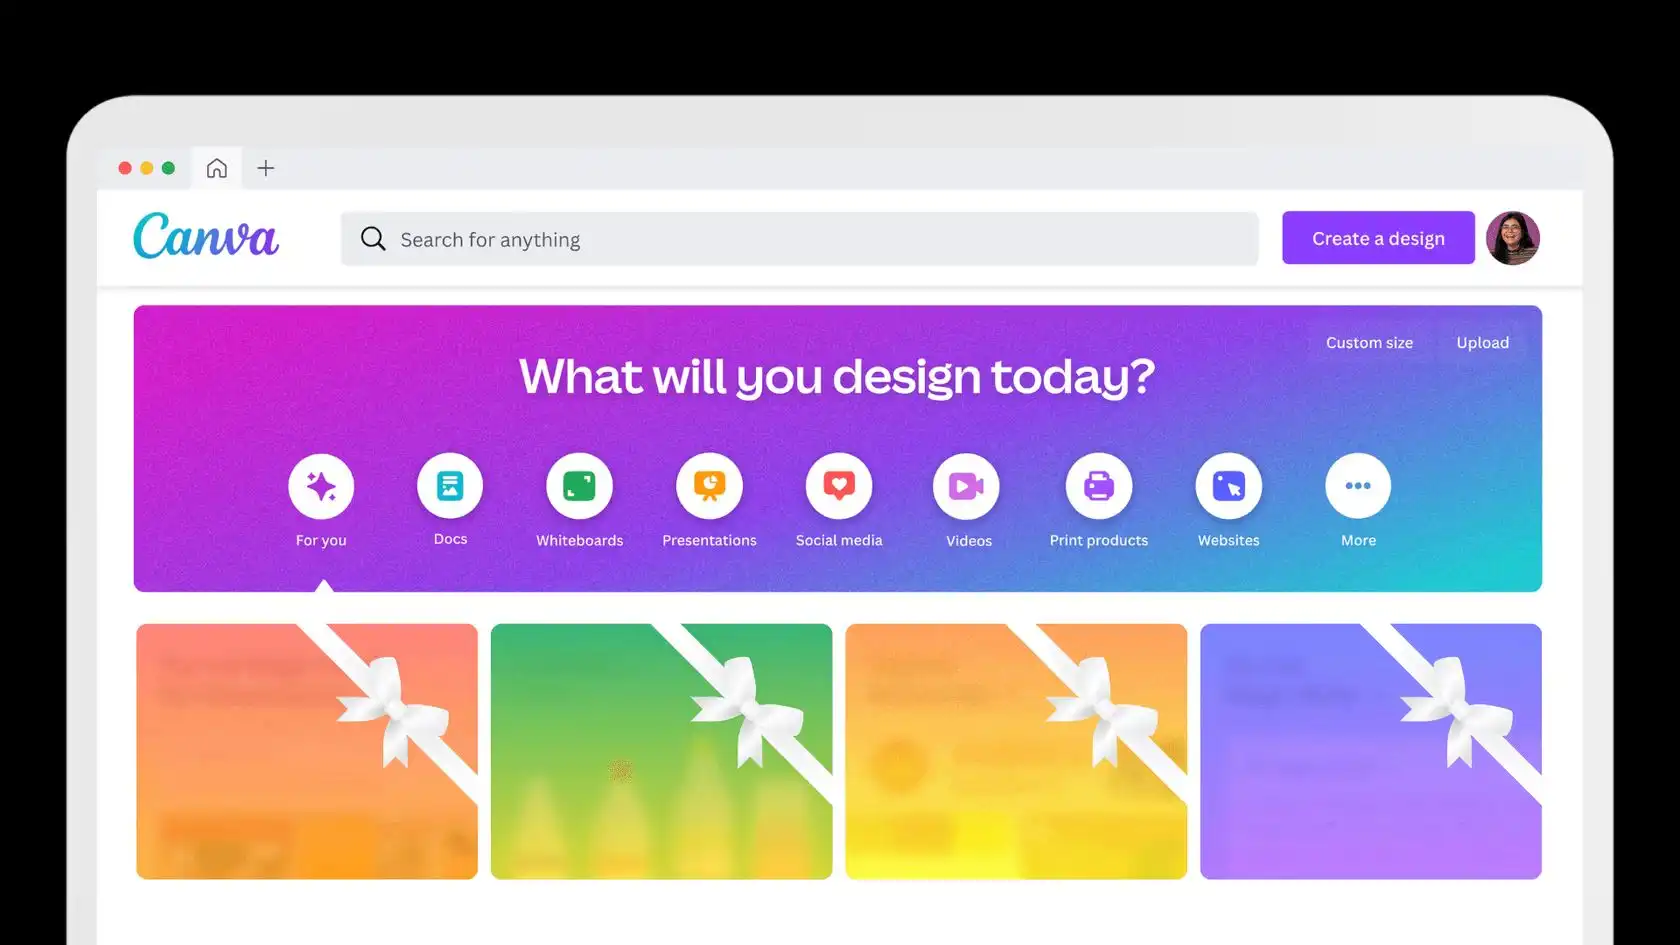
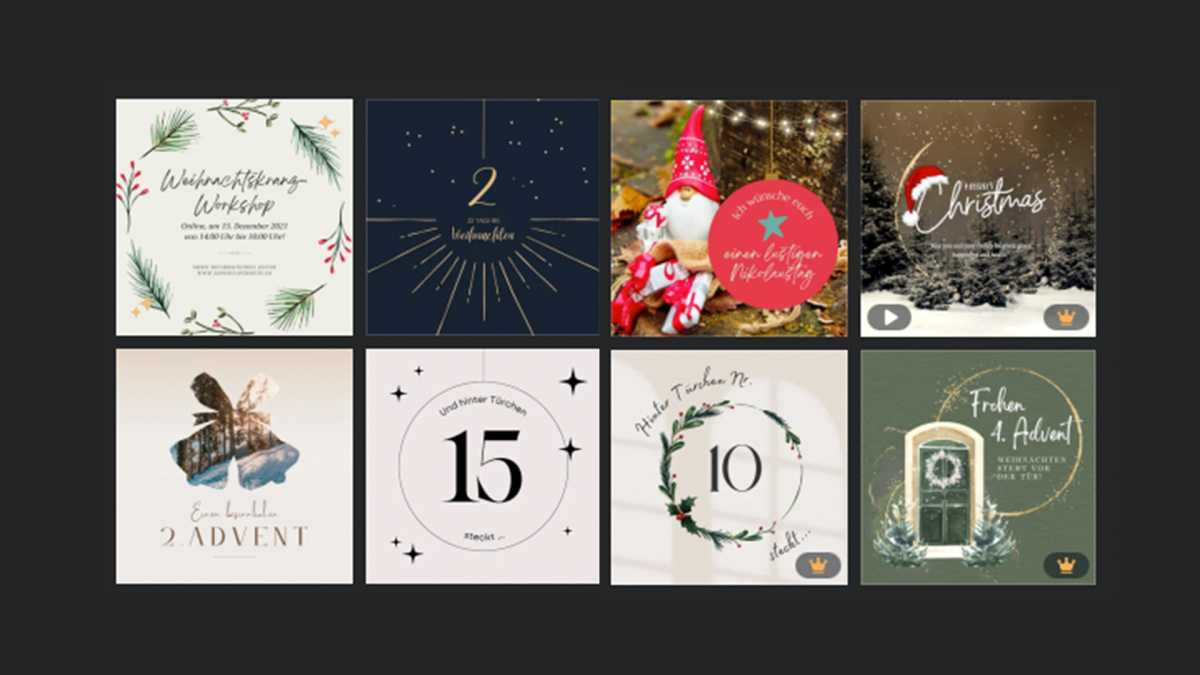
Canva offers a wide range of ready-made templates for various projects. Whether it’s social media posts, presentations, or flyers, templates can save you a lot of time and effort. Simply select a template by entering a term in the search bar that matches your project (for example: Christmas), pick a suitable template, and customize it to your liking.
Simon Lohmann
The advantage of working with templates, especially at the beginning, is that you get a feel for image composition. You will quickly realize what works well and what doesn’t. So, don’t be afraid to use templates in your work. Once you have some practice, you can also create your own designs.
Note: Any Canva template that displays a little gold crown is a premium template that cannot be downloaded in the free Canva version.
2. Shortcuts
At a certain point, you’re bound to be itching to work a little faster and with more efficiently. Shortcuts were developed for exactly this purpose and, of course, Canva has plenty of those.
- Insert text: T
- Insert rectangle: R
- Add circle: C(mnemonic: C as in “Circle“)
- Insert line: L
- Insert blank page: ctrl/cmd + ↵
- Undo action: ctrl/cmd + Z
3. Group elements
Working in Canva will be easier if you think in layers. Imagine sitting at your desk and working with different templates that you can position as you wish. Right-click on an element to arrange it over the layer. Use “ctrl/cmd + 1″ to display an overview of all layers.
If you have arranged several elements in a way that you like, you can group them together. This has the advantage that you can move or scale several elements with just one click. Select several elements by dragging a box with the mouse and “enclosing” the desired elements in it. If you want to select all elements, you can also use the shortcut “ctrl/cmd + A”.
Once the desired elements are selected, simply press “ctrl/cmd + G” to group them. If you want to ungroup an element, simply click on it and select “ungroup“.
4. Crop images in Canva as a circle
Sometimes you can create visual variety by not using your images in the boring 4:3 or 16:9 format, but by bringing other shapes into play. For example, how about inserting a circular image in a corner? Nothing could be easier!
Simply click on Elements and type the word “frame” in the search bar. Select a shape of your choice and drag it into your document. You can then drag any image in the “Uploads” tab onto the shape, which will automatically take on the appropriate shape.
5. Animate elements
Video is king! At least that’s how social media platforms such as Instagram and TikTok see it, with their algorithms rewarding your content with more reach if you post a video instead of an image. Fortunately, this is also easy to do in Canva thanks to animations.
Once you have finished designing your image, you can select elements (or groups of elements) and then animate them. For example, you can make text fly into the image, flicker, or enlarge it. This will attract more attention from your subscribers, as the post will immediately look much more exciting. Once you are finished with the animation, you can export the image including animations as a video.