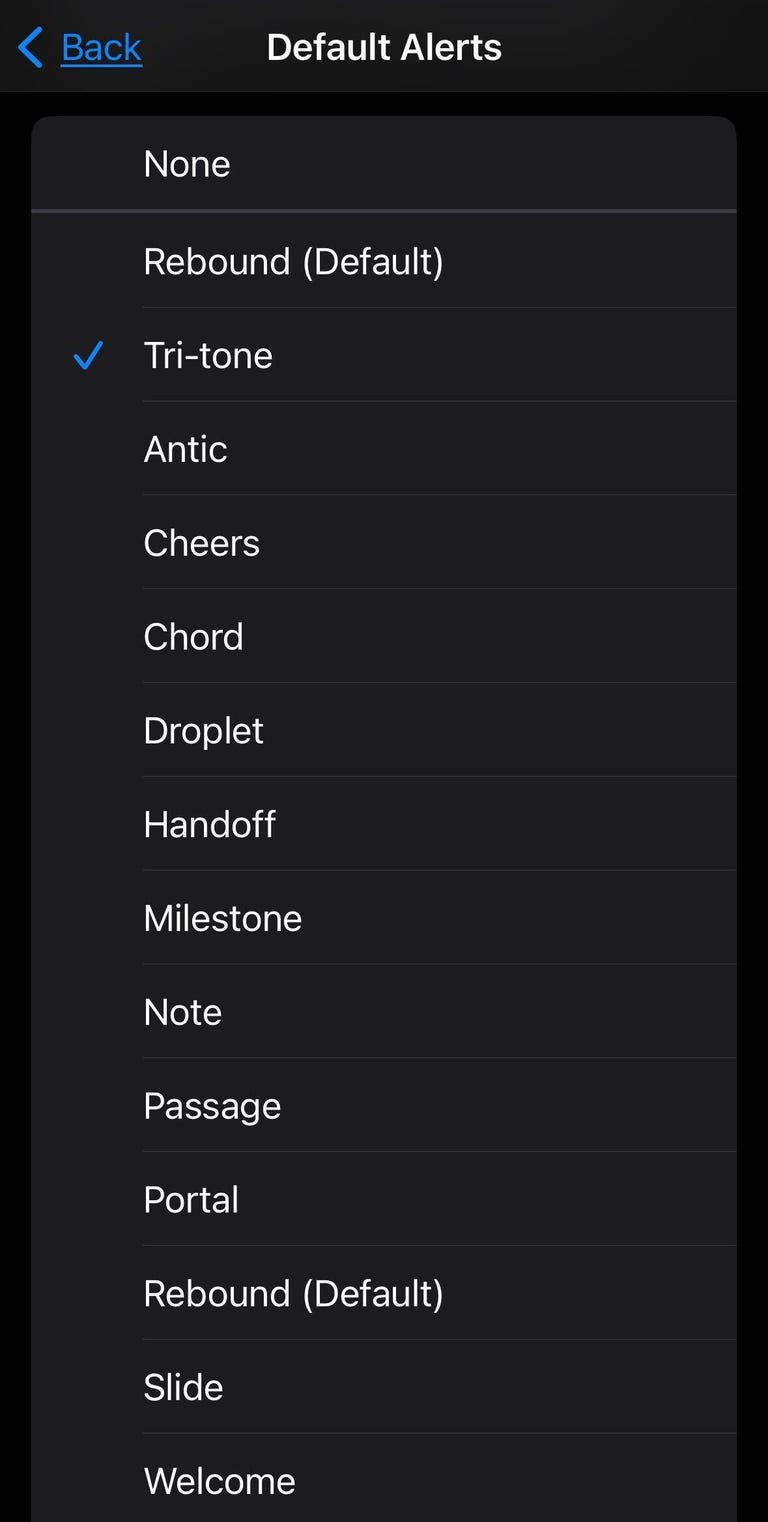
You can change your iPhone’s default tone with these easy steps.
Apple released iOS 17.2 in December, and the update included more than a dozen new features and improvements, like the Journal app and Contact Key Verification. The update also lets you change your iPhone’s default notification alert tone.
After Apple released iOS 17 in September, some iPhone users complained online about the tech giant changing the default alert tone. Some people said the new alert tone wasn’t loud enough to wake them up if their security system went off, and one person said they relied on an older tone to alert them about care responsibilities for their parent. With iOS 17.2, you can change the default tone to better suit your needs.
Here’s how to change your iPhone’s default notification tone.
Easily change your default alert tone
1. Open Settings.
2. Tap Sounds & Haptics.
3. Tap Default Alerts.
From this page, you can preview and select familiar-sounding alerts, like Tri-tone, or explore older tones (like Bell) by tapping Classic near the bottom of the menu. You can also choose None, which will silence your alert tone but leave your haptic alert — the vibration pattern for an alert — on.

You can also change your haptic alerts if you want.
How to change your haptic alert tone
1. Open Settings.
2. Tap Sounds & Haptics.
3. Tap Default Alerts.
4. Tap Haptics.
From this menu, you can choose vibration patterns like Accent, which is a short, single vibration, or SOS, which vibrates SOS in Morse code. If you choose Synchronized, your haptics and alert tone will work in tandem.
There’s also an option to create a custom vibration pattern. Tap Create New Vibration in the Haptics menu, and you’ll be taken to a screen that reads, “Tap to create a vibration pattern.” You can tap quickly on your screen to make a short vibration pattern or press and hold to make a longer, single vibration. When you’re finished, tap Save, then name your pattern and it automatically gets selected as your default alert haptic.


