In December, Apple rolled out iOS 17.2, introducing an array of features such as the Journal app and Contact Key Verification. Among these updates was a solution to a concern raised with the release of iOS 17 in September – the alteration of the default alert tone, prompting dissatisfaction from some iPhone users. Complaints varied from the new tone being insufficiently loud for critical alerts to its inability to serve as a reliable reminder for caregiving responsibilities. iOS 17.2, however, empowers users by allowing them to customize the default notification alert tone to better align with their preferences and needs.
To modify your iPhone’s default notification tone, follow these simple steps:
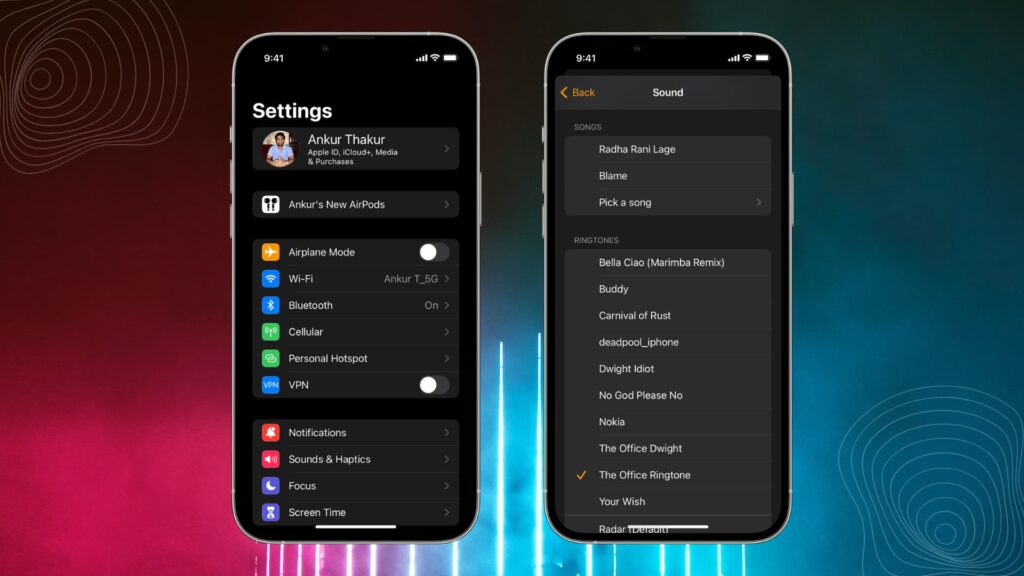
Easily change your default alert tone
- Open Settings.
- Tap Sounds & Haptics.
- Tap Default Alerts.
From this menu, you can audition and select various alert tones, such as the familiar Tri-tone or classic Bell. Alternatively, you can opt for silence by choosing None, preserving the haptic alert (vibration pattern) while muting the audible tone. If desired, further customization is available for haptic alerts.
How to change your haptic alert tone
- Open Settings.
- Tap Sounds & Haptics.
- Tap Default Alerts.
- Tap Haptics.
Within this menu, you can select vibration patterns like the brief Accent or the SOS pattern vibrating Morse code. Opting for Synchronized ensures that your haptic and alert tone harmonize seamlessly. For a more personalized touch, there’s an option to create a custom vibration pattern. Simply tap “Create New Vibration” in the Haptics menu, follow the on-screen instructions to design a pattern, save it, name it, and watch it become your new default alert haptic.