You can keep it on for continuous blockage, or instead choose to limit the filter to specific hours.
We’ve all read the reports: Blue light can play a role in sleep issues. It’s also been mentioned as a factor in skin damage, too. Fortunately, not only can you enable a blue-light filter on your smartphone, you can do so in Windows 10 and 11, too.
In fact, the process is incredibly easy—setup takes just a few minutes. Here’s how to do it, step-by-step, complete with a video walkthrough towards the end.
Step 1
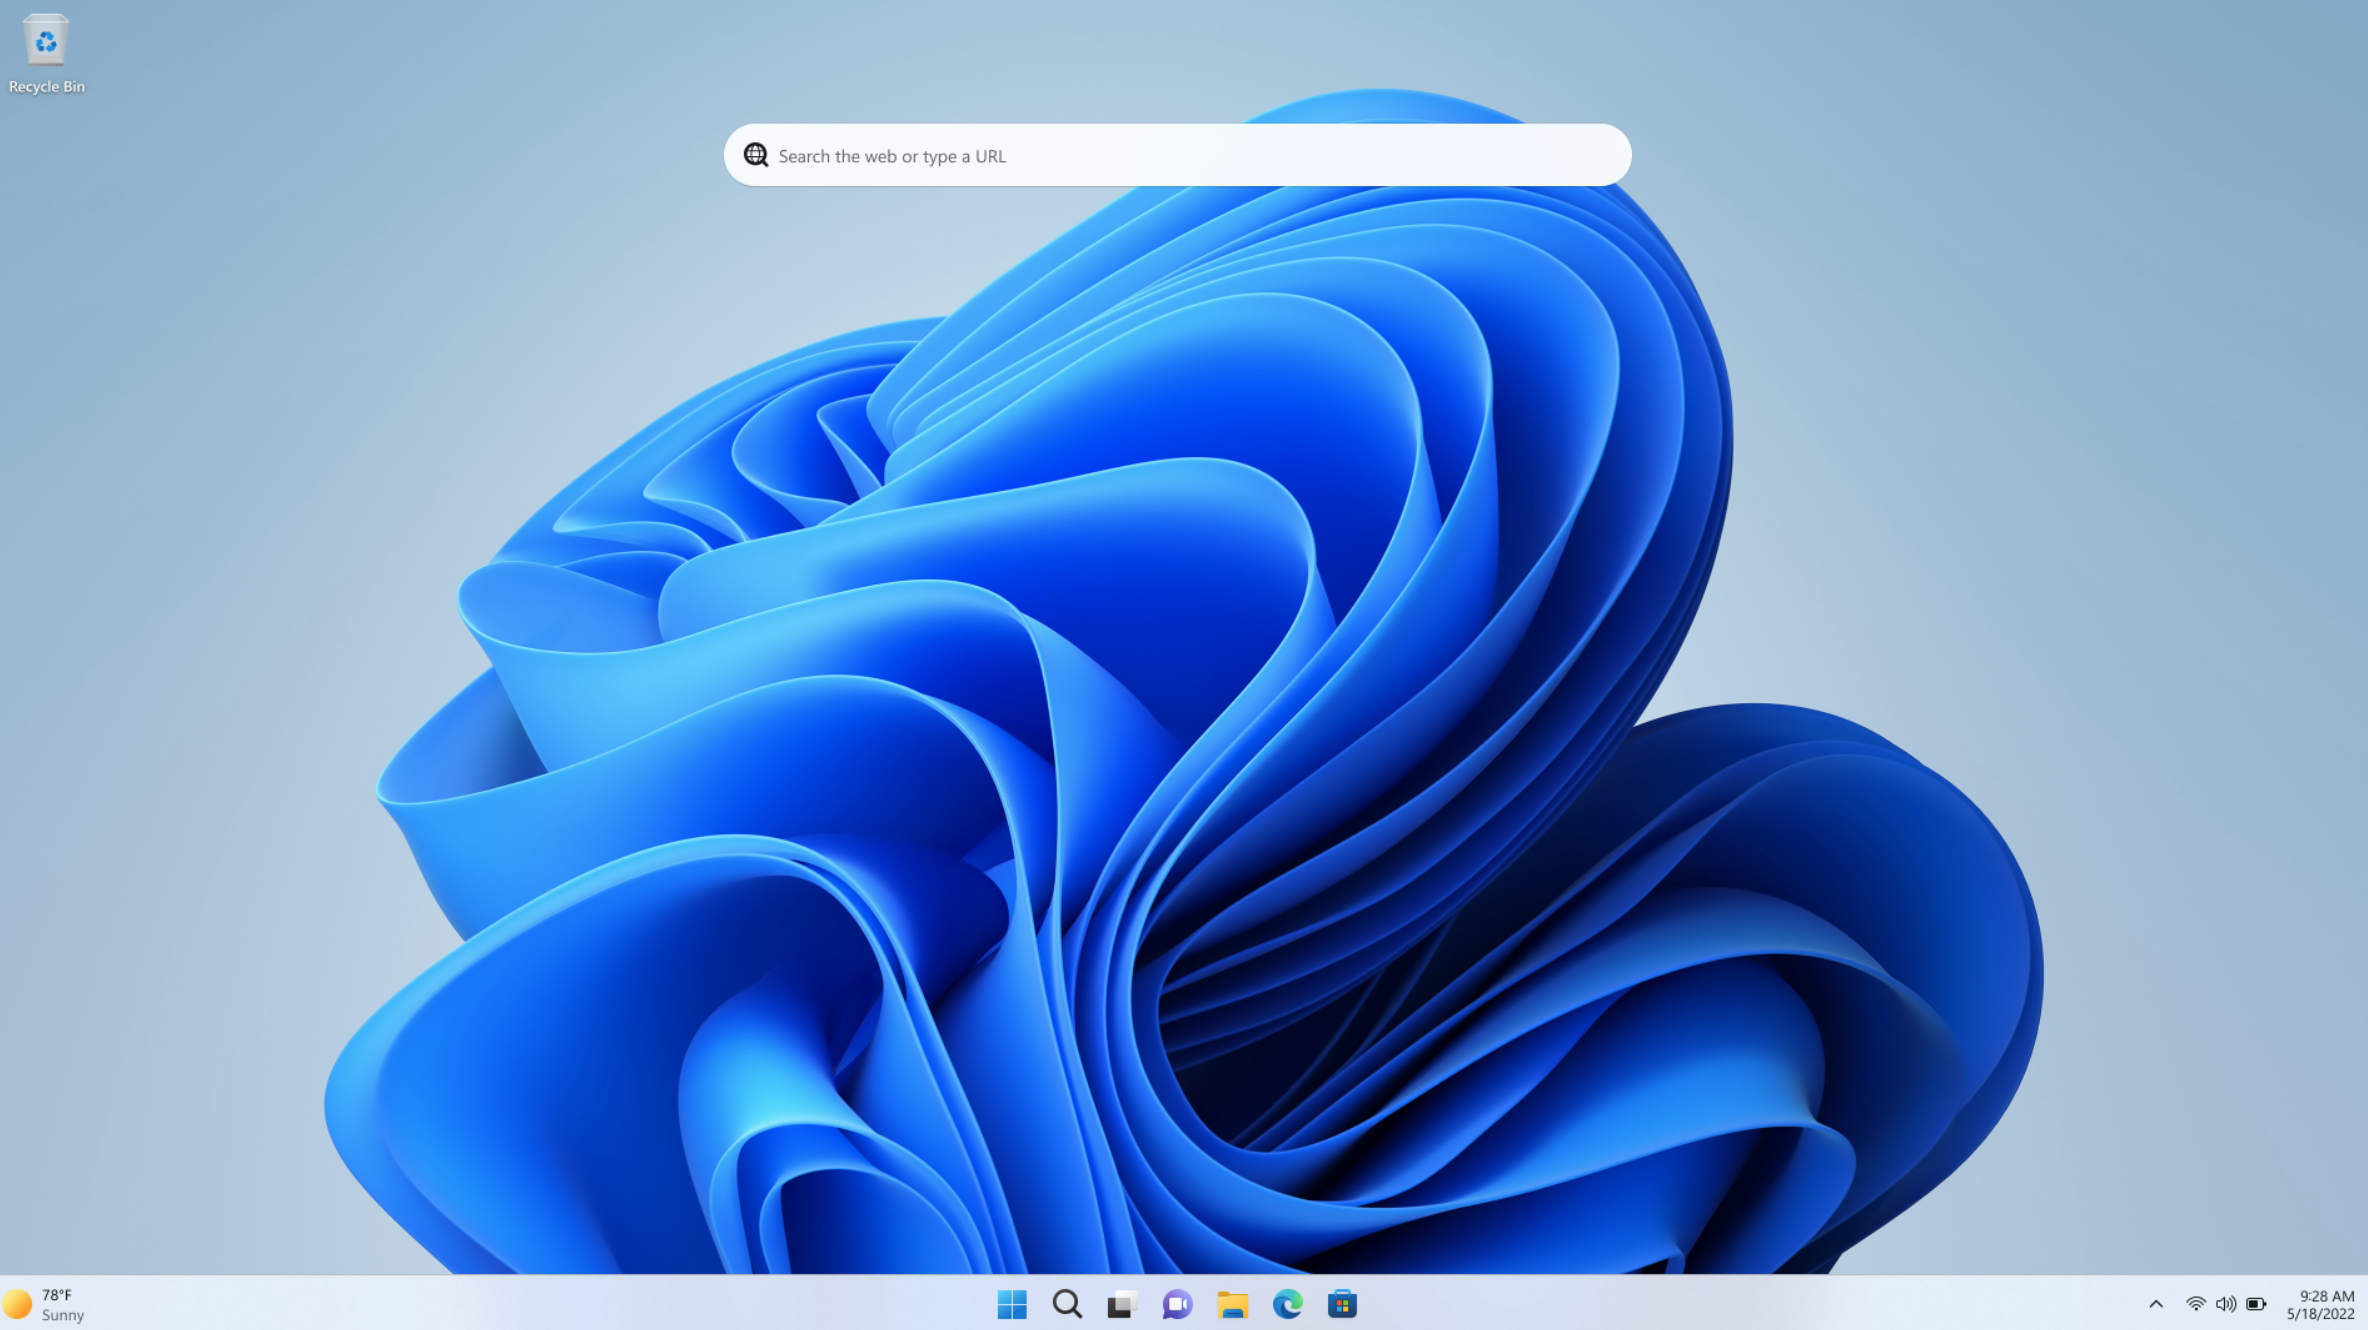
Click on the Start menu (or tap the Windows key on your keyboard). Then type in “Night Light” to bring up a direct link to that setting.
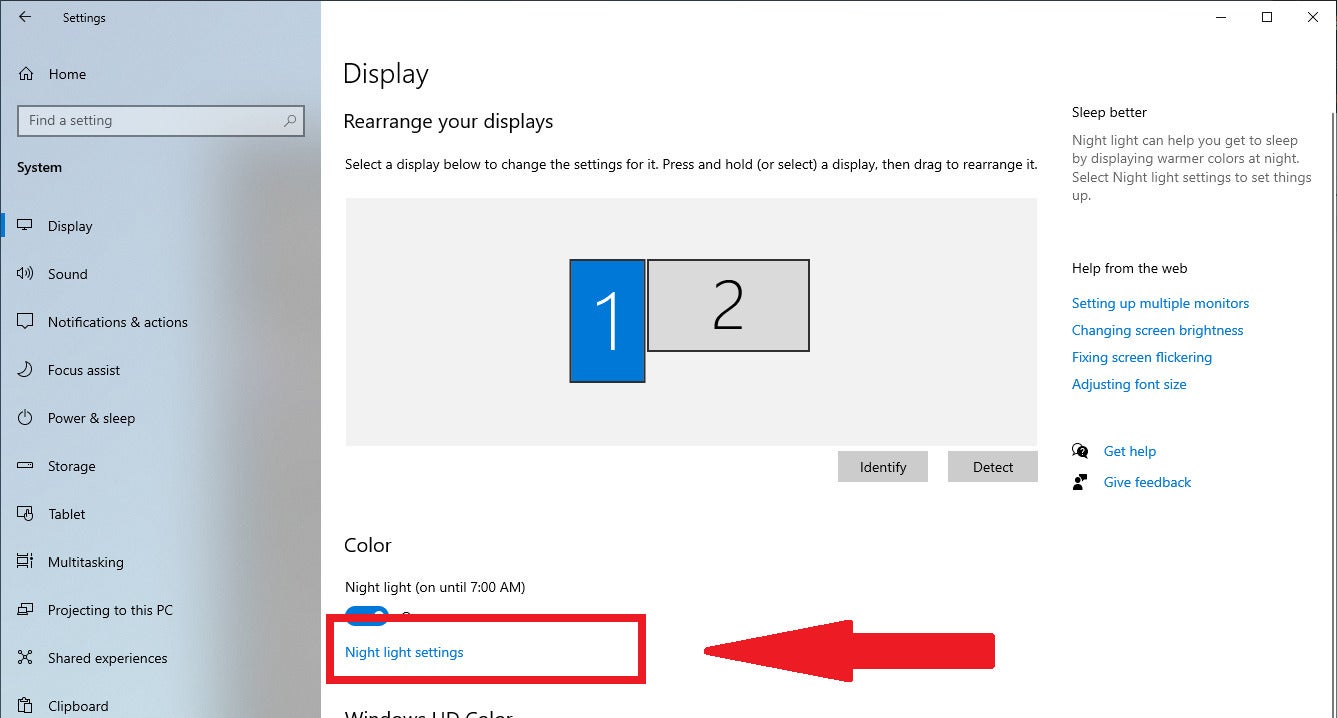
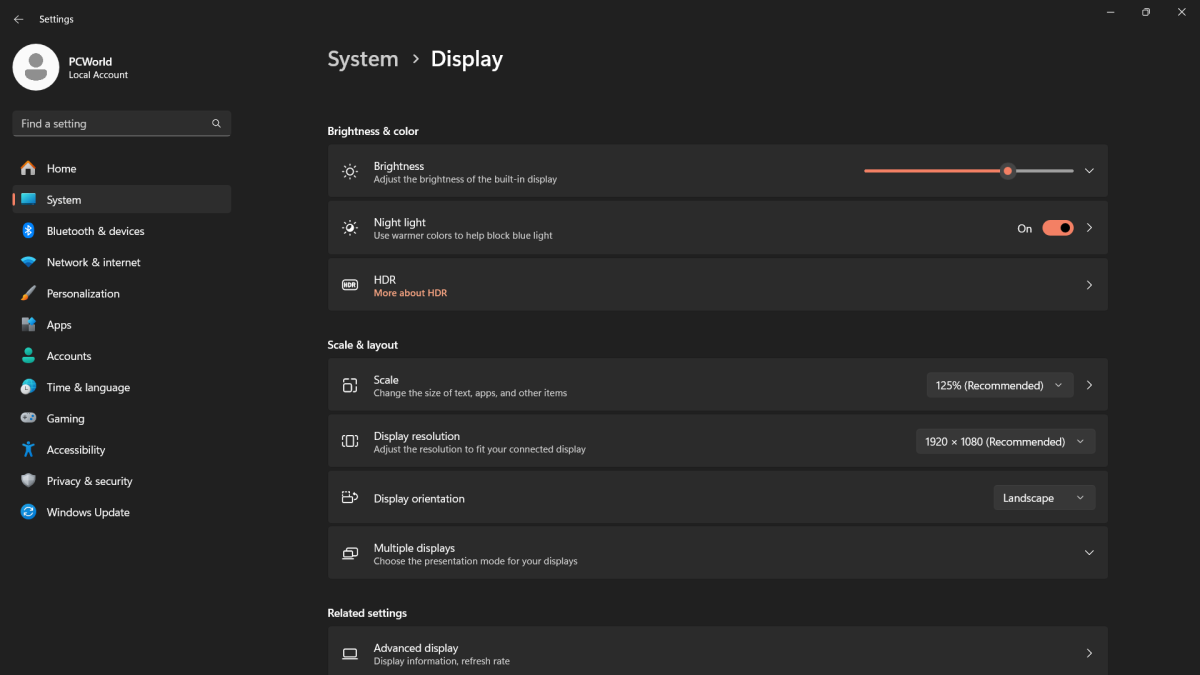
Alternatively, you can go to Start > Settings > System > Display, then click on Night light settings under Color (see image above for Windows 10, and image below for Windows 11). If you take this route, you can turn Night Light on and off via a toggle on the Display settings page.
PCWorld
Step 2

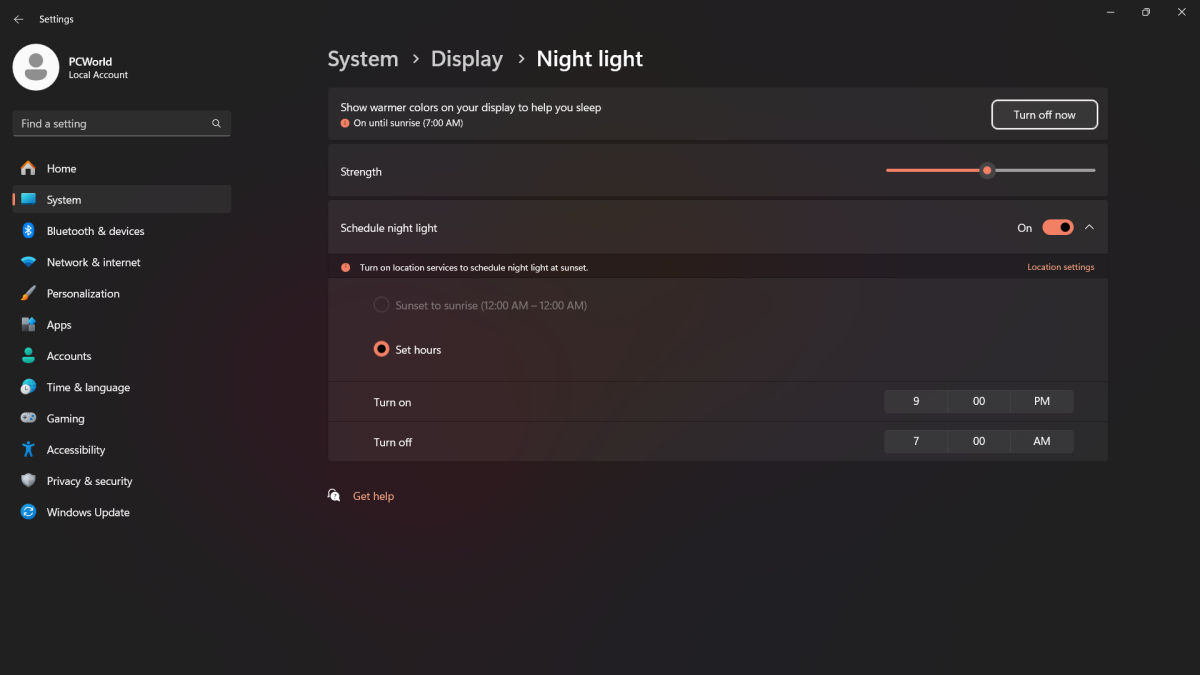
If you didn’t already flip the toggle, click the Turn on now button to immediately activate blue-light filtering. Move the strength slider to increase or decrease how much blue light Windows will eliminate.
Never used a blue-light filter before? Before turning on Night Light, you can first play with the strength slider for a preview of what your screen will look like at various intensities—it’ll essentially let you try before you buy.
You can also instead click the gray toggle for Schedule night light to restrict the blue-light filtering to specific hours. Customize a time span for when the blue-light filtering is on, and you’re all set to go. Windows can also base the schedule on your location’s periods of actual sunset. You’ll just need to turn on Location Services for that to work—if your system has that setting off, a link to Location settings will automatically appear.
That’s it. You’re done!
For most people, Windows 10 and 11’s built-in blue-light filtering does a good job. But for more control, you can turn to a third-party app. We recommend f.lux, a free program that provides more exact blue-light filtering settings and a rolling schedule for day and night time intensities.
Windows’s Night Light only has two options: It’s either on, or it’s off. With f.lux, you can have a less intense amount of blue-light filtering during the day, and then have that transition to a much deeper blockage. The program will even do that for you automatically if you choose, based on your type of in-home lighting and your location.
Is blue light bad for your eyes?
Prolonged exposure can cause vision issues, according to reports from institutions like UC Davis—think retinal cell damage, macular degeneration, cataracts, and eye cancer. Children have higher risk for such effects compared to adults, due to greater absorption of blue light from tech devices.
Less scary but still problematic is eye strain, which can cause to blurry vision, headaches, and even pain in your shoulders and neck.
Why is a blue light filter important?
In addition to helping reduce negative effects on your eyes, blue light filtering in Windows also helps your PC use from disrupting your body’s sleep cycle. Blue light can keep you up, as it triggers wakefulness in our brains—the biggest natural source of blue light is sunlight, so using digital devices that put out blue light can throw off our natural sense of when it’s time to be awake and when to be asleep. Poor or reduced sleep can lead to other health problems, like cardiovascular disease, diabetes, insomnia, and even cancer.
Editor’s note: This article originally published in August 2021 but was updated with Windows 11 information and explanations for how blue light can affect our health and sleep.