Windows 11 has several useful features you might’ve overlooked that can make you more productive every day.
When Windows 11 was launched three years ago, Microsoft promised a number of new features to make working in front of the computer a little easier.
For example, you can create virtual desktops with Task View, share your screen with Multitasking, and get help working more efficiently with Focus Sessions. The classic old cut-and-paste feature has also been transformed into a powerful library where you can collect text and images.
Many of these features are easy to miss, and in this guide, we’ve gathered some of the best tips on how to be more efficient when working in Windows 11.
Feature #1: Activity View
Use multiple desktops
Foundry
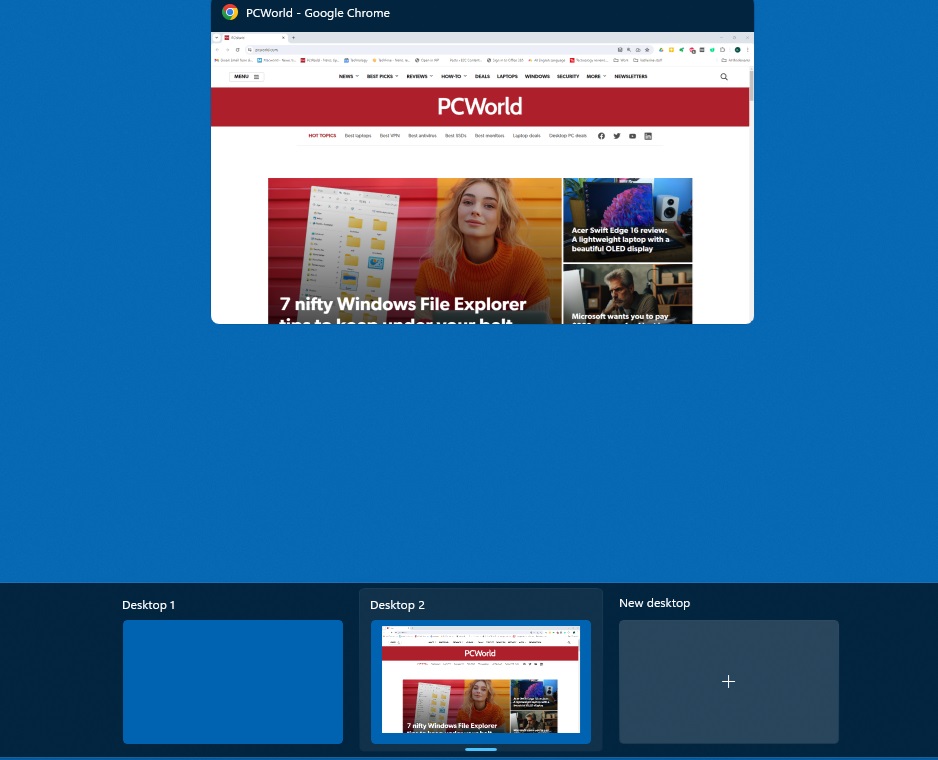
Windows 11 has a nifty feature called Task View that creates virtual desktops. For example, you can create a work-related desktop with shortcuts to Word and Excel — and a leisure-related one with Netflix and Spotify.
HOW? Click on the Activity view, the icon with two squares at the bottom left of the Taskbar. You will now see a window at the bottom of the screen and initially there is only Desktop 1. To create another one, click on New Desktop. This will create Desktop 2. To switch between desktops, just click, of course. You can also hover over the Task View icon to view thumbnails of your desks.
Customize your desks
Foundry
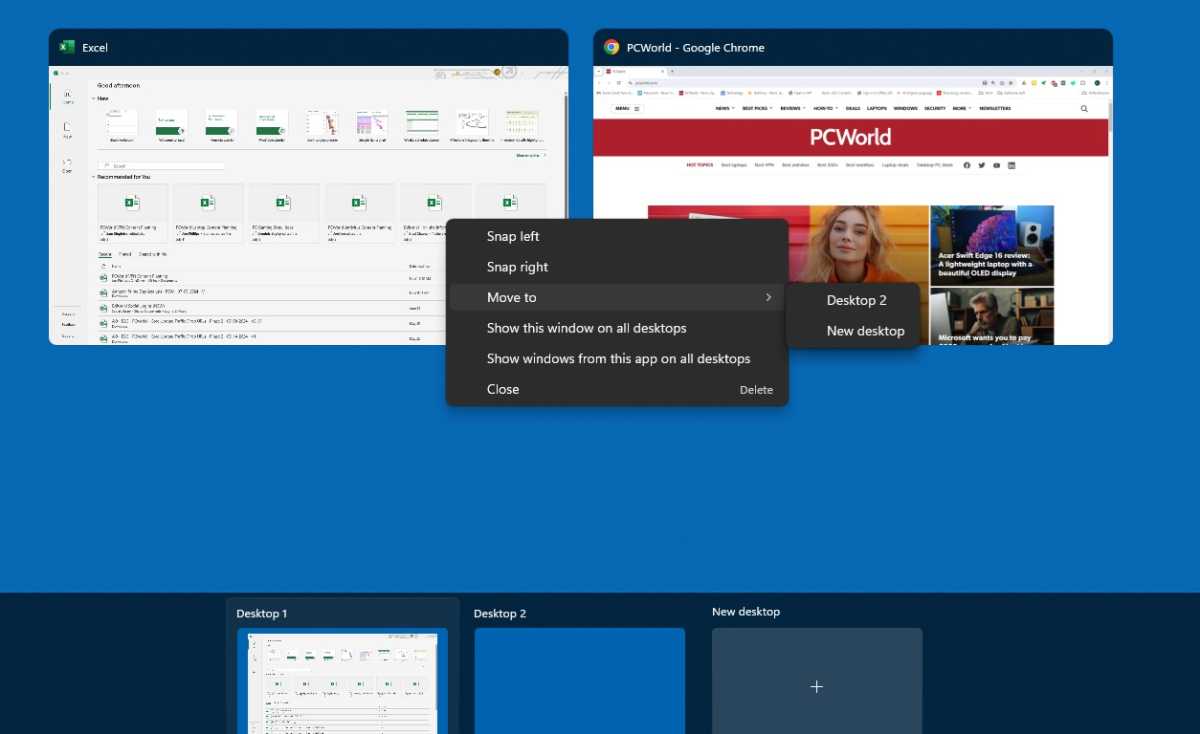
You decide which programs are displayed on each desktop.
HOW? Open the programs you want to use and click on the icon Activity view. The programs will now appear at the top and right-clicking will open a menu where you can select Show this window on all desktops or Move to > Desktop 1. You can also right-click on your desktops to rename, move, or close them.
Remove the Task View icon
If you don’t use virtual desktops, you can remove the Task View icon in the Taskbar.
HOW? Right-click in the Taskbar and select Taskbar settings. Switch off the Task View using the slider on the right.
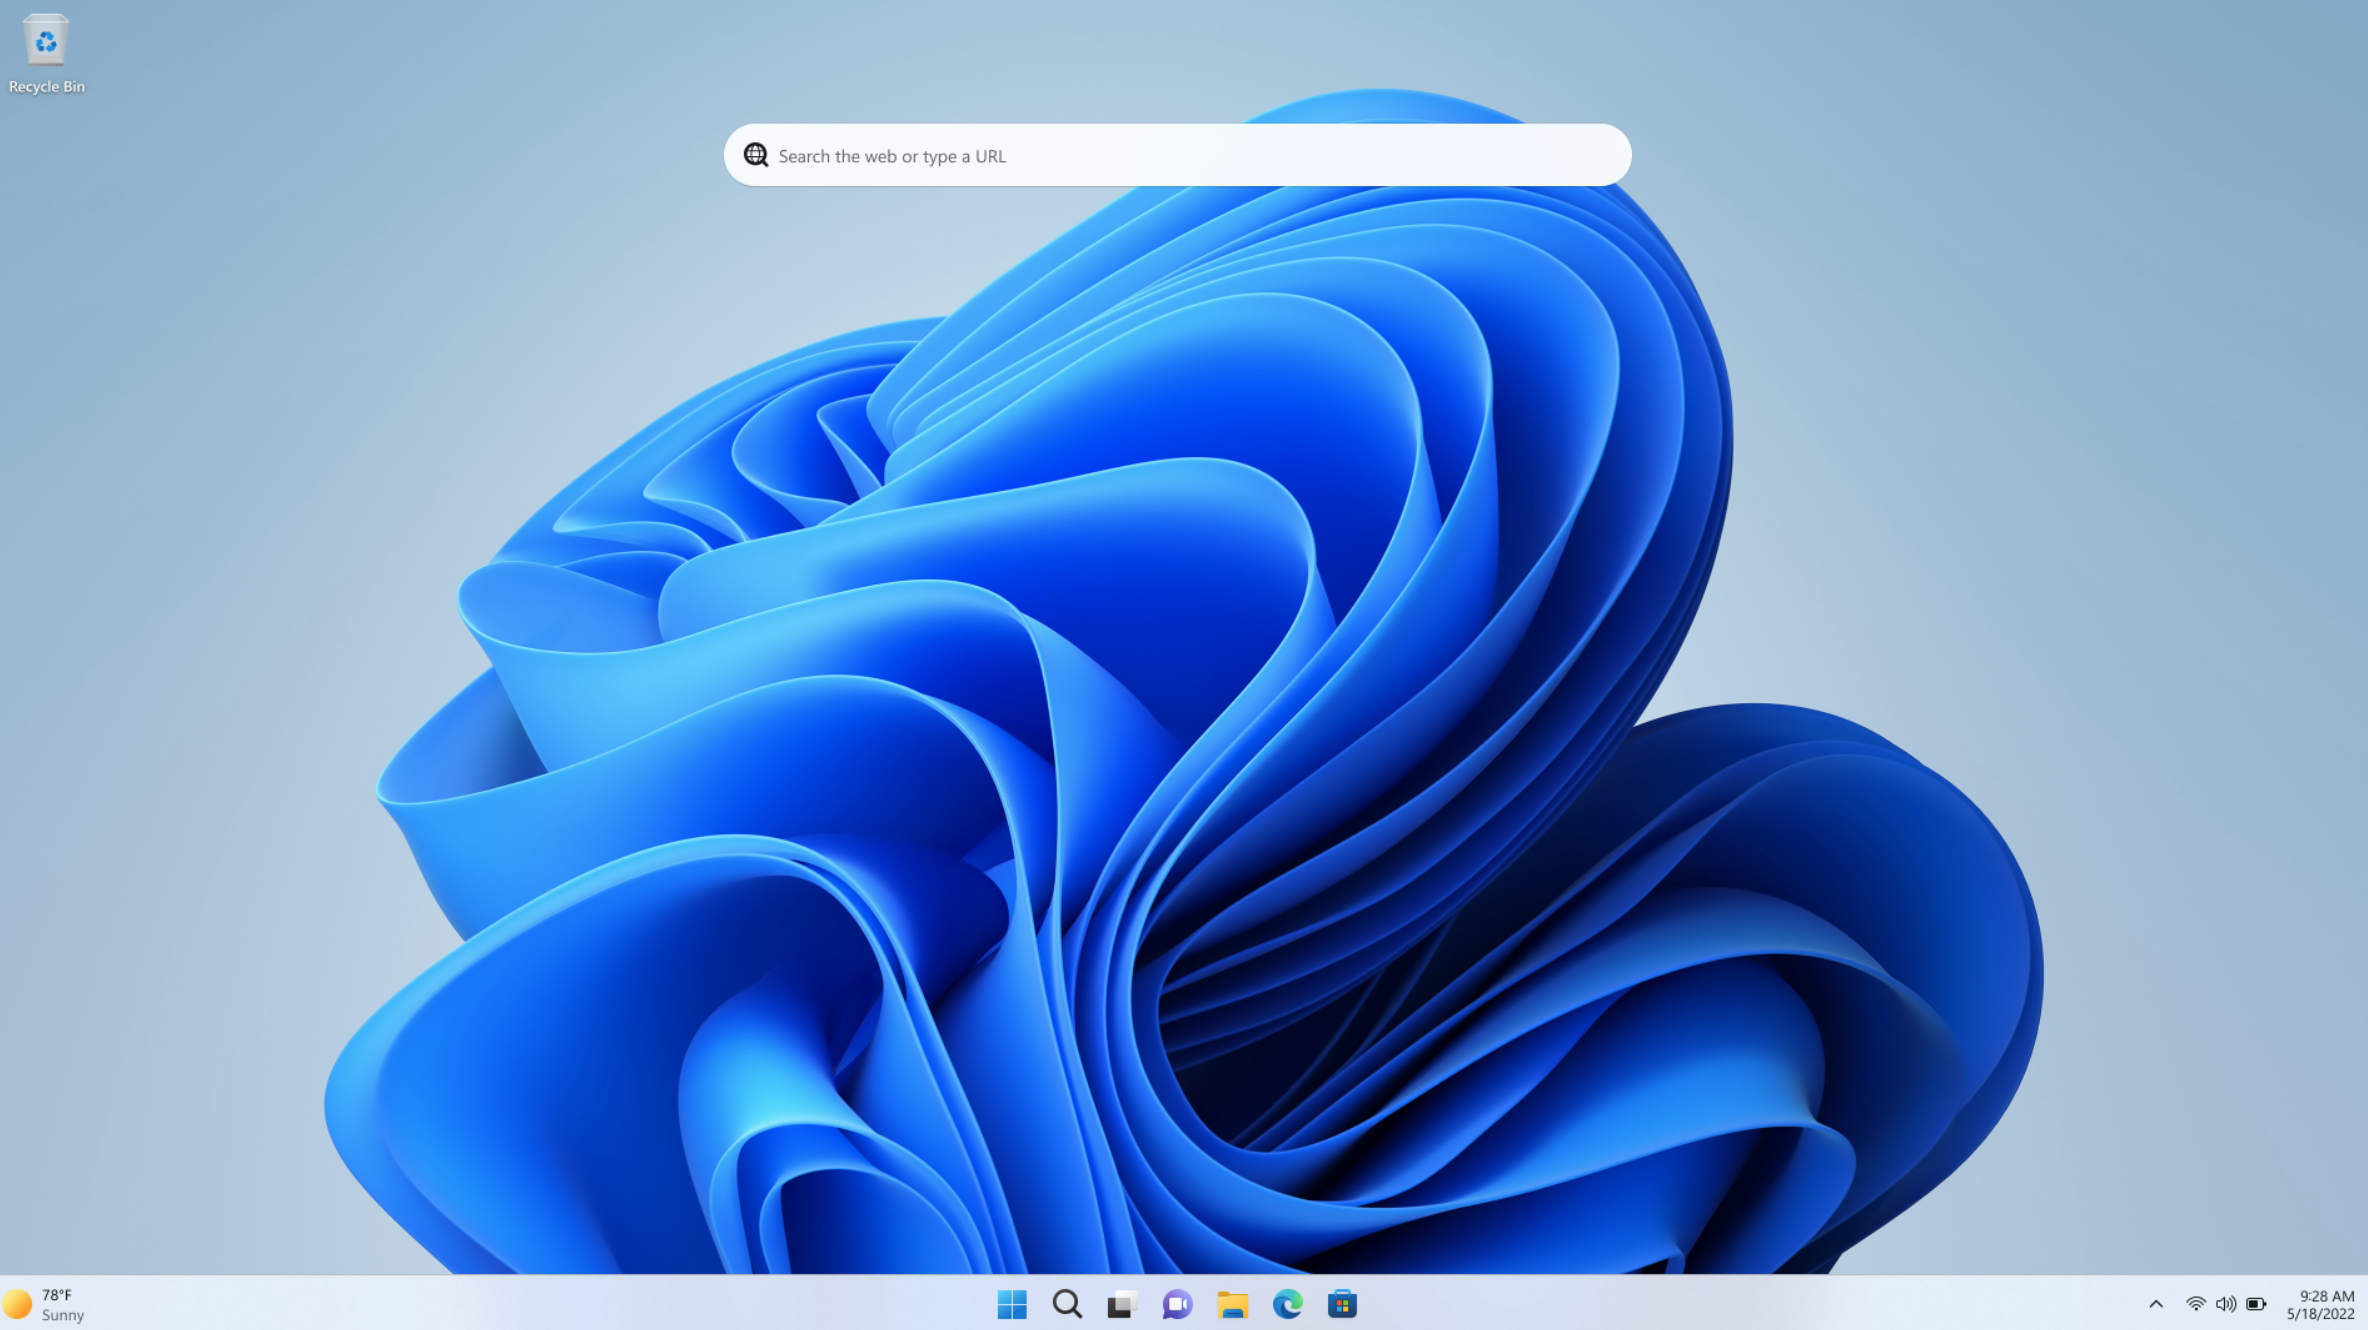
Feature #2: Multitasking
Split the screen
Foundry
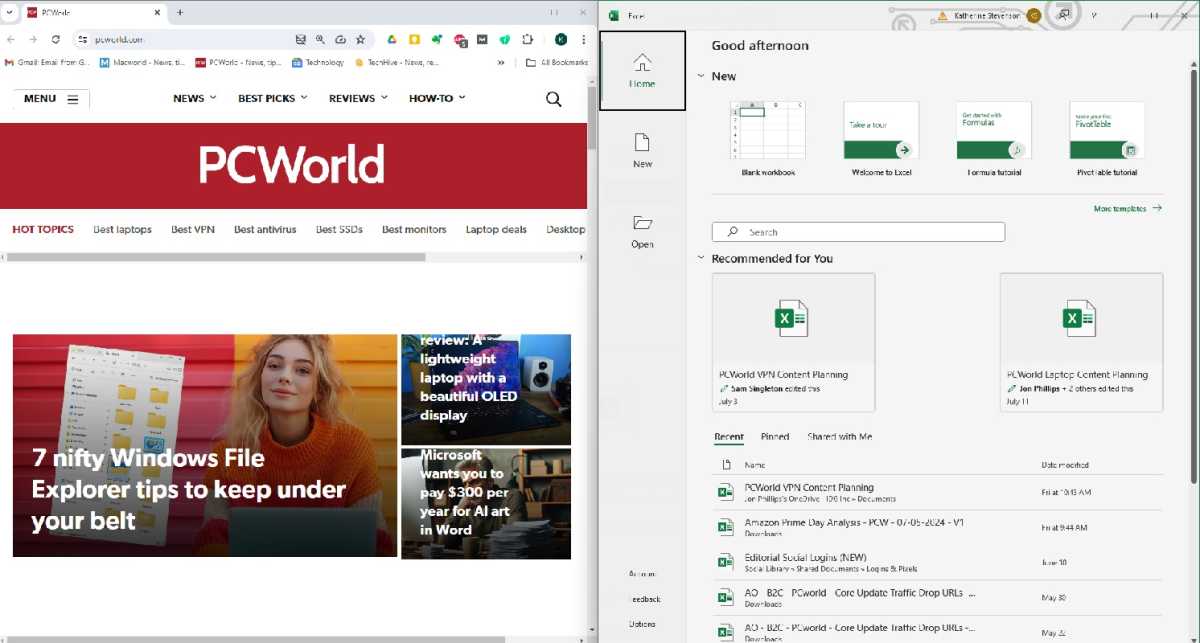
If you have a large screen, it is useful to split the screen area so that you can have several programs or folders open at the same time. You can do this with a feature called Multitasking.
HOW? Drag an application to the left or right edge of the screen and it will automatically fill half the screen, and you can then choose what fills the other half. You can also do the same by pressing the Windows key together with the right or left arrow. If you instead drag the program to one of the corners, the screen is divided into four equal parts. The boundary between the programs is shown by a thick line when you rest the mouse cursor over them and moving the line changes the size.
… and do it at lightning speed
Windows 11’s latest updates also include a feature that makes multitasking faster.
HOW? Rest your mouse cursor on the icon next to the cross at the top right. You will now see thumbnails showing the different screen sharing options available and you can choose the one that suits you best.
Use window groups
Windows 11 also has a feature called Window Groups. This means that the group of programs or windows you have created above can be managed together.

HOW? Split the screen as above and rest your mouse cursor on any icon at the bottom of the Taskbar. As you can see, the icons form a group and you can right-click to minimize or close an entire group.
Remove window sharing
Foundry
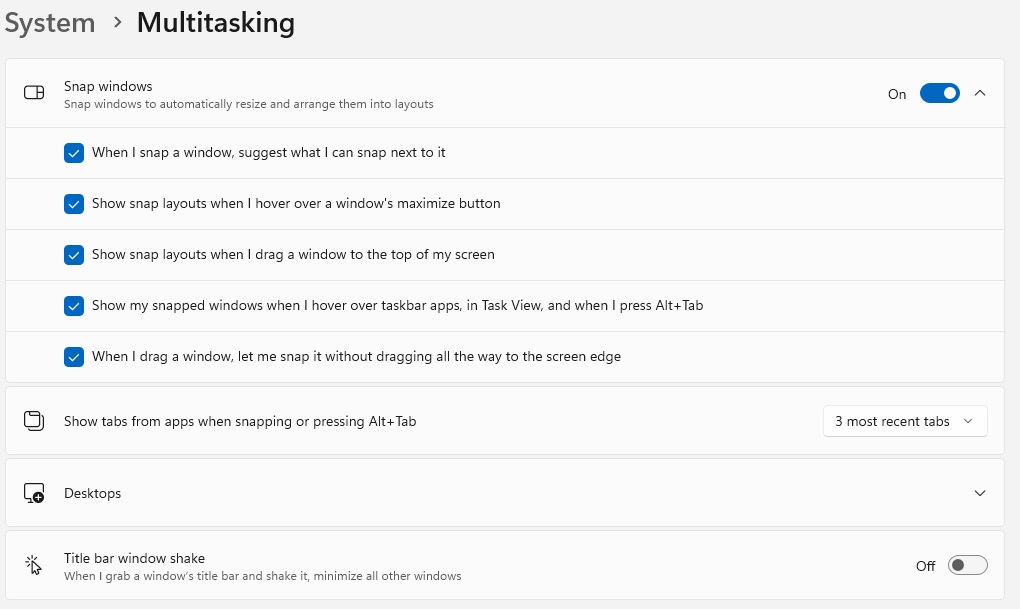
If you find the window sharing feature annoying, you can switch it off.
HOW? Open the Settings and select System > Multitasking. Switch off all window sharing with the slider next to Snap windows. If you only want to use certain parts of the multitasking feature, press the down arrow and switch off the features you do not want to use.
Feature #3: Clipping
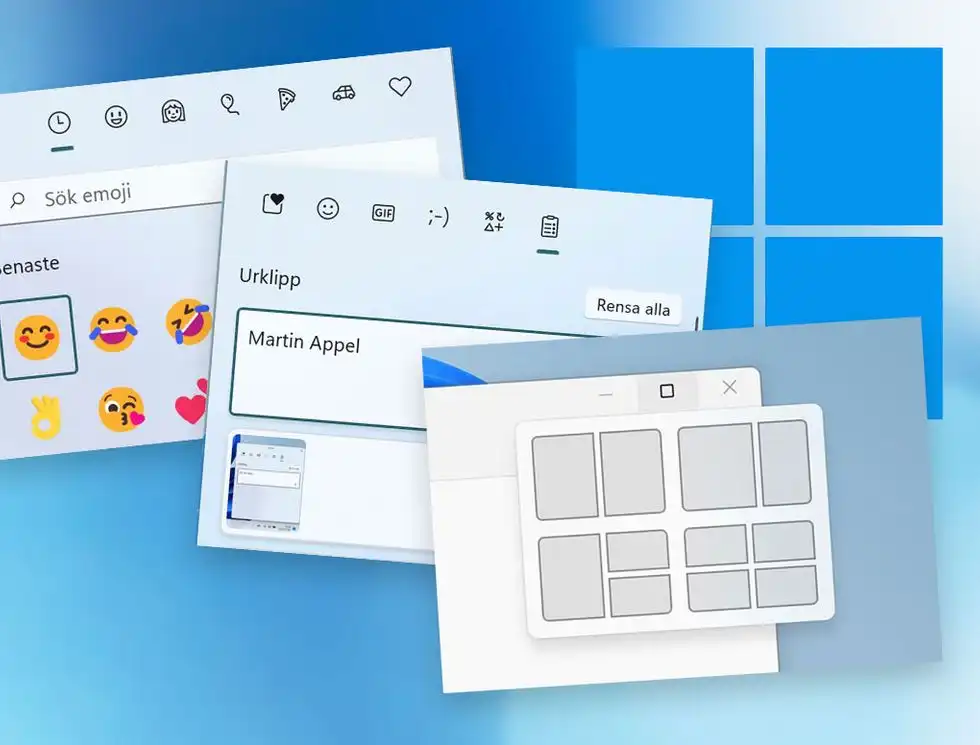
Use many clipboards
To cut and paste in Windows, you can use menus and hotkeys in each program, but the easiest way is to take advantage of Windows’ universal keyboard shortcuts Ctrl+C (copy), Ctrl+X (cut), and Ctrl+V (paste). Windows 11 has a smart clipboard history that allows you to see and use old clipboards.
HOW? Press the Windows+V and a list of your recent clipboards will appear and you just need to click on the one you want to paste. The first time you do this, you need to activate the function.
Save clipboard
Foundry
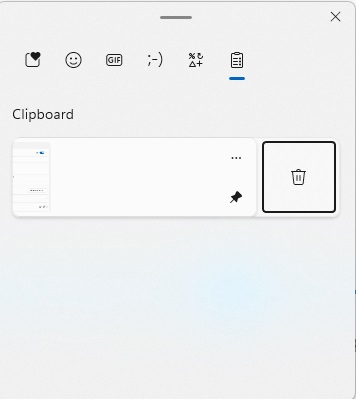
Clipboards that you use frequently (for example, your address or phone number) can be saved in the clipboard history.
HOW? Use the pin icon to the right of your clipboard to save it. Press it again to stop saving. Of course, you can also delete the clipboard from here. To do this, press the three dots to the right of a clipboard and select trash. With the Clear all button to empty the entire list — except for what you have saved yourself.
Emoji and special characters
The clipboard history also contains shortcuts to emoji symbols, gif animations, and various special characters, for example, and you use them in the same way.
HOW? Press the Windows+V and you will see a row of icons at the top. Below the first one, you’ll see the most recently used ones, and then you’ll find emoji symbols, gif animations, other emoticons and symbols. The last icon shows your clipboard. If it’s just emoji you’re after, there’s a little shortcut. If you press the Windows key together with a dot, the emoji menu opens directly.
Sync the clipboard – or skip it
Foundry
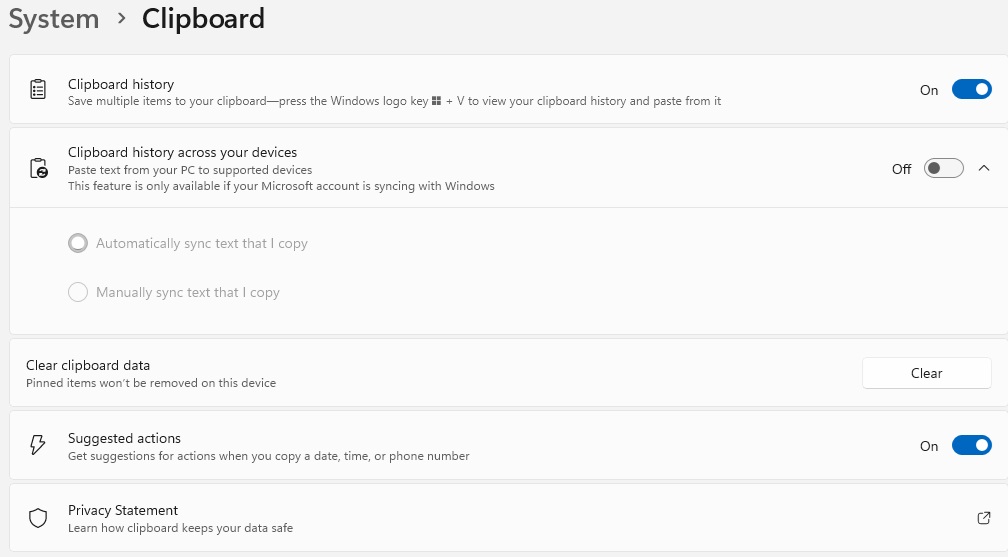
If you want, you can synchronize your clipboard history between your computers, so you can access them on any device you’re logged into. If, on the other hand, you find the whole feature unpleasant, you can remove it.
HOW? Go to Settings > System > Clipboard and enable/disable Clipboard history using the slider on the right. Also choose whether to synchronize it between different devices.
Feature #4: Focus Sessions
Help to focus …
Foundry
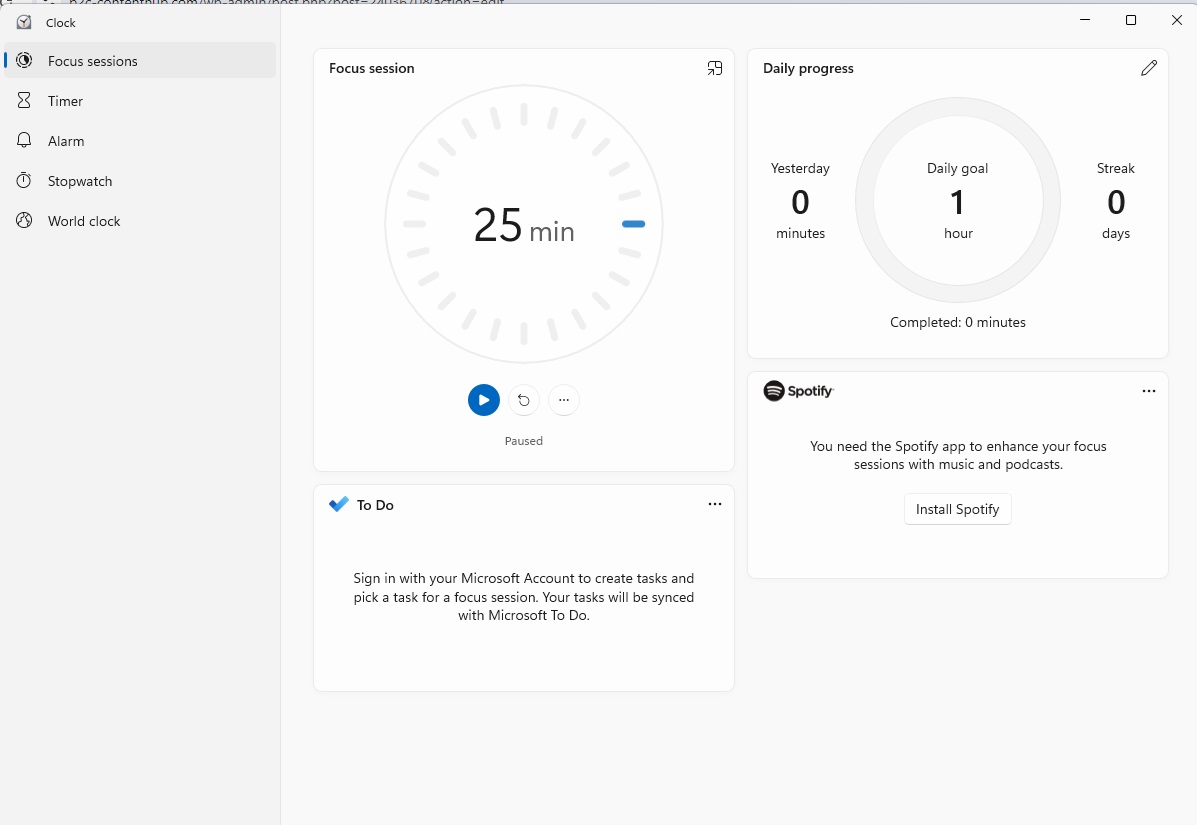
If you want to work more efficiently, you can use Focus Sessions, which is a smart timer. The idea is to work efficiently for a period of time that you decide in advance, for example two hours. Once this time has elapsed, Focus Sessions will notify you that you are done. By default, there are two short breaks inserted every hour, as this is considered to make work more efficient.
HOW? Open the program Clock and select Focus Sessions in the menu on the left. Press the button Get started and enter the amount of time you want to focus. Select the Start the focus session and a timer will start. Minimize the clock and focus on your job. When it’s time to take a break or stop working, a message will appear on the screen — and you’ll hear a beep.
Set concrete goals
You can use Focus Sessions to set daily goals.
HOW? At the top right, your daily progress is shown and you can click on the pencil at the top right to set your daily goal — for example, six hours of focused work.
Use the to-do list
Focus Sessions can be paired with the Microsoft To Do list — if you want to work on tasks from here.
HOW? You can find your To Do list under the heading Tasks. Click on a task to use it in your focus session and right-click to get more options, such as marking it as completed. Use the plus icon to add new tasks.
Working with music
Foundry
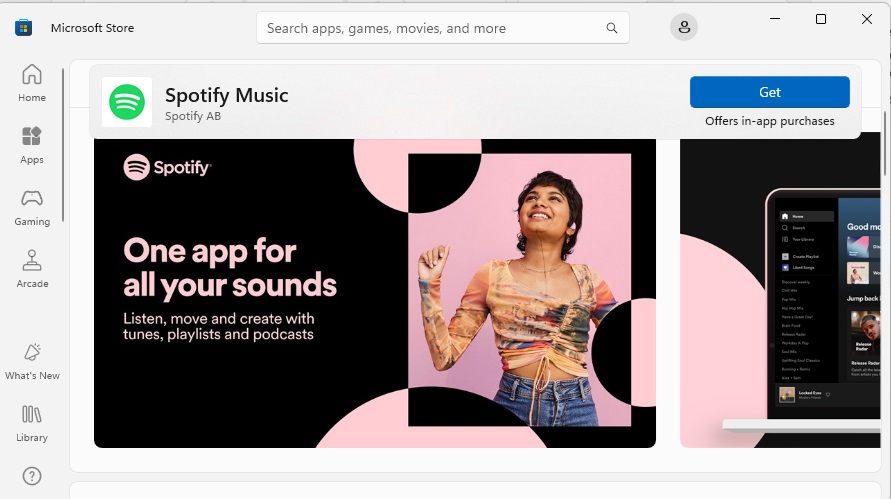
If you find that music or background sounds make it easier to focus, you can connect Focus Sessions to the Spotify music service.
HOW? Choose the service Install Spotify and follow the instructions.
Quick start Focus Session
Instead of taking the detour via the Clock app, you can quick launch your focus session via the Taskbar.
HOW? Tap the clock at the bottom right of the screen and select Focus. This opens a small window showing your focus session.
Powerful clock
The Windows Clock app can do more than display the time.