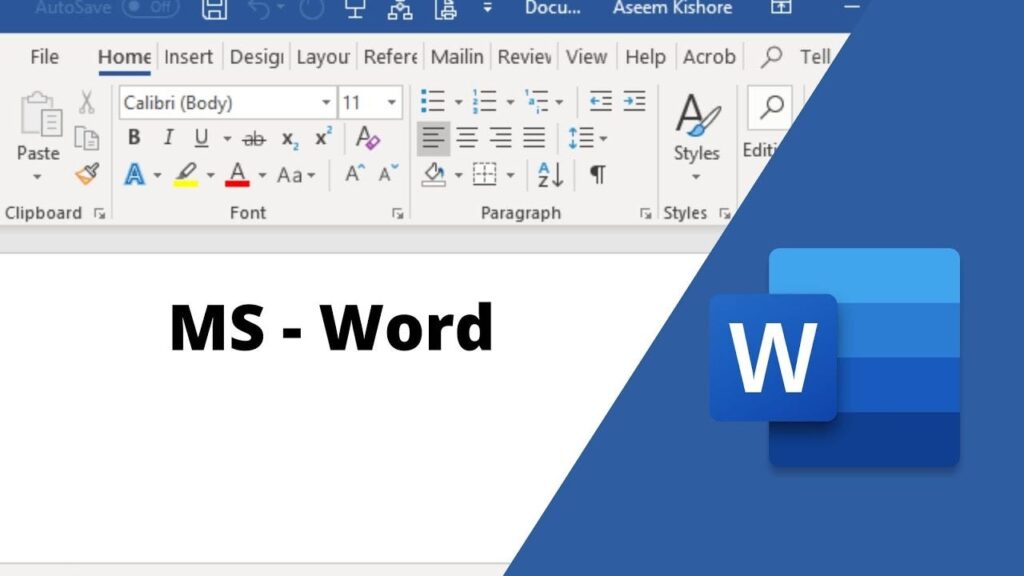
Recently, Microsoft updated the default fonts in Word, replacing Calibri for normal text and Calibri Light for headings with Aptos and Aptos Display. If these new fonts don’t suit your preferences, you can easily revert to Calibri or choose an alternative. Here’s how to customize your default fonts:
- Open a new document in Microsoft Word and ensure you are on the “Home” tab.
- In the “Font” group, locate the font dropdown labeled “(body text)” and select it.
- Click the small arrow in the bottom right-hand corner of the Font group to open the Font dialog box.
- Choose your desired font under “Font,” and adjust the style and size if necessary.
- Next, click “Set as Default” at the bottom left of the Font dialog box.
- In the prompt that appears, select “All documents based on the Normal template” and click “OK” to apply the changes.
- Repeat these steps for the “(headings)” font to set your preferred heading font.
By following these steps, you can quickly personalize the default fonts for both body text and headings in Microsoft Word to better suit your needs.


