Capturing screenshots has become a routine task, whether you’re grabbing an important piece of information or saving a funny in-game moment. While taking a screenshot might seem simple, Windows 11 offers more advanced tools than its predecessor, making the process smarter and more versatile. In fact, you can even record your screen activity!
Enhanced Screen Capture Tool
Windows 11 introduces a powerful Screen Capture tool that offers multiple ways to take screenshots.
To get started, open the Snipping Tool app and click the camera icon. You’ll see four screenshot options: Rectangle, Window, Full Screen, and Freeform. Rectangle lets you select an area by dragging the mouse, while Window captures an entire window. Full Screen grabs everything visible, and Freeform allows you to outline any shape you want. After selecting your mode, press New or Ctrl+N to take the shot. If you need a few moments to prepare, use the delay feature by selecting the clock icon and choosing a delay time between three to 10 seconds.
Editing Your Screenshot
Once captured, you can paste the screenshot directly into an application using Ctrl+V, or edit it within the Snipping Tool. Simple edits like annotations and erasing are possible, or you can open the screenshot in Paint for more detailed work. The Snipping Tool also allows you to save, email, or print your screenshots directly through the menu options.
Extracting Text from Images
The Snipping Tool in Windows 11 comes with a handy text extraction feature. Open your screenshot in edit mode and select the Text Actions tool. The tool converts the image text into editable text, which you can copy and paste into other programs. This is perfect for quickly grabbing text from images without manual typing.
Screen Recording
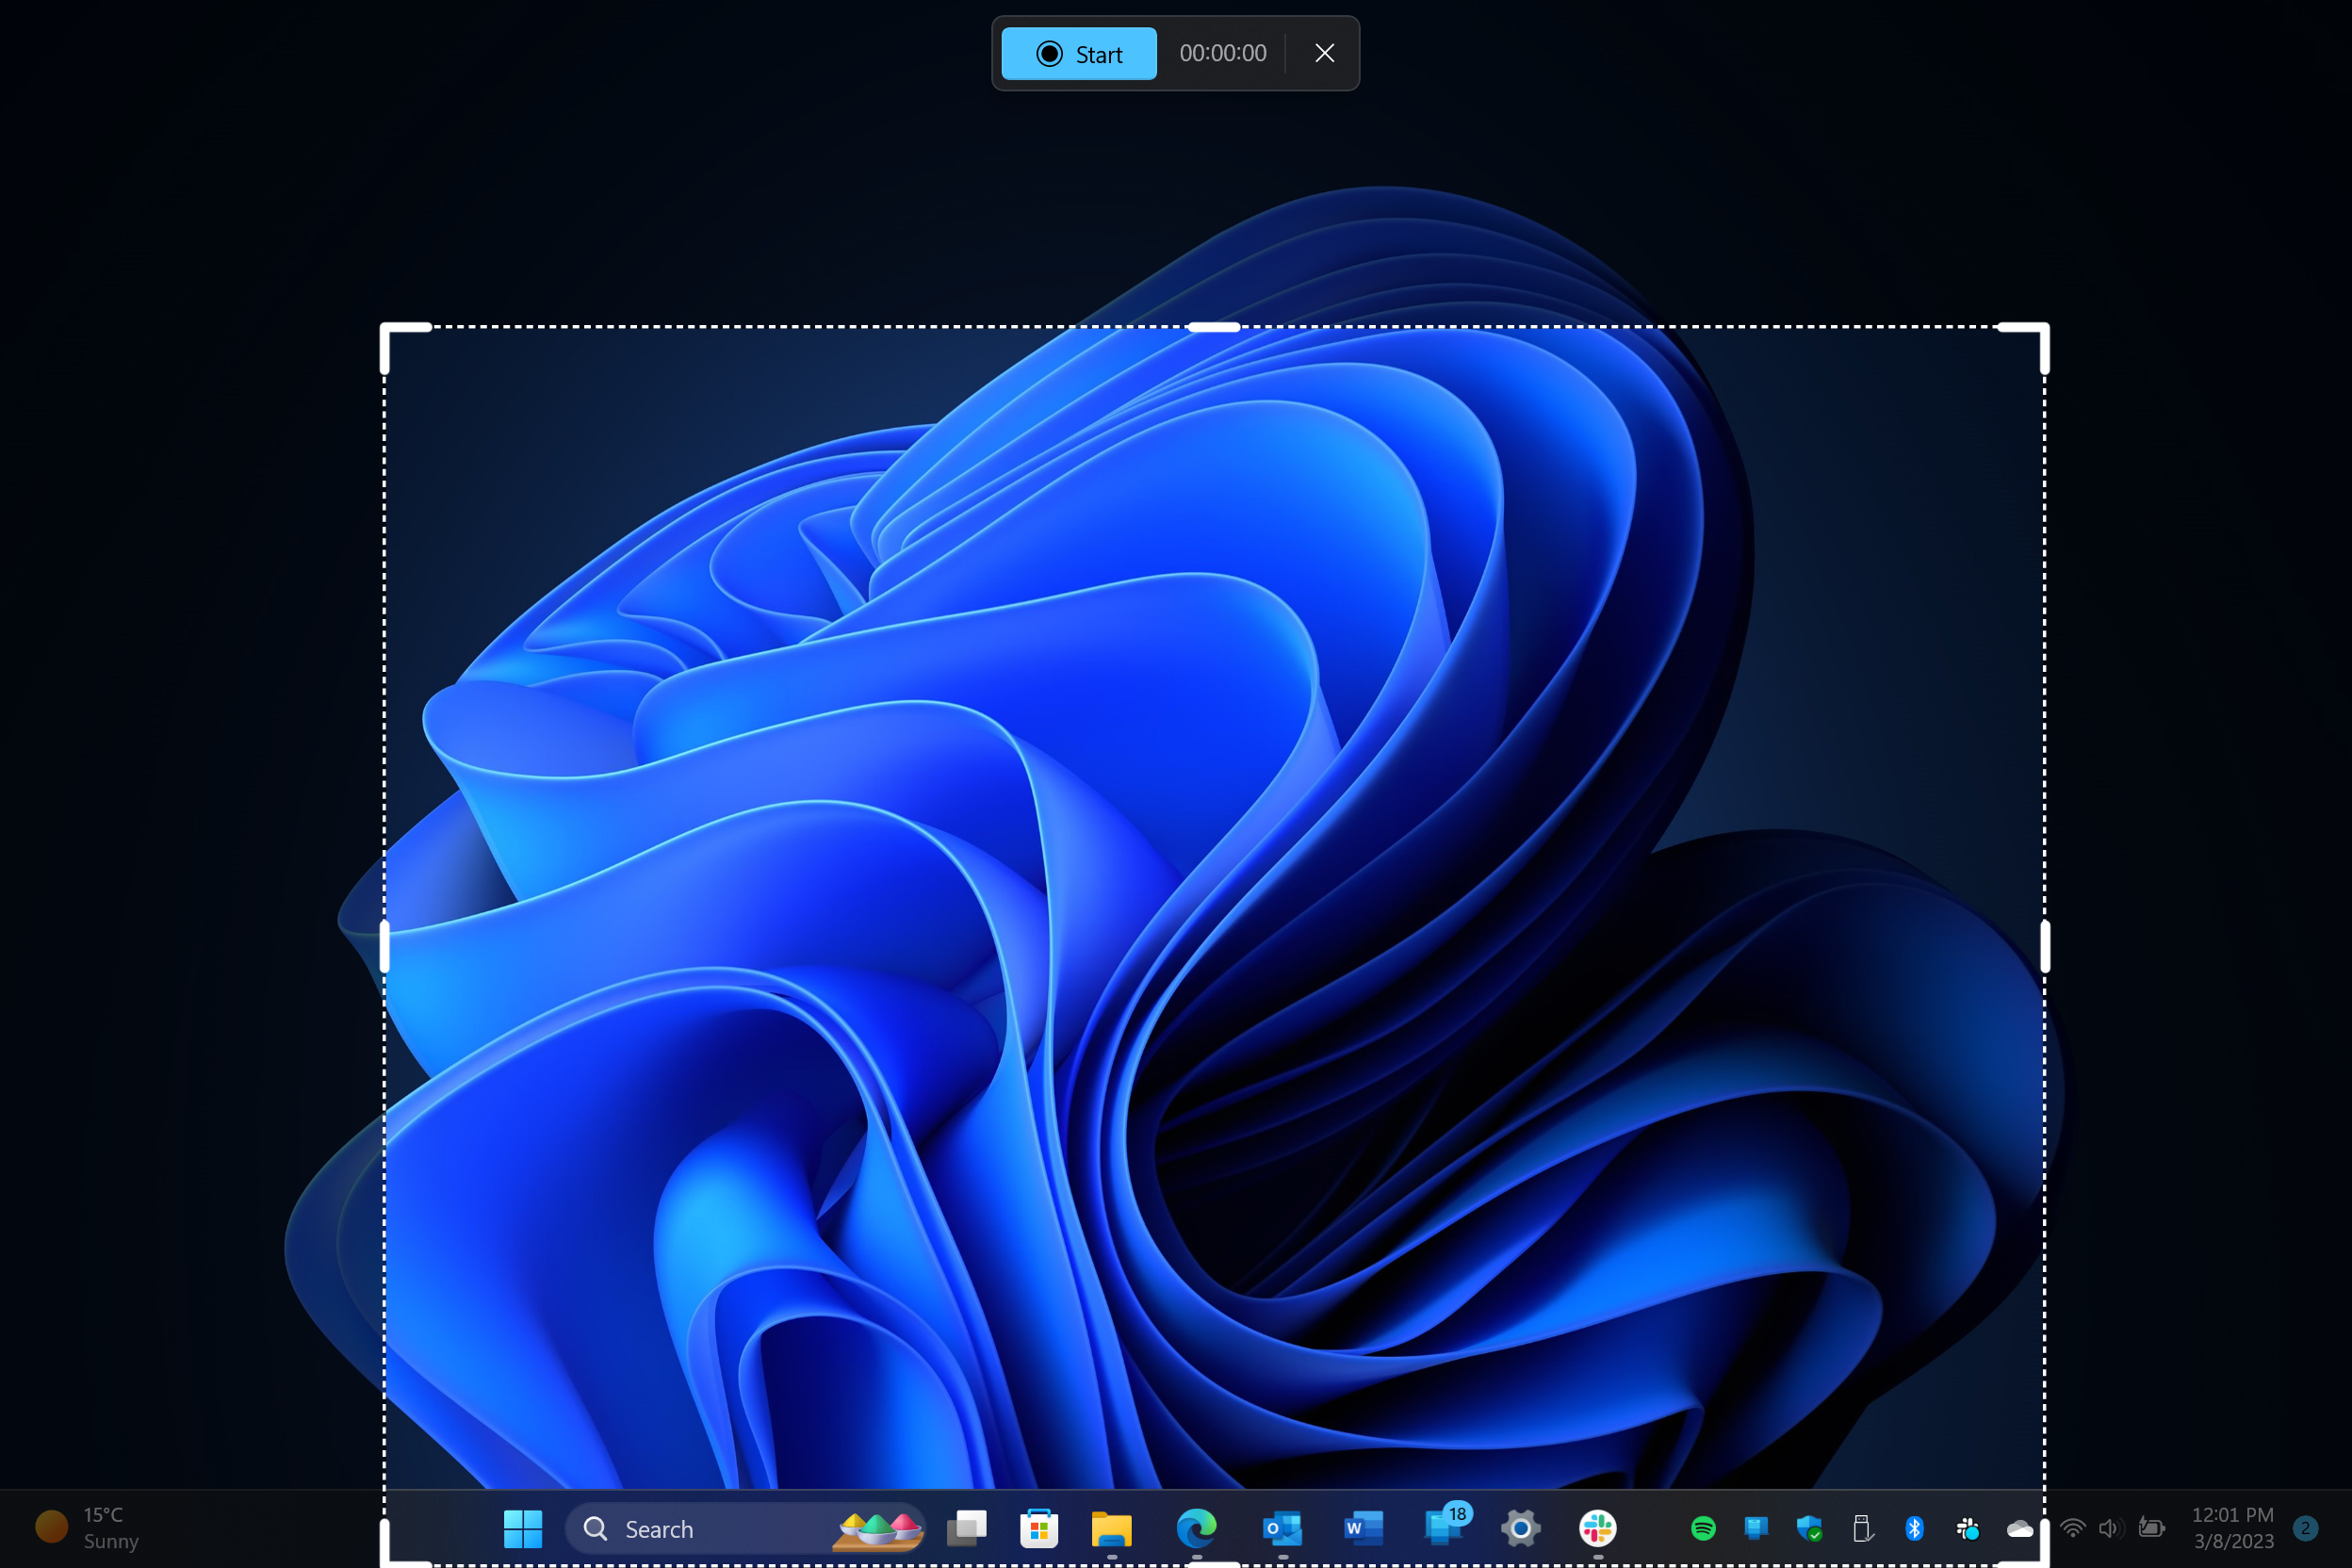
Windows 11’s Snipping Tool also supports screen recording. To record, press the video camera icon, select New, and draw a boundary around the area you want to capture. A menu will appear to set options like audio recording. When you’re ready, press Start to begin recording. Once done, you can save or edit the video using Windows 11’s built-in Clipchamp video editor.
Quick Access Shortcuts
For faster access, use the Windows+Shift+S shortcut to bring up a streamlined capture menu. This lets you start taking screenshots or recording without opening the full app.
Customize the Print Screen Key
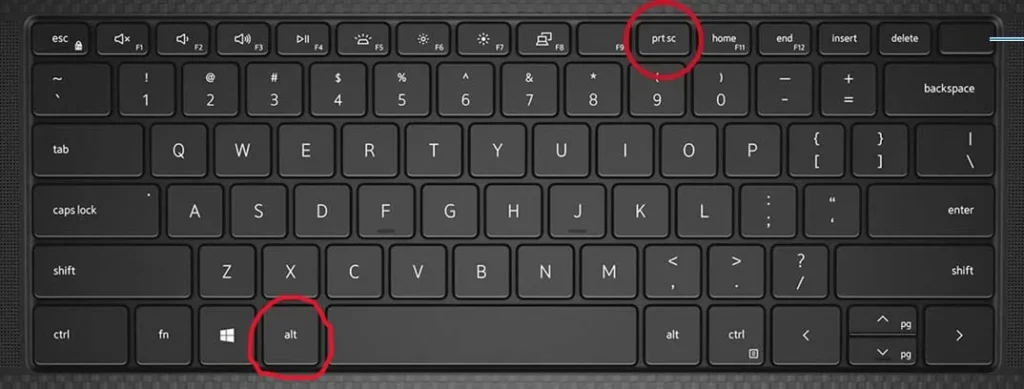
You can reassign the Print Screen (PrintScr) key to launch the Screen Capture tool directly. Go to the Snipping Tool’s Preferences, navigate to Tools > Keyboard, and toggle the option to use PrintScrn for screen captures.
Save Screenshots Automatically
For quick and easy screenshots, press Windows+PrintScrn. This saves a full-screen capture directly to your Pictures > Screenshots folder.
Adjust Settings
The Snipping Tool has become so robust that it now has a dedicated settings menu. Click the three dots in the upper-right corner of the app and select Preferences to customize how your screenshots are saved, whether they should have a colored border, and more.