Whether you’re capturing a critical lecture or jotting down your thoughts, Windows 11’s built-in Audio Recorder tool makes it simple and efficient. No need for third-party software; you can easily save your recordings in various formats and even insert markers to navigate different sections of your audio. Here’s how to get started with Microsoft’s Audio Recorder.
To launch the tool, type “Audio Recorder” in the Windows search bar and click Open. Before recording, choose your preferred microphone by selecting it from the bottom left of the program.
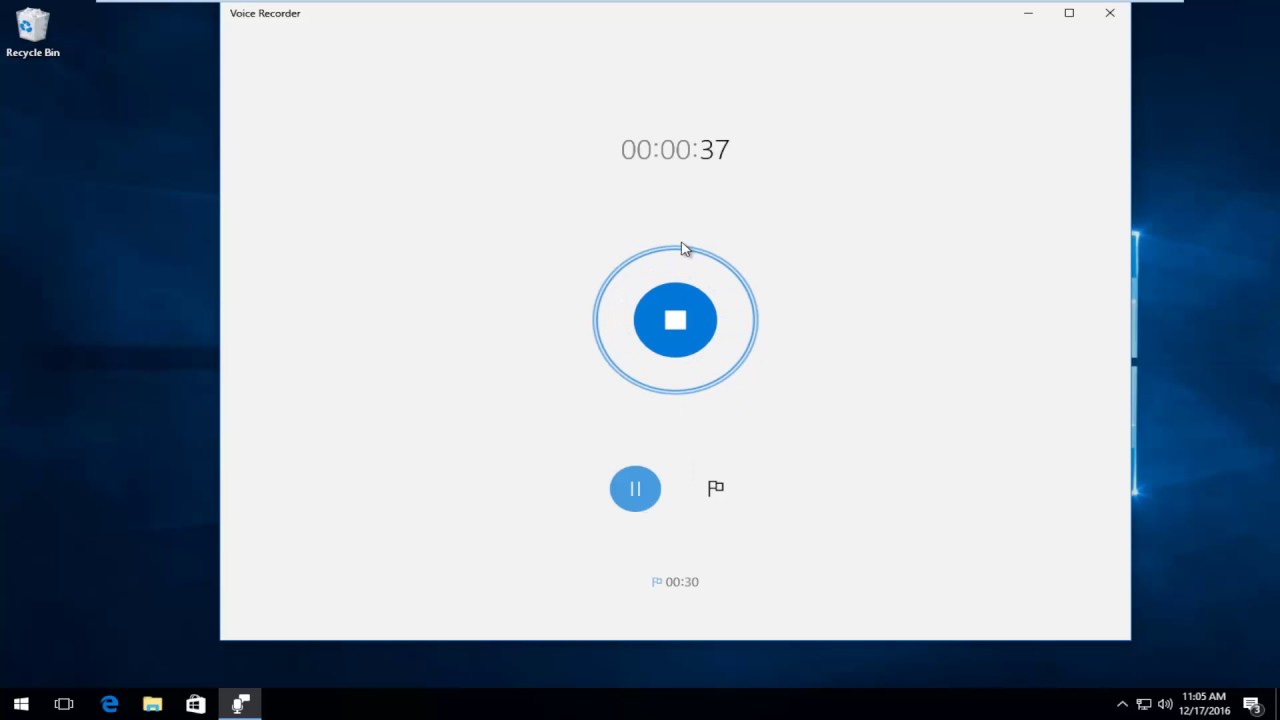
The main recording button is located at the center bottom of the interface. Once you start recording, your audio files will appear in a list on the top left, while the waveform of the current recording is displayed on the right.
You can save your recordings in formats like m4a, mp3, wma, flac, and wav. To choose a format, click the three dots at the top right and select Recording Format. Adjust the audio quality by selecting from three preset levels: best, high, and medium.
The app is straightforward, offering basic controls like play, stop, and record, as well as options for importing files and sharing them.
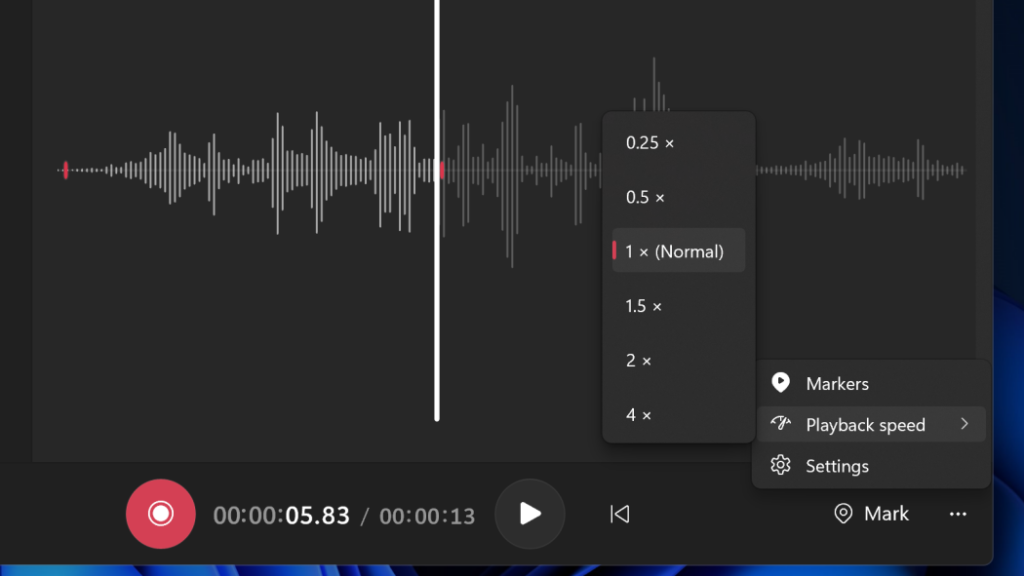
Additionally, you can adjust the playback speed of your recordings, ranging from 0.25x to 4x, and set markers within the file to easily jump between sections.
Note that the tool only allows microphones as input sources, so recording directly from your computer’s sound mixer is not possible.