You are the best password, because hackers cannot imitate or steal your physical characteristics. How to protect your PC and important online services with face or finger recognition.
Security is easiest when you are the password: You don’t have to memorize complicated keywords, but simply hold your face up to the camera or your finger on a sensor — and you can access your computer and online services.
This biometric login is already standard on smartphones — either via a camera or a finger sensor built into the screen. This allows you not only to log in to your device, but also to make purchases in online shops or carry out banking transactions.
However, many notebooks and PCs do not have a finger sensor or a camera with facial recognition. If your computer lacks the hardware for biometric login, you should definitely retrofit it for better security.
Passkey, for example, is particularly easy to use — and because more and more services support this passwordless login, you should also make your PC fit for it.
We provide tips on how to determine whether your computer is equipped with biometric hardware and how to set it up. If you don’t have the peripherals to log in with your face or finger, we can help you find the right camera or finger sensor to easily upgrade your PC and notebook.
Why biometrics is particularly important
It has long been known that logging on to a computer or web service using biometric features such as a face or fingerprint is more secure than using a PIN or password. An individual’s physical characteristics cannot be copied, guessed, or phished, you always have them with you, cannot forget them, and do not have to write them down anywhere.

IDG
Recognition technology has evolved: The sensors analyze so many features that they can no longer be tricked by photos or rubber fingers. When logging in, the camera or finger sensors compare the currently captured features with the stored features that they saved when setting up face or finger recognition.
These files are usually secured with 256-bit encryption so that no one who steals a notebook or external biometric hardware such as a USB camera or USB finger sensor can read them and use them for authentication.
Logging in with your face or finger instead of a password now makes particular sense: More and more manufacturers and online services are supporting passwordless authentication via Passkey, such as Amazon, Apple, Ebay, Google, Microsoft, and Paypal. You can find a list at https://passkeys.directory/.
With Passkey, you no longer have to enter a password in an app or website to log in. Instead, an individual key is created for each service, which is securely stored locally on your computer or smartphone — in the TPM (Trusted Platform Module) on a Windows computer, for example.
For example, if you have protected your Amazon account on your laptop with a passkey and then access this website on your laptop, it will request this key. You must then authorize the TPM to release it: You can do this easily using biometric authentication with your face or finger.
Is the PC ready for biometric logon?
You don’t need to buy additional biometric hardware if your computer already has it on board. There’s a good chance that your laptop has either a suitable camera or a finger sensor, as around half of all reasonably modern laptops are equipped with one.
Foundry
To check whether this is the case with your computer, first take a look at the technical data or the manual. It should be listed there if there is a camera for facial recognition — in most cases, the manufacturers describe it as an “IR camera.” They capture the face with invisible infrared rays and recognize the shape of the face through the reflected rays.
They also have a depth sensor. This ensures that face recognition works well in different lighting conditions and cannot be cancelled out by a photo due to the depth information.
You can usually recognize the IR camera by the fact that there are additional lenses next to the front camera, usually in the display lid above the screen on a notebook.
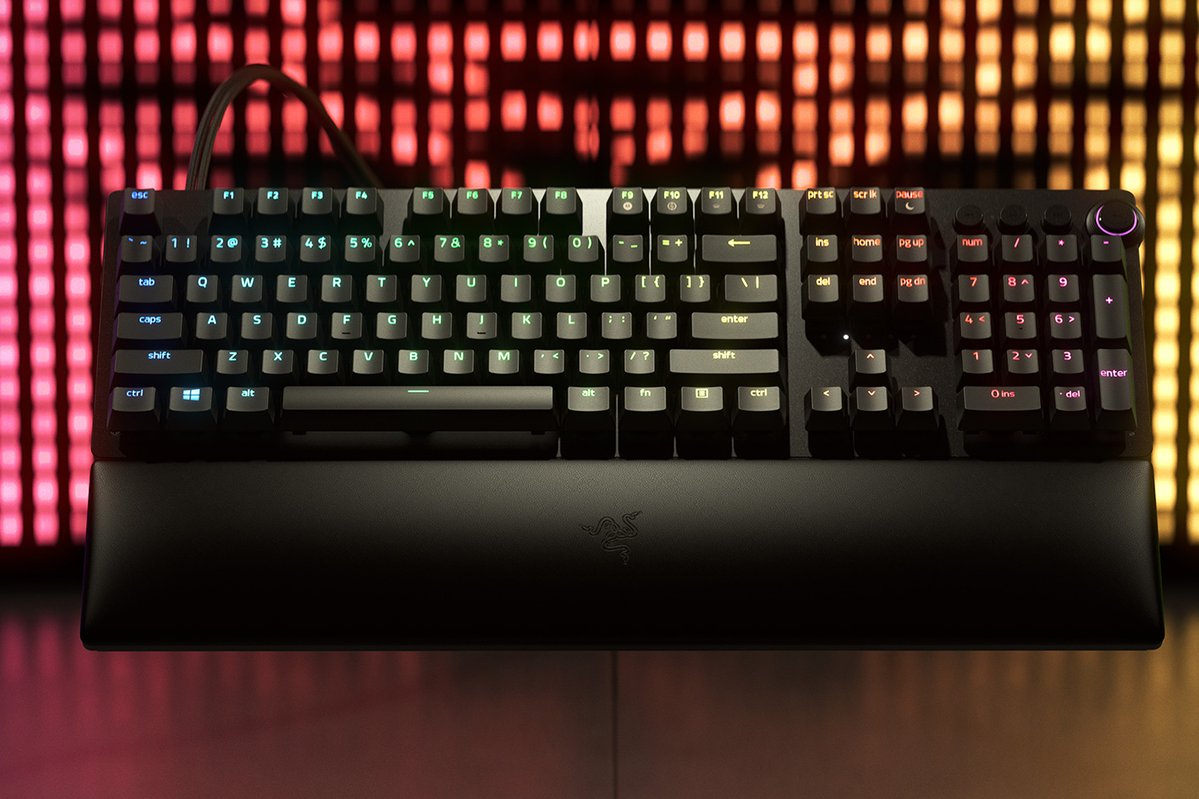
The position of the finger sensor should also be described in the manual if the computer has one. On older laptops, the sensor is often located as a small rectangular field to the right of the touchpad; current laptops often integrate it into the power button or elsewhere on the keyboard.
Foundry
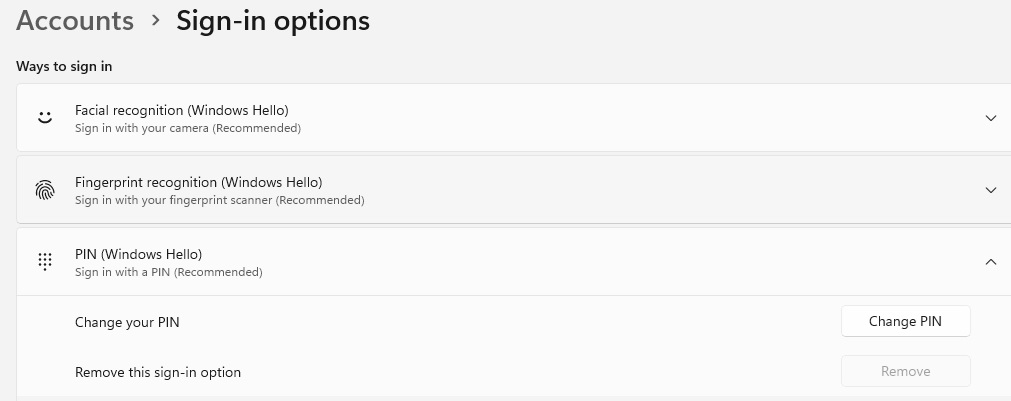
Windows has been using the “Windows Hello” function for biometric logon since Win 10. You can therefore simply check whether biometric hardware is available on a Windows computer in the system settings: Open Accounts > Sign-in options. Then tap on “Face recognition” and “Fingerprint recognition”: If the computer has the hardware for this, the “Set up” button will appear, otherwise Windows will inform you that it has not found a suitable device.
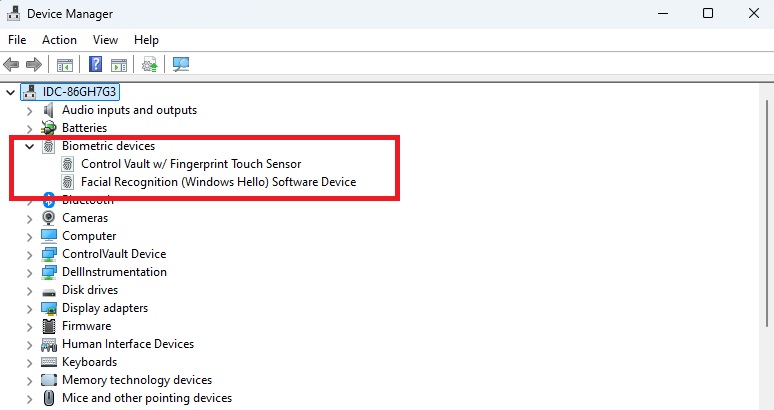
You can also check in the Device Manager whether biometric hardware is already present on your PC: You will find the entry for an IR camera in the “Cameras” section, a finger sensor usually appears under “Biometric devices.”

EZVIZ Dual-Lens cameras are the security you didn’t know you needed
If your computer has the appropriate hardware, you should definitely carry out Windows updates to update the corresponding drivers before using biometric logon on the computer.
IDG
Windows shows in the settings whether it has detected hardware for face or finger recognition. It can then be set up for Windows Hello.
Security gaps with biometrics
Complete security cannot be achieved even with biometric hardware. Although recognition now works very reliably, the camera or sensor must communicate with the operating system so that Windows can authorize services protected by biometrics, for example.
This is where many hackers come in and try to manipulate this connection by forcing their way between the biometric hardware and Windows, similar to a man-in-the-middle attack in a network, in order to trick the operating system into recognizing them even though the camera or finger sensor has not done so.
In this way, even current and otherwise secure sensors can be tricked with match-on-chip technology: They store the biometric data themselves so that it is more difficult to intercept. However, the biometric hardware should also support SDCP — a security protocol that Microsoft has developed specifically for data exchange between biometric hardware and Windows. This was not the case with the attacked sensors.
For many users, these attacks pose no risk, as the attacker must have access to the computer with the biometric hardware. However, these security gaps are an additional reason to regularly check for driver and firmware updates.
Set up biometrics hardware correctly
When setting up a new computer with biometric hardware, Windows prompts you to activate it. If you skip this step initially, you can activate face or finger recognition at any time afterwards.
To do this, go back to Accounts > Sign-in options in the Windows settings. Click on the “Face recognition” or “Fingerprint recognition” option — depending on which method your computer supports. If you have not yet activated any other logins on your computer, you must now set a password and PIN. Only then can you start the biometric login via “Set up,” which you must then confirm with a PIN.
You can then use the PIN and password as a workaround if biometric recognition does not work — for example, if you injure your login finger.
For facial recognition, you need to look into your computer’s camera for around 10 seconds and hold your face within the rectangle displayed. The infrared sensors will usually flash. Once the camera has saved enough features to recognize you, the setup is complete.
You can use the “Improve recognition” option to carry out the process again — for example, with or without glasses. This will ensure that the system recognizes you in any case. You can also do this later at any time using the corresponding option under “Face recognition.”
Proceed in a similar way with a finger sensor: When you place your finger on it, the areas that have been recognized turn blue. Windows gives you additional tips during setup to ensure that the finger is recognized optimally — for example, by repeatedly placing it on the sensor or positioning it at different angles.
With “Set up additional finger,” you can store additional fingerprints for login.
If you no longer want to use biometric logon later, click on “Remove” in the corresponding logon method — Windows will then delete the identification data stored in the device.
Simply retrofit
If your computer does not have a camera or finger sensor, you can simply retrofit the biometric function with an external device. You connect the camera or finger sensor to the computer via USB and then work with it just as if the hardware was built into the computer.
You should therefore select a peripheral device for which your computer has a suitable connection: Most current cameras and finger sensors have a USB Type-C connection, older ones Type-A. If the appropriate ports on your PC or notebook are not available or are already occupied, the devices will also work with an adapter — some type C devices, for example, come with an adapter for type A.

IDG
The biometric hardware must also support Windows Hello so that you can use it on the Windows computer for Passkey, for example. You should be able to find a corresponding note in the technical data.
Please note: Even if a camera supports facial recognition — for example via its own software — this does not necessarily mean that it also works with Windows Hello.
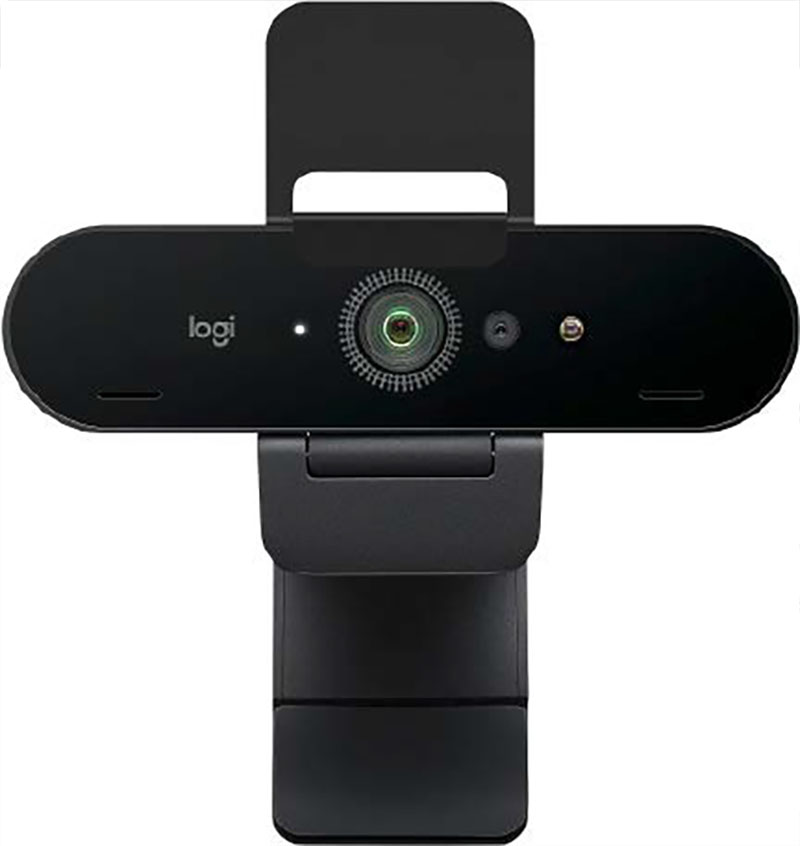
Recommended cameras cost between $50 and $180, depending on resolution, features and workmanship. In the lower price range up to around 120 euros, you will find models with full HD resolution, while prices for cameras with 4K resolution start above this.
The resolution is irrelevant for biometric recognition. However, as you will probably also be using this camera for video conferences and video telephony, a higher resolution will make you look better on these occasions.
IDG
More expensive cameras offer more display options: They support autofocus, for example, so that you don’t have to worry about moving in the frame. Extensive zoom support or a wide field of view beyond 90 degrees are also plus points.
Other cameras, on the other hand, allow you to restrict the field of view so that the person you are talking to can only see you and not your surroundings.
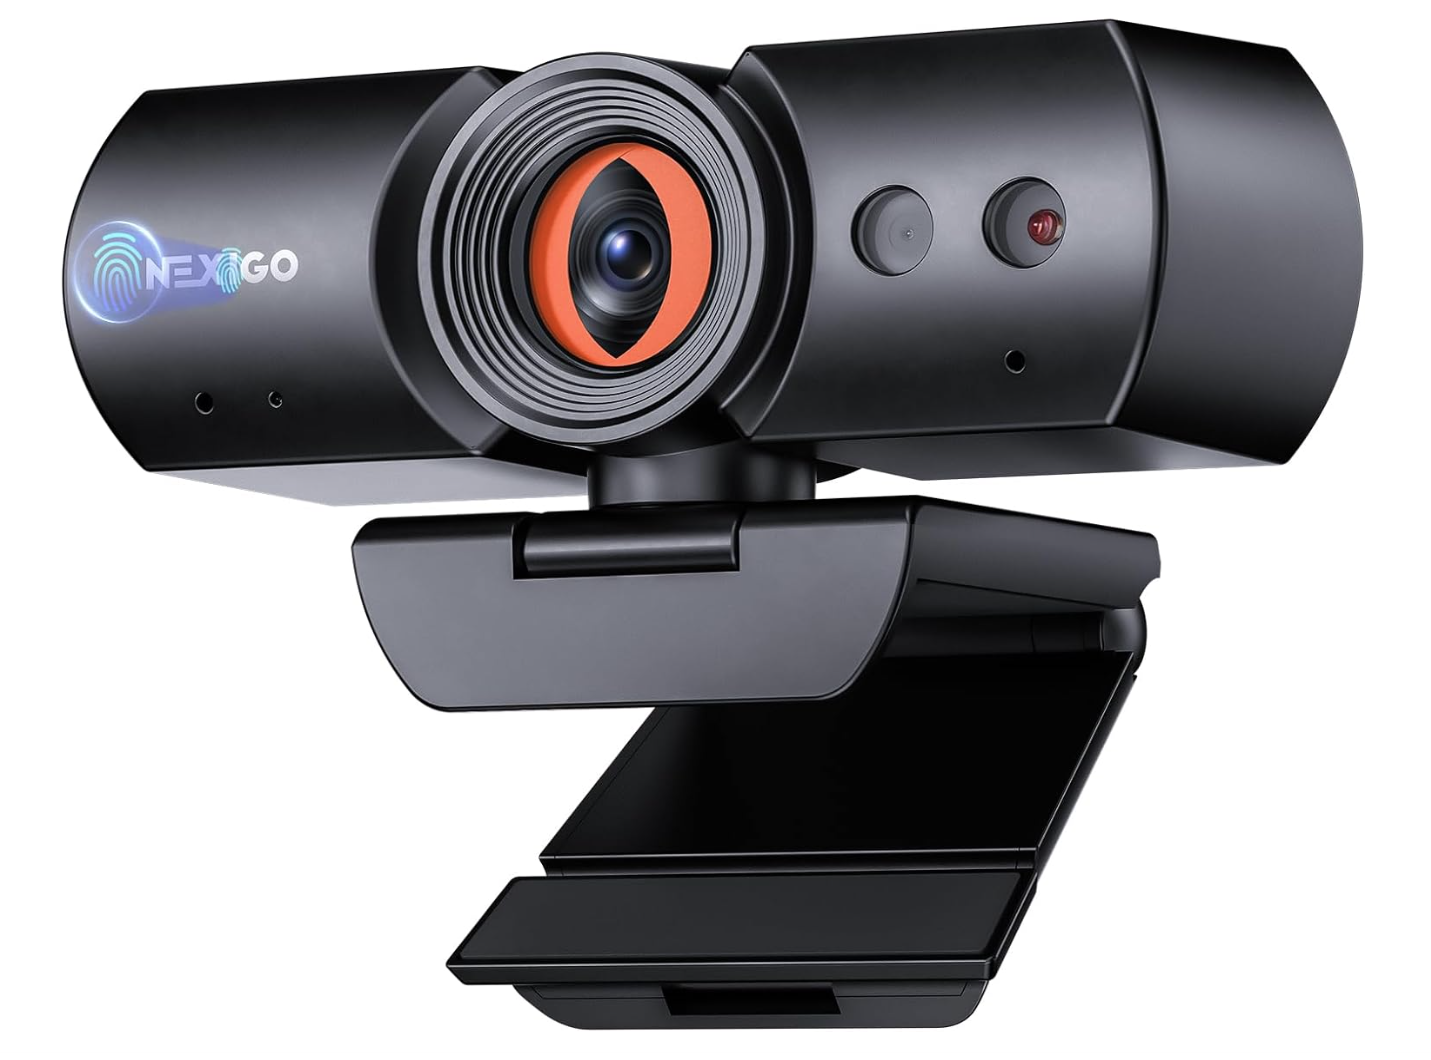
Another distinguishing feature is the microphone: Not all biometric cameras have one built in — these models are recommended for users who already have a high-quality microphone in or on their computer. Cameras with a visor or cover provide a better sense of security because you can close the lens when you are not using it.
However, if you are mainly using the camera for biometric recognition and, at most, for private video meetings, the cheapest models will suffice.
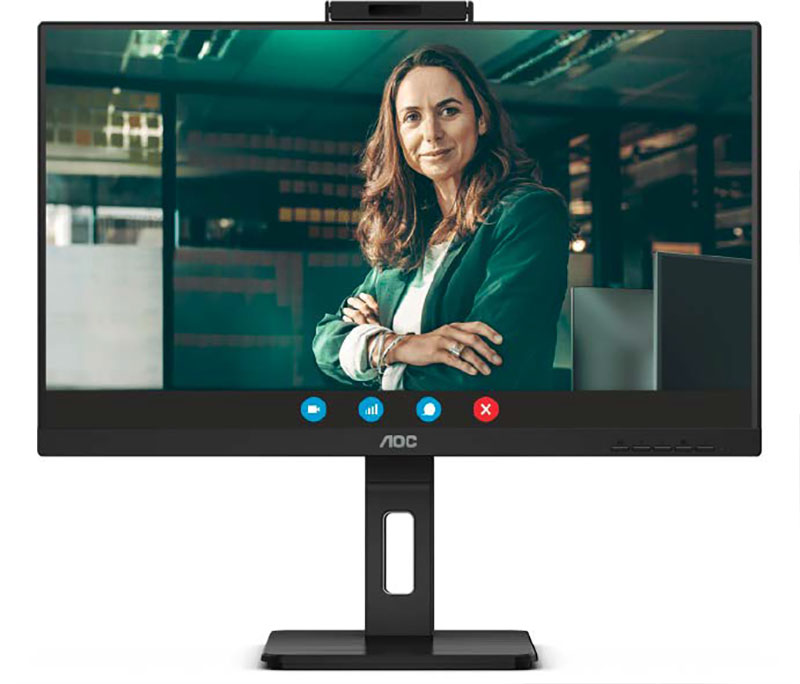
If you prefer a stationary camera that you want to use with different computers, a monitor with a built-in Windows Hello camera is recommended: 24-inch displays with this equipment cost between $200 and $300.
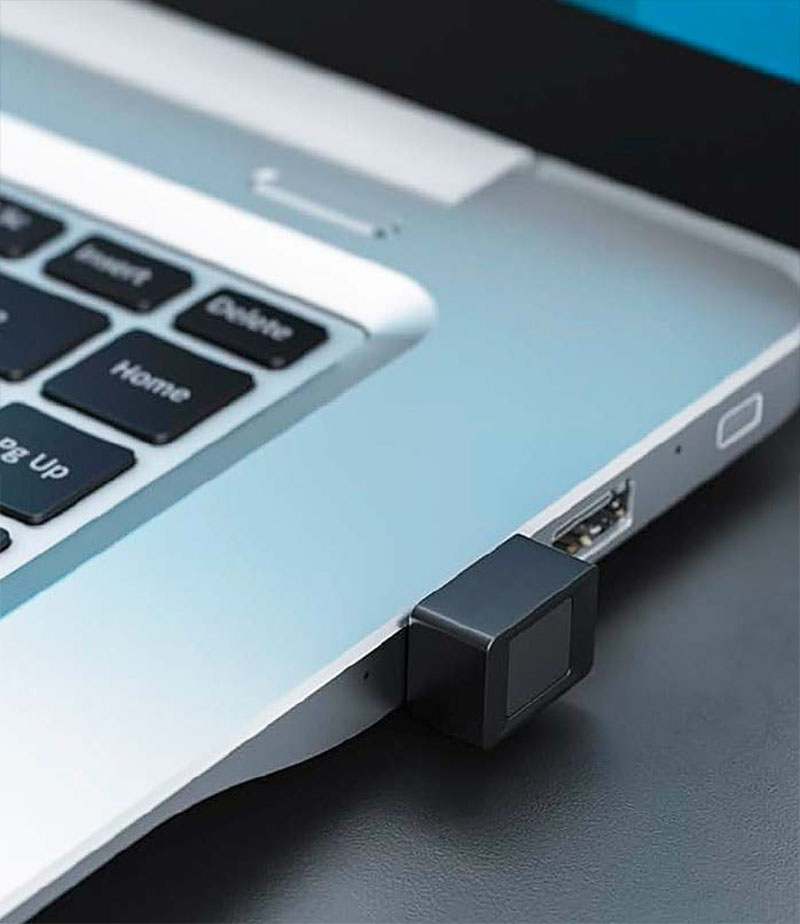
External finger sensors cost between $40 and $70. There are models for desktop PCs and laptops: You connect the desktop models to the computer with a longer cable. You can then position the sensor in the optimum place on the desk.
The notebook variants look like short USB sticks with an external surface for your finger to rest on. They can remain permanently attached to the laptop and are therefore particularly suitable for mobile use. Depending on the equipment, there are additional features in the sensor classes, for example a status LED that indicates directly on the sensor whether the biometric enrolment has worked.
Manufacturers provide detailed data on recognition performance, especially for biometric hardware for business use: In the technical information you will then find values for FAR, FRR, and TAR. FAR stands for the false acceptance rate if the sensor enrolls a person even though their biometric data does not match the stored data.
FRR is the false rejection rate for the reverse case, when the correct person is not registered. TAR represents the value for correct logins.
Microsoft specifies certain values for hardware so that it can be used for Windows Hello — for example, FAR below 0.001 percent and TAR above 95 percent. If you want to be particularly sure, you can choose a model whose manufacturer specifies better values for its product.
How to solve problems easily
If the biometric login is causing difficulties, you should first check for software updates, as with all security-relevant hardware: Therefore, install all available Windows updates as well as the latest drivers and firmware for the biometric hardware.
Windows Hello also only works if you are logged in with a Microsoft account: Recognition via this system function does not work with a local user account.
Another cause of problems when logging into Windows fails, even though the camera or sensor appears to recognize you, may be the TPM: This security chip in the computer stores the biometric data and keys for Passkey, so logging in will fail if it does not work.
Therefore, go to “Update & Security” (Windows 10) or “Privacy and Security” (Windows 11) in the Windows settings and then to Windows Security > Device Security. There, click on “Security chip details.” If the status in this menu is “Ready,” everything is fine.
Otherwise, click on “Troubleshoot security chip” to delete its contents. You will then need to set up the biometric login again.
IDG
There are often hardware problems with facial recognition if you use several cameras on a computer — for example, an external biometric USB camera together with the one built into the notebook lid.
Windows then often gets tangled up and activates the integrated camera, even though you need the external one to log in to Windows Hello, for example — this happens especially after the computer has woken up from sleep or hibernation mode.
The easiest way to solve this problem is to switch off the built-in camera. This can be done in the Windows settings under Bluetooth and devices > Cameras > Integrated Camera > Deactivate.
Alternatively, you can also use the Windows Device Manager: Right-click on the entry for the camera there and select “Disable device” from the context menu that appears.
Incidentally, it is not a mistake if a biometric camera appears twice in the Device Manager: You will then see one entry as a camera and another as an IR camera. This is because one piece of hardware is responsible for capturing images and the other for biometric recognition.