Yesterday, Microsoft initiated the rollout of the significant Windows 11 2024 Update for eligible devices deemed “safe” for the upgrade. However, the process has not been seamless. Users have reported issues with the Windows 11 24H2 update, including instances of Blue Screens of Death (BSODs). The frustrating part is that there is no single cause for these problems.
For example, Intel PCs with outdated audio drivers, specifically Intel Smart Sound Technology, are experiencing crashes post-update. Additionally, the Easy Anti-Cheat tool used in popular games like Fortnite and Asphalt 8 is also linked to these issues, along with the Safe Exam Browser and problems with fingerprint sensors. Moreover, functionality disruptions have been reported in various wallpaper applications, potentially leading to crashes and virtual desktop malfunctions.
As for solutions, this seems to be a compatibility issue that varies by software, so users are largely left to wait for developers to release updates to fix their respective problems. On the bright side, if your device is likely to be affected, Microsoft may delay rolling out the update to you until the issues are resolved. If you’ve already received the update and are facing instability, here’s how to proceed with the Windows 11 24H2 installation despite these challenges.
The 2024 Update introduces several exciting features, making it tempting to upgrade now rather than waiting for the gradual rollout. If you’re eager to proceed, there are two methods to force the installation of the update, but do so at your own risk, as potential blue screens are a possibility.
Using Windows Update:
- Open the Start menu by pressing the Windows key.
- Type “Check for updates” and press Enter to access Windows Update.
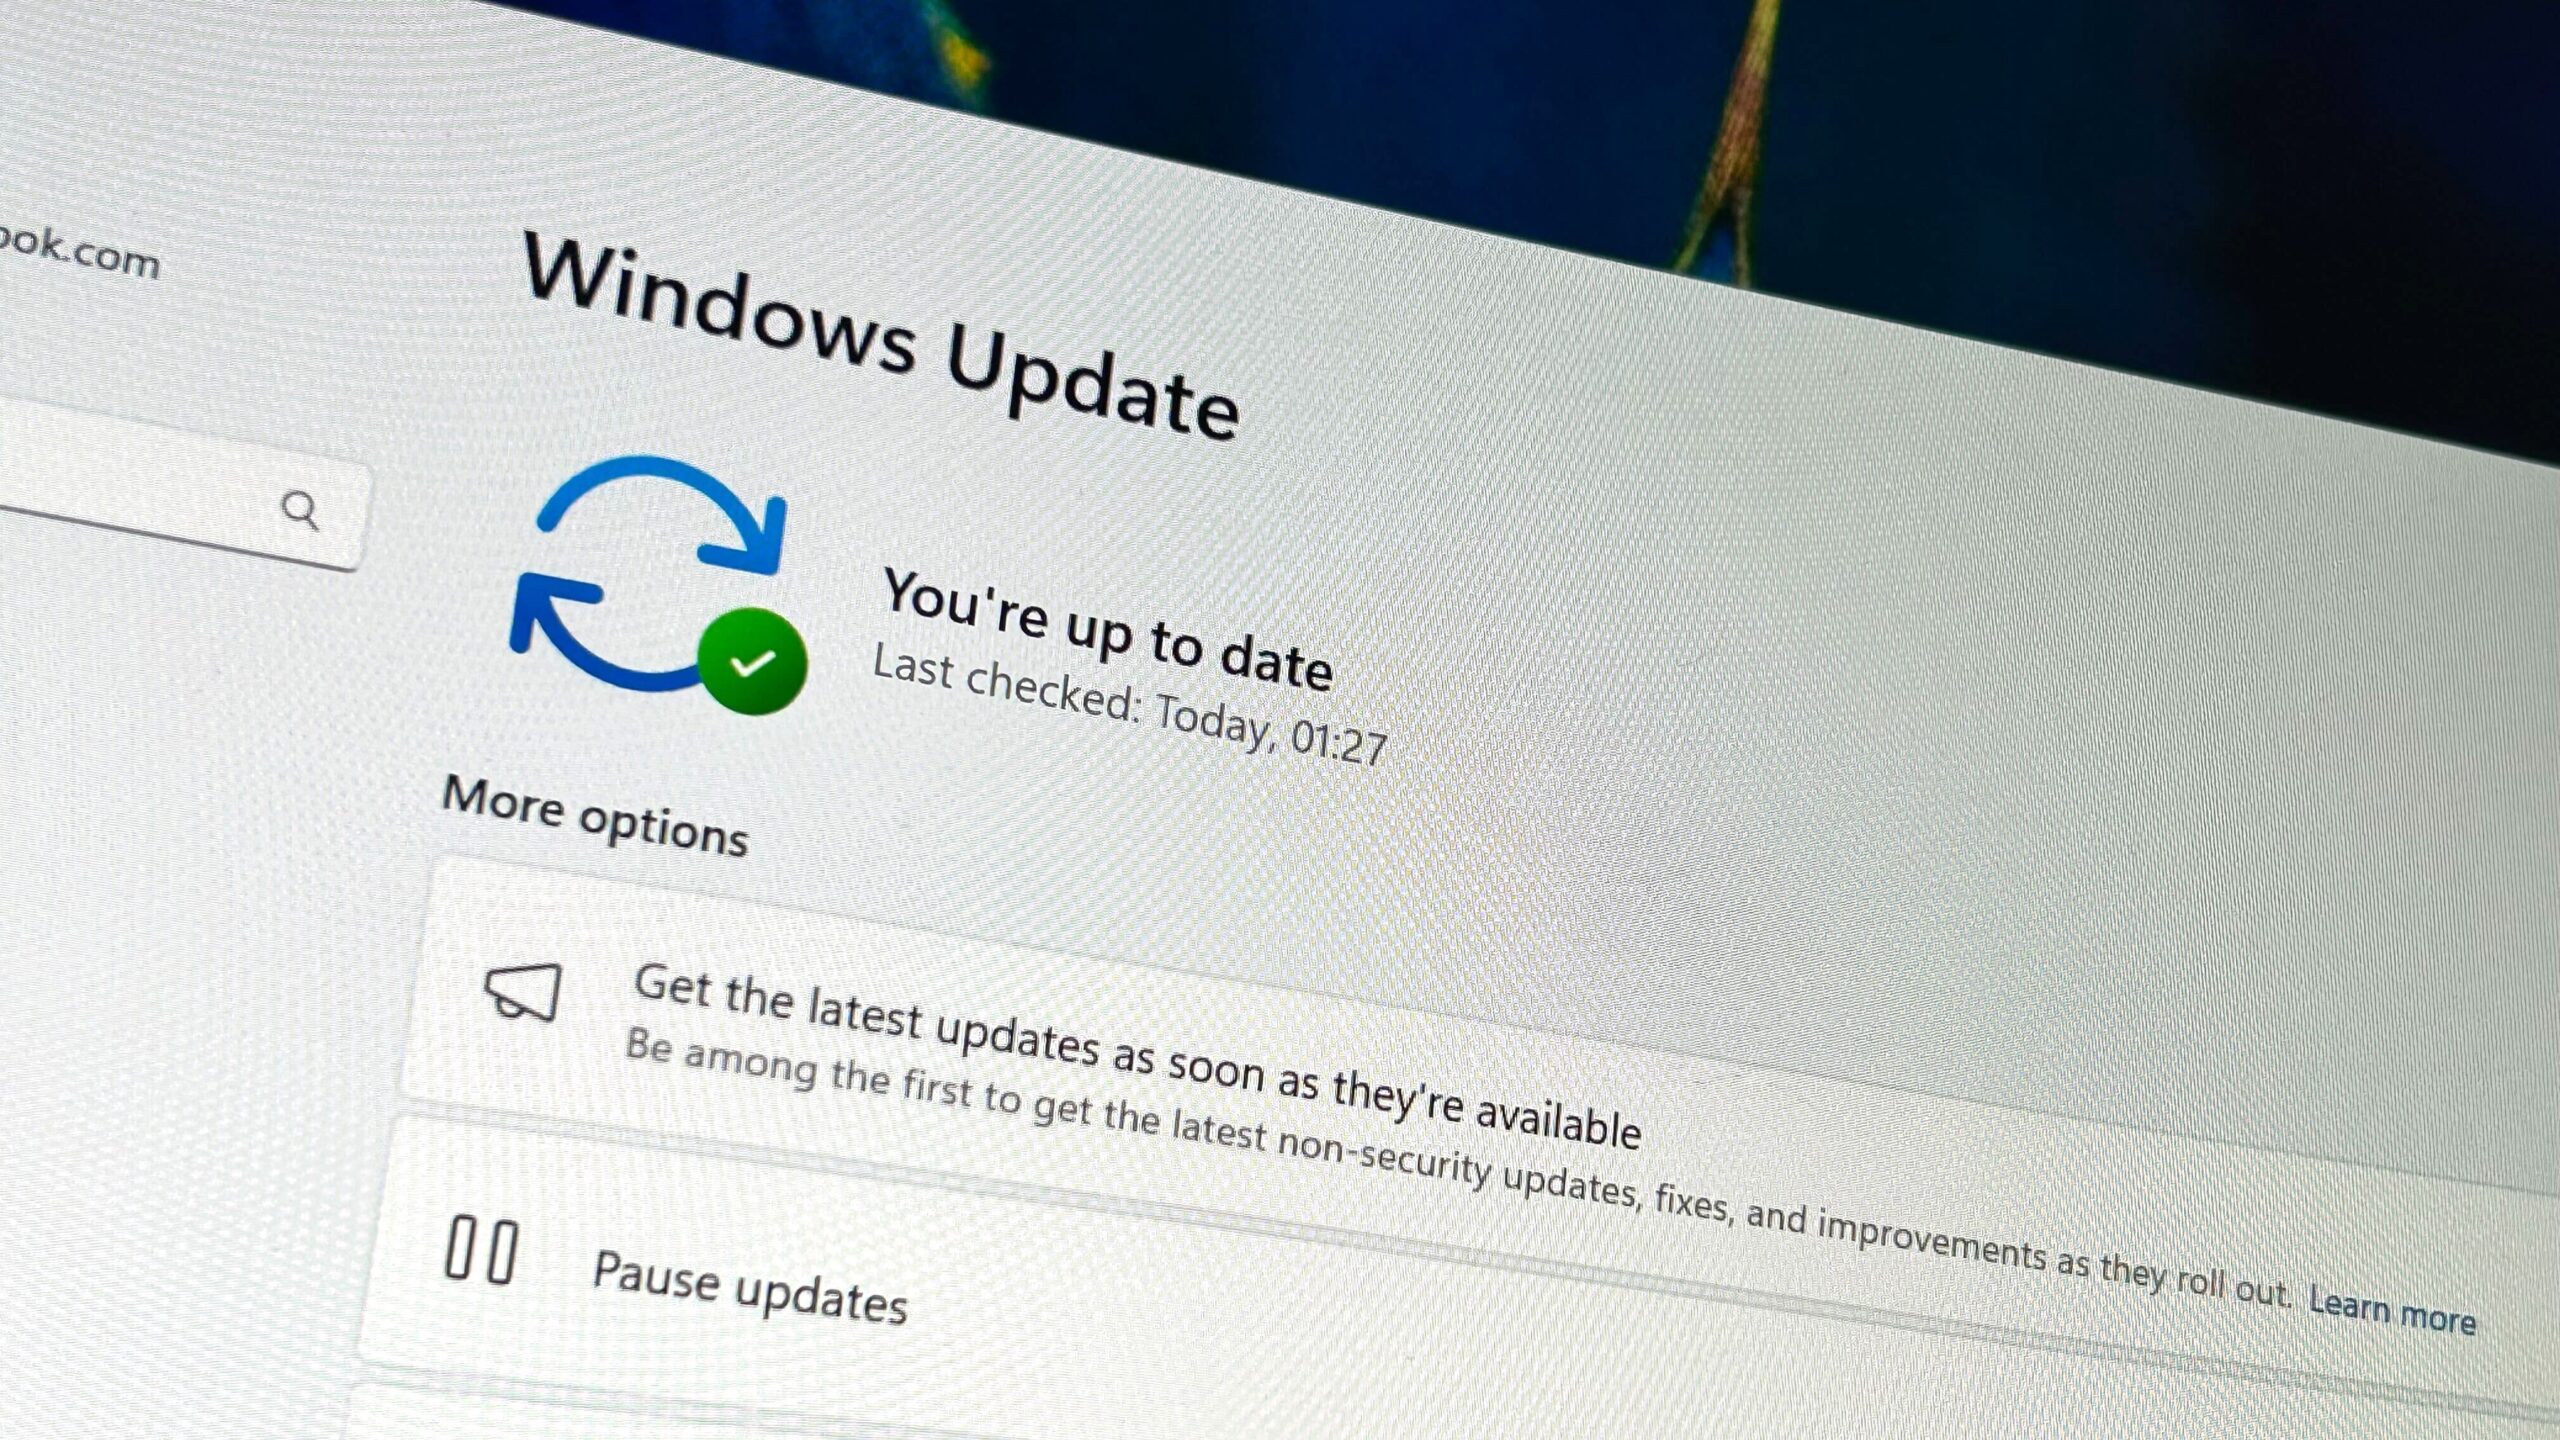
- Ensure the checkbox for “Get the latest updates as soon as they are available” is selected.
- Click on “Check for updates.” If the Windows 11 24H2 update is available, click “Download & install” and restart your PC when prompted.
Using the Windows 11 Installation Assistant:
- Navigate to the official Windows 11 download page.
- Under “Windows 11 Installation Assistant,” click the “Download Now” button to obtain the installer file.
- Double-click the downloaded file to run it.
- Select “Accept and install,” then follow the on-screen instructions. Your PC will restart once the installation is complete.
After the installation, you can verify your Windows version by opening the Start menu, typing “winver,” and pressing Enter. If the update was successful, you should see Build 26100 and version 24H2.