Tips to getting your monitor’s color up to speed!
One of the things that may hold you back from using an old monitor for gaming, photography, graphics editing, or some other visual purpose is that it’s not displaying the kind of vibrant color you want or will find in a new monitor.
There are different reasons that may be the case, ranging from your software settings to the hardware you are using. The good news is that most old monitors whose colors look washed out or inaccurate can be corrected to look a whole lot more colorful and vibrant. Here are the steps to follow to make that happen.
Ensure you have the right color profiles installed
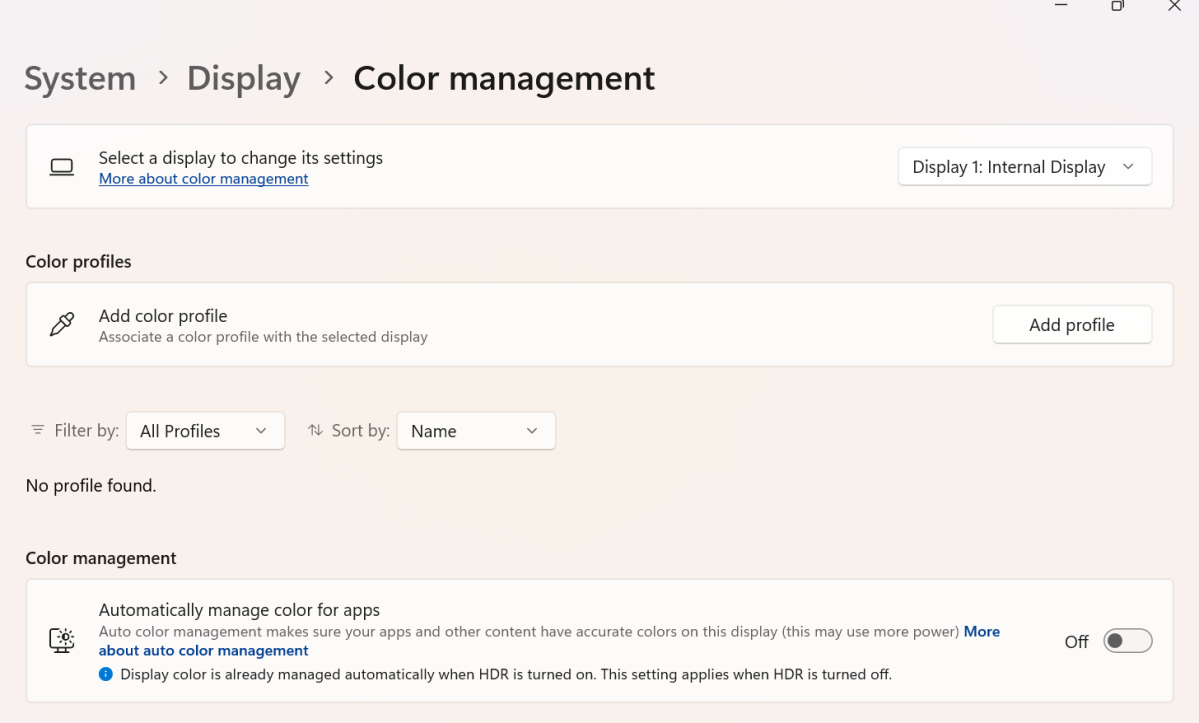
Windows 11 should automatically detect your monitor’s correct color profile and apply it, but if colors still don’t look right, there’s a chance the profile could still be wrong. You can update to the right color profile in Color Management in Windows 11.
However, first you may need to download the correct color profile drivers from your monitor manufacturer’s website. You can follow this guide to do both of these things.
Dominic Bayley / IDG
Calibrate your monitor in Windows 11
By calibrating your display using Window’s 11’s Display Color Calibration, colors will appear more accurate. Calibrating is kind of a lengthy process, so once again you’ll want to follow a step-by-step guide to safely see you through.

Dominic Bayley / IDG
Adjust the color setting on the monitor itself
To adjust colors on your monitor itself, locate the menu button and click it to bring up a list of options you can tweak. The ones to look out for here are “Color,” “Contrast,” and “Brightness.” Adjust these settings until the colors look as strong and vibrant as possible.
Check your cables
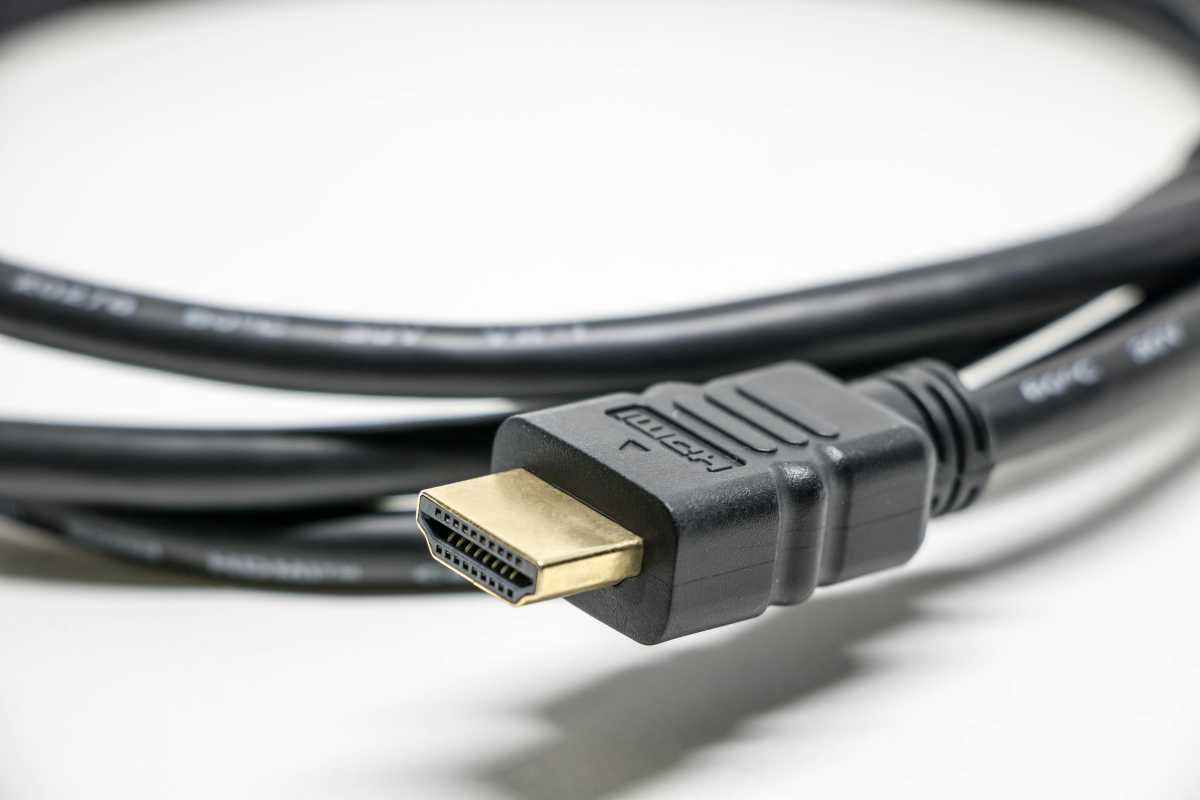
If the cables between your video card and your PC, or your PC and monitor are cheaply made or defective your color problems may be due to signal loss from those cables. If you suspect you’re experiencing signal loss, simply swapping out the cables for better ones may fix your monitor’s color issues.
Set your monitor’s native refresh rate
A monitor not set to its native refresh rate can be a little-known culprit behind a monitor displaying washed-out color. One YouTuber only managed to identify the problem after trying a bunch of other fixes that didn’t work.
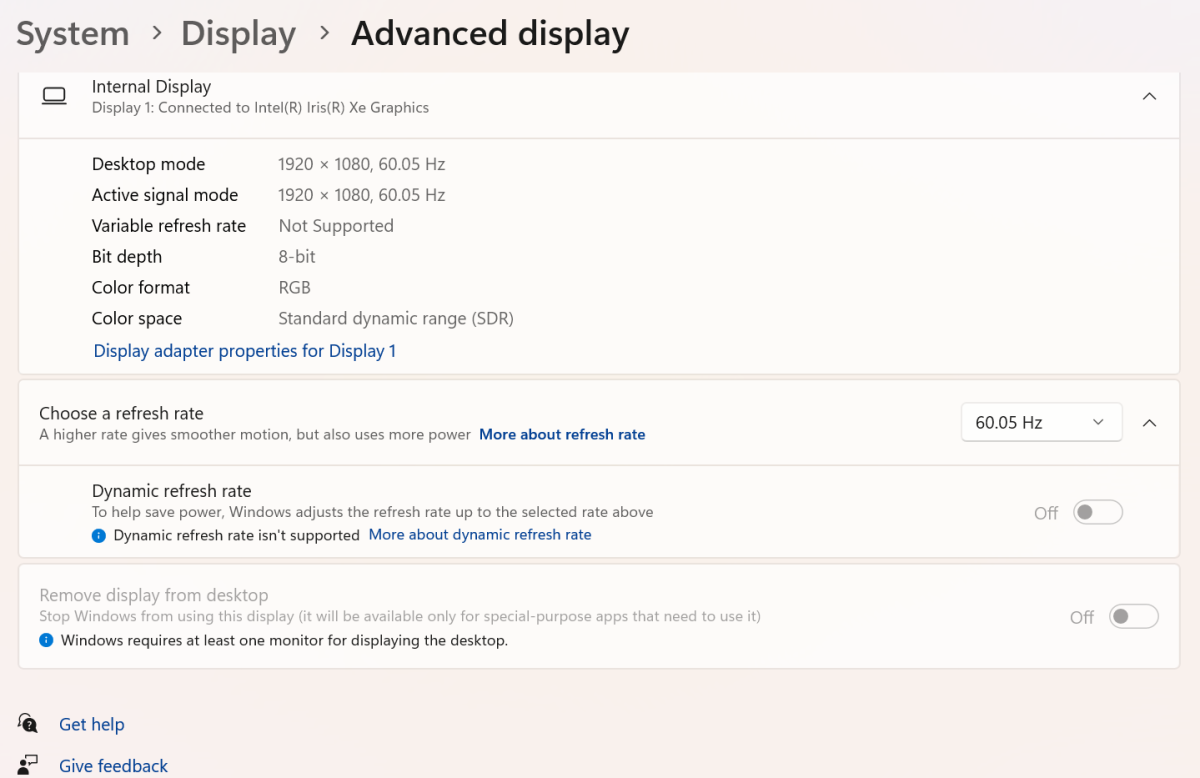
To change the refresh rate on your monitor in Windows 11, open Settings and click on System. Now click on Display then Advanced Display. Select your monitor’s native refresh rate from the drop-down menu next to Choose a refresh rate, to set it as so.
Dominic Bayley / IDG
An extra step if you have a video card…
If you have an Nvidia graphics card: Follow the steps above and then apply this extra tweak. Open up Nvidia Control Panel and select Adjust Desktop Color Settings. Now raise the slider for Digital Vibrance from what it was up to about 65. The colors on your display should look richer, brighter, and cleaner.
If you have an AMD graphics card: Owners of PCs with AMD Radeon RX Series graphics cards or AMD desktop processors with Radeon graphics running Windows 10 or later, can improve their monitor’s color with Display Color Enhancement and Color Deficiency Correction in AMD Software: Adrenalin Edition. Any color changes can be made globally or applied specifically to individual games.
If you’ve made these changes, you should now have an old monitor that looks colorful enough for just about anything you need it for. Now the only thing left to do is decide how best to use it.


