Rufus creates bootable USB sticks for Windows, Linux, and other OS.
Rufus is an open-source program that creates bootable USB sticks for Windows installation and more. Compared to Microsoft’s Media Creation Tool, Rufus offers many more options for configuration setup. If you’re interested in such a program, we’ll show you how to use it.
Why is Rufus better?
With the Media Creation Tool, Microsoft provides its own software to configure USB sticks for installing Windows 10 or 11. So, why do you need Rufus at all? I’ll tell you why.
Rufus is not limited to installation media for Windows, but also supports Linux, live, and emergency systems as well as other bootable ISO files. In addition to the ISO format, Rufus also processes Virtual Hard Disks from Microsoft (VHD) and disc image files (IMG). This tool enables bios updates from DOS directly from the stick as well.
Rufus
Many older computers and mainboards require this update mode. However, Rufus is the better choice for installing the Microsoft operating system compared to the Media Creation Tool. During Windows setup, you can clearly choose between real Uefi and Bios compatibility mode.
Secondly, the hardware requirements of Windows 11 can be easily bypassed and the current operating system can be installed on older computers.
Thirdly, the tool downloads the desired Windows version directly and processes it immediately. And, finally, Rufus allows the complete Windows installation on the stick, i.e. a “Windows to go.”
Normal or portable version?
Two versions for Windows (64-bit) are available for download on the Rufus website. One of the two is labelled “p” for portable. In other words, it’s a program that starts directly without installation. Is there a difference between the two versions?
In principle, there’s no difference and at first glance this is confusing. This is because the “normal” version also starts directly and without installation. However, the automatic update check is switched off for the file labelled as portable while the other checks daily whether a new program version is available.
The update check can be switched on and off in the program settings. The same applies to the extended drive properties and the extended formatting options, both of which are hidden by default in the portable version.
Note: The file labelled “x86” on the website is suitable for earlier 32-bit versions of Windows, the file labeled “arm64” for Windows on the (new) ARM basis.
Stick for Windows installation
If Rufus offers more setting options than Microsoft’s Media Creation Tool, doesn’t that make configuring the installation stick unnecessarily complicated? No, not at all!
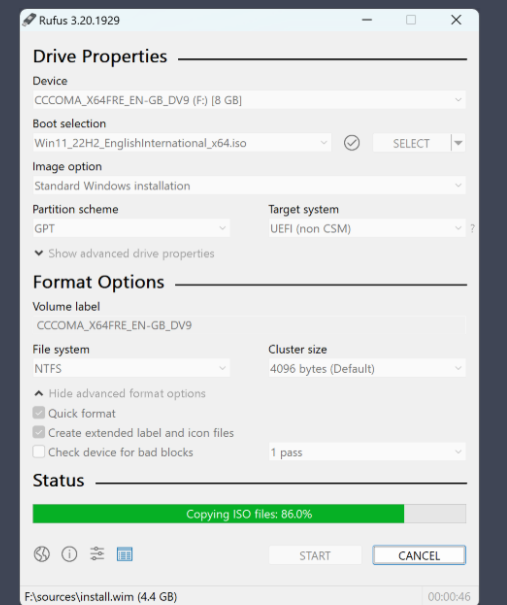
If you hide the advanced drive properties and formatting options already mentioned, Rufus shows the reduced interface shown in the picture (above). A USB stick with at least 8GB of storage capacity is required for the Windows installation. As soon as it’s inserted in the computer, it appears at the top under “Drive.”
Use the “Select” button to integrate the desired Windows ISO. You can obtain this from the official Microsoft download page. Accept the remaining default settings–this applies in particular to the partition scheme, target, and file system.
To do this, click on “Start,” confirm the other dialogue windows, and wait until Rufus has written to the USB data carrier. Then close the program interface. The stick configured in this way is bootable and can be used both for a new Windows installation and upgrade.
Important: When using Rufus, the previous content of the USB stick will be overwritten and deleted. Therefore, please back up important data stored on it separately beforehand.
Uefi or CSM compatibility mode
Rufus’ settings allow the Windows installation to be clearly set to the modern Uefi or the older Bios compatibility mode.
If you install Windows on an older computer using Microsoft’s Media Creation Tool, you often do not know in advance how the system will be installed: Whether in the older CSM compatibility mode (Compatibility Support Module, also known as “Legacy”) with the MBR hard disk partition scheme or in modern Uefi mode and the GPT partition style. You can view this later in the Windows settings, but depending on the hardware and Bios/Uefi settings, you may not be able to influence it.
Rufus, on the other hand, allows you to define the partitioning scheme from the outset and, correspondingly, the operating mode specified in the “Target system” tool. Whenever possible on the part of the mainboard or the Bios/Uefi, you should select the settings “GPT” and “UEFI (without CSM).”
Only if booting and the subsequent Windows installation fail and this cannot be rectified by changing the Bios/Uefi settings, create a new stick with the Rufus combination “MBR” and “BIOS (or UEFI-CSM).”
Tip: If explicitly requested, Rufus also offers the option of configuring the stick for Windows installation in dual mode. This allows the mobile data carrier to be used on UEFI and legacy hardware.
To do this, press the Alt-E key combination and Rufus will briefly display the confirmation message “Dual UEFI/BIOS mode enabled” at the bottom. The partition scheme is now set to “MBR” and “BIOS or UEFI” to the right.
Install Windows 11 despite hardware requirements
Microsoft has significantly tightened the system requirements for Windows 11 compared to the previous version. However, with the help of Rufus, the current operating system can also be installed on formally unsuitable PCs.
Windows 11 can initially only be installed on computers that fulfill Microsoft’s system requirements.
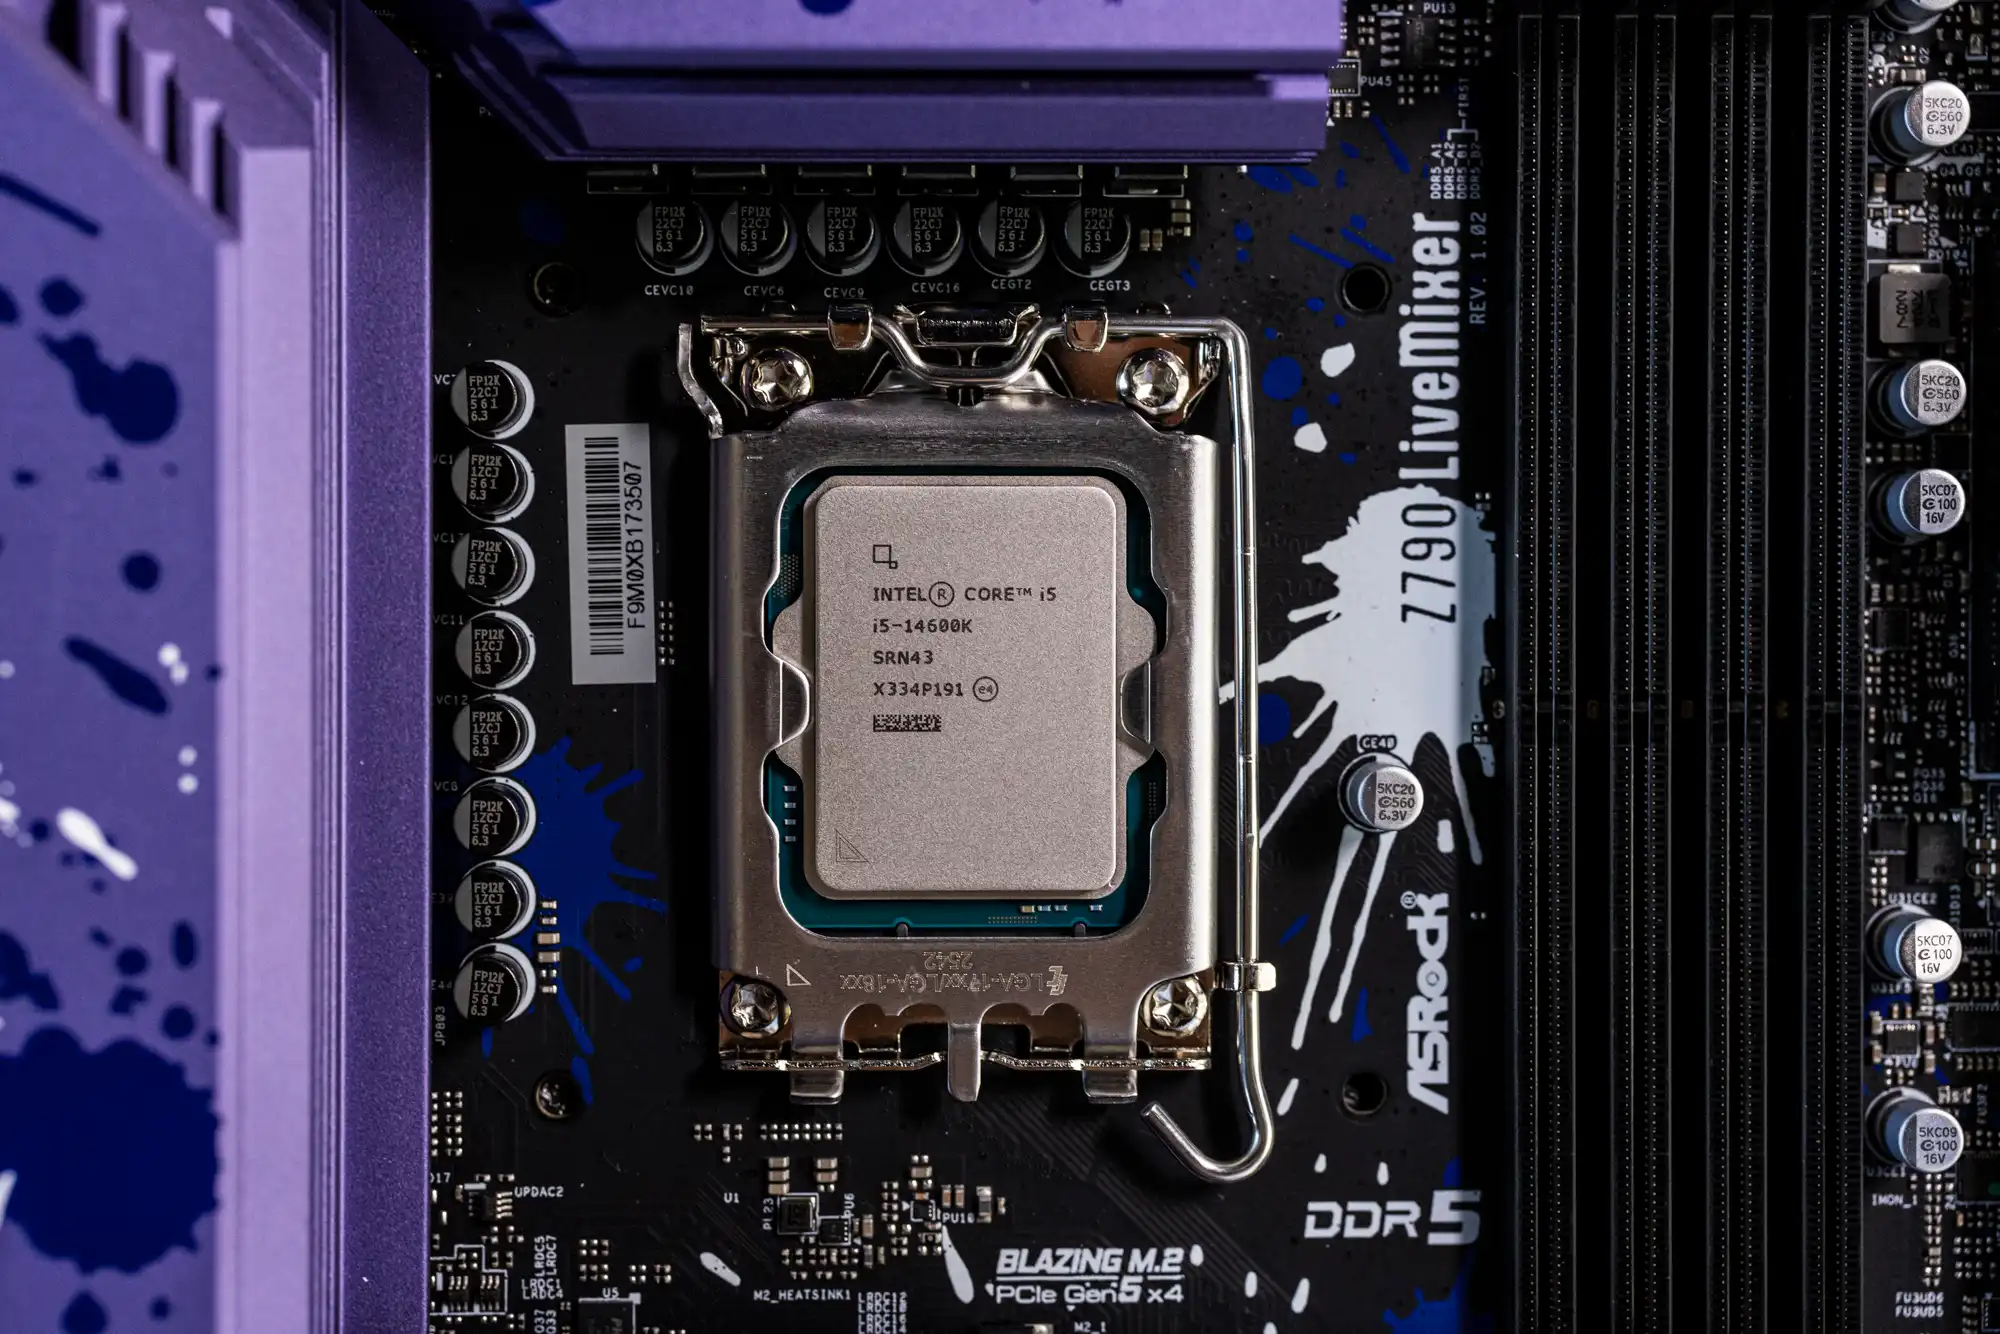
These include Uefi operation, Secure Boot switched on, a Trusted Platform Module (TPM) version 2.0, and a compatible processor. For the common Core i CPUs from Intel, this must be at least generation 8.
However, as the previous generation 7 models are also suitable for Windows 11 in principle, it makes sense to switch off the hardware check during setup. This makes Rufus particularly easy.
After loading the Windows 11 ISO file and inserting the USB stick, click on “Start” on the program interface as described. This opens a dialogue box in which the option at the top is important. “Remove requirement for 4GB RAM, Secure Boot and TPM 2.0” skips the hardware check when installing or updating later. You can also deactivate the requirement for an online account and the automatic encryption of the hard drive here.
Setup I: Completely reinstall Windows
Because Rufus automatically makes the Windows stick bootable, the Microsoft operating system can be freshly installed without much effort. To do this, insert the installation stick into the switched-off computer, switch it on, and press the button with which you can select the USB data carrier as the boot medium.
Instead of booting from the hard drive as usual, the computer will now boot from the stick. The button is specific to the PC, mainboard or manufacturer, and is usually displayed briefly on the monitor when booting up. On older PCs, the boot sequence may have to be changed in the bios.
After booting from the mobile data carrier, Microsoft’s setup wizard starts. Among other things, you specify the partition on which the operating system is to be installed. Make sure you select the correct partition as the destination so that you do not accidentally delete the data on another partition. The current version 24H2 of Windows 11 requires your explicit consent to “delete all files, apps and settings” for the first time.
However, this only applies to the partition selected in the next step for the Windows installation, not to the other hard drive areas.
Setup II: Upgrading Windows 11
Upgrading a running Windows system is easy in itself, but there is one point where you need to pay close attention. On newer computers, the annual major function update — for example from Windows 11 23H2 to version 24H2 — is carried out via the normal Windows update. The same applies to upgrading from Windows 10 to 11.
However, if the hardware does not fulfill the system requirements of the newer operating system, this type of update will fail. This is where the setup stick modified with Rufus can help.
To upgrade, plug the stick into the running computer, and double-click the “Setup.exe” file on the mobile data carrier. It’s now important to select the option “Change how updates are downloaded from Setup -> Not now” in the first dialogue window.
Only then do you start the actual update by clicking on “Accept.” You may also see the message “What you should take care of.” In this case, click on “Accept” and the upgrade will start with the transfer of all programs, files, and settings.
Download installation files
Rufus also allows you to download the Windows 10 and 11 ISO files for the installation stick directly, but this option may be hidden depending on the settings.
Instead of first downloading the ISO files for Windows 10 or 11 from Microsoft and then integrating them into Rufus from your hard drive, you can do this directly in the Sticktool. To do this, click on the small black arrow to the right of the “Select” button on the user interface and switch to “Download.”
If you do not have this option, first click on the small “Show application settings” button at the bottom. This is the second of the four buttons on the right. Set the “Check for new version” option to “Daily (default)” and close the window and program.
After restarting Rufus, click on the arrow and “Download” to select the current version of Windows 10 or 11, start the download and then create the boot stick for the Windows installation as described.
Windows-To-Go
Microsoft has discontinued “Windows to go,” but Rufus still enables the complete installation of the system on the USB stick to take with you.
Always having your personal Windows on the USB stick with you sounds practical, but has a decisive disadvantage compared to the permanently installed system on the hard drive. It’s much slower.
If you still want to try it out, you can create a to-go stick with Rufus. This should have at least 16, preferably 32GB of storage space.
After plugging in the stick, integrate the desired and previously downloaded ISO file on the Rufus interface via “Selection.” Below this in the “Image property” field, switch to “Windows To Go,” check the other options, and click on “Start.”
In the next steps, specify the Windows version (essentially Home or Pro) and a few other settings. Finally, click on “OK” to create the stick with the system to go.

