Many folks use Google to manage their contacts. This means they can access them at any time on their computer using the browser and have the latest version of the database available on their Android devices at the same time.
Unfortunately, there’s no automatic synchronization with the Microsoft Excel program. To use the contacts in the Office tool, you have to export them from Google and import them back into Excel. Not sure how to export your contacts? We’ll guide you every step of the way.
How to export your contacts
To export your contacts, first log into your Google account and open the Contacts list. If you move the mouse over the individual entries, a checkbox will appear in front of each one.
Tick all of the contacts that you want to transfer to Excel. Otherwise, Google will export the complete list.
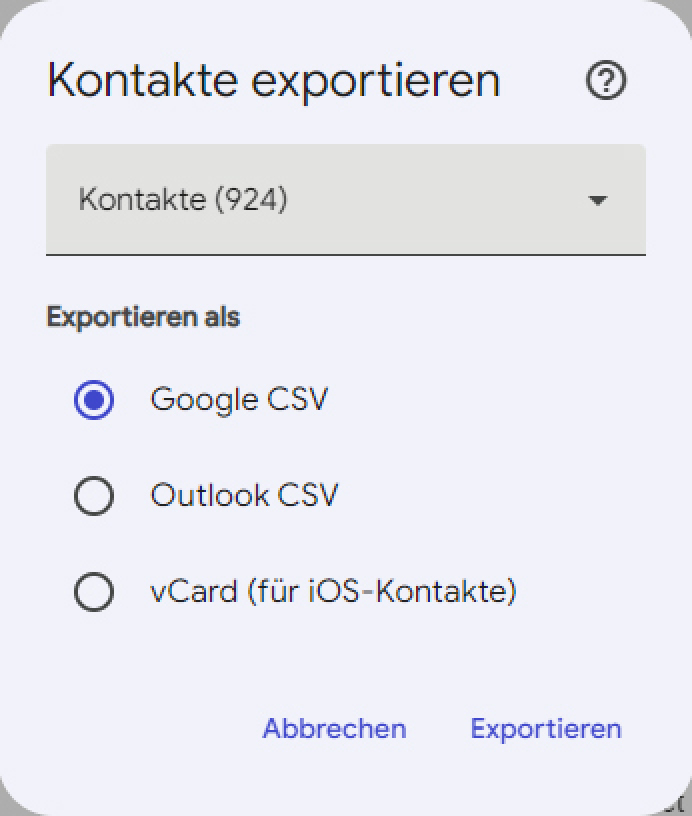
Click on the Export icon at the top of the list. It’s the second from the right and shows a small tub with an arrow pointing upwards. A dialogue window offers you the formats Google CSV, Outlook CSV, and vCard.
Leave the default setting as Google CSV and click on Export. Your browser will then save a file called contacts.csv in your download folder.
IDG
You could load the data from this CSV file directly into Excel with a double-click, but then you’d have to correctly allocate the data in the table. Fortunately, we’ve come up with a better method.
Open a new Excel workbook and switch to the Data ribbon. In the Retrieve and Transform Data section on the far left, click on From text/CSV.
Click through to the contacts.csv file, which is usually located in the C:\Users\[username]\Downloads folder. Double-click on the file.
Excel will show a preview of the table. Click Load to transfer the data to Excel. Delete the columns that you do not need by right-clicking on the column letter at the top and selecting Delete Cells.
The column titles will appear in English–this is how the data is stored internally by Google. To edit a title, click on it once with the left mouse button and correct it in the input line. The last step is to save the table in XLSX format using File > Save.