Getting a new phone is an exciting experience, but setting it up can sometimes be daunting, especially with so many features and options available. Don’t worry though as most Android phones and Android tablets will guide you step-by-step through the setup process.
Due to the interfaces that various manufacturers add, the experience may differ slightly, depending on the brand of your device and which version of Android it is running. They are all very similar though, so the instructions below should still be relevant for most of the steps. For this tutorial we are using Android running on a Google Pixel phone.
- Time to complete: 15 minutes
- Tools required: Android phone, SIM card, Wi-Fi connection
Select a language
Henry Burrell / Foundry
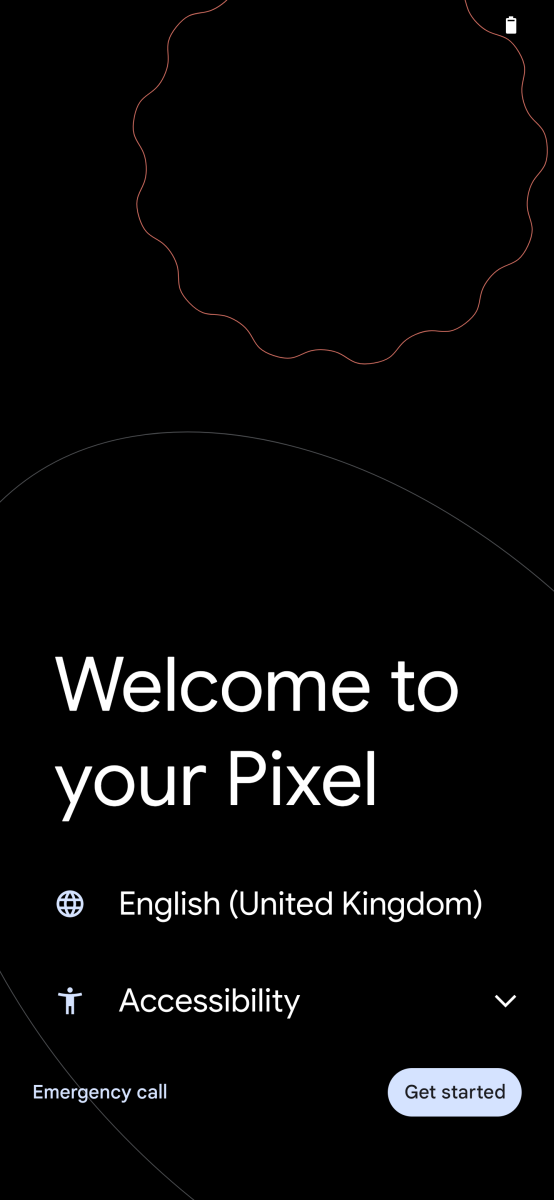
First of all your phone will ask you to select a language. This will display throughout the setup process and all the phone’s menus, so pick the right one!
Here you can also select vision and voice modes if you require accessibility features to be turned on throughout your use of the phone.
Tap ‘Get started’ to move to the next screen.
Insert your SIM card
Henry Burrell / Foundry
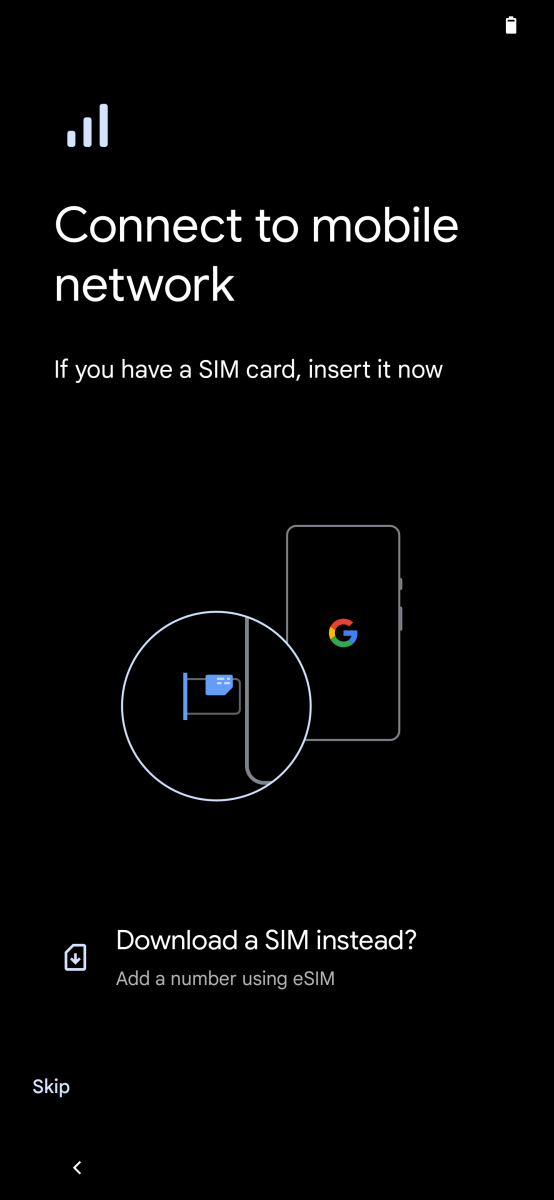
Here you are prompted to connect to a mobile network. You can do this by putting a SIM card into your phone.
In the packaging there is likely an ejector tool to put in the SIM slot hole to remove the tray. Most modern smartphones takes nano SIM cards, the smallest possible size.
Insert the SIM card you either have just got or the one form your old phone. If your device is unlocked for use on any network, or locked to the network of that SIM card, the phone should recognise the SIM card, giving you access to your mobile plan.
Some phones will allow you choose to download an eSIM instead. This is an electronic SIM stored on the phone without the need for a physical card. Not all phones will give you this option.
If you don’t have a SIM card or don’t want an eSIM, you can tap ‘Skip’ to set up the phone without a mobile network connection using only Wi-Fi.
Connect to Wi-Fi
Henry Burrell / Foundry
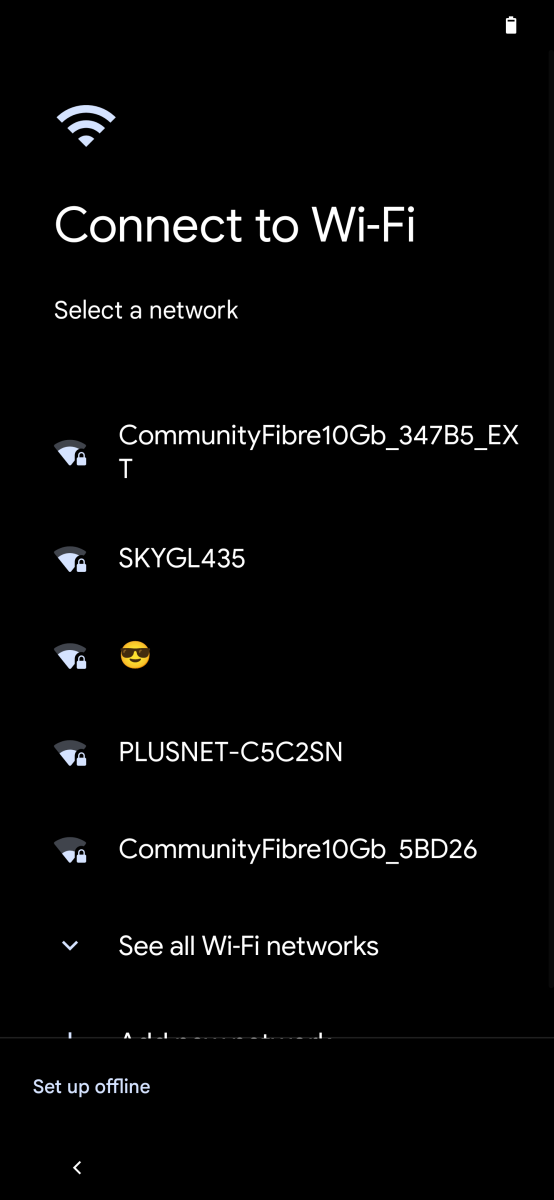
You can connect to Wi-Fi now, whether you added a SIM card to your phone or not.
Tap the Wi-Fi network you want to connect to, and then enter the network’s password. If you don’t know it, it can usually be found on the back of the Wi-Fi router.
Your phone will then connect to Wi-Fi and continue to set up
You can opt to ‘Set up offline’ if you wish, but you won’t be able to log in to your Google account without a mobile data of Wi-Fi connection. This is necessary in order to download apps and use the phone online.
Copy data from old phone
Henry Burrell / Foundry
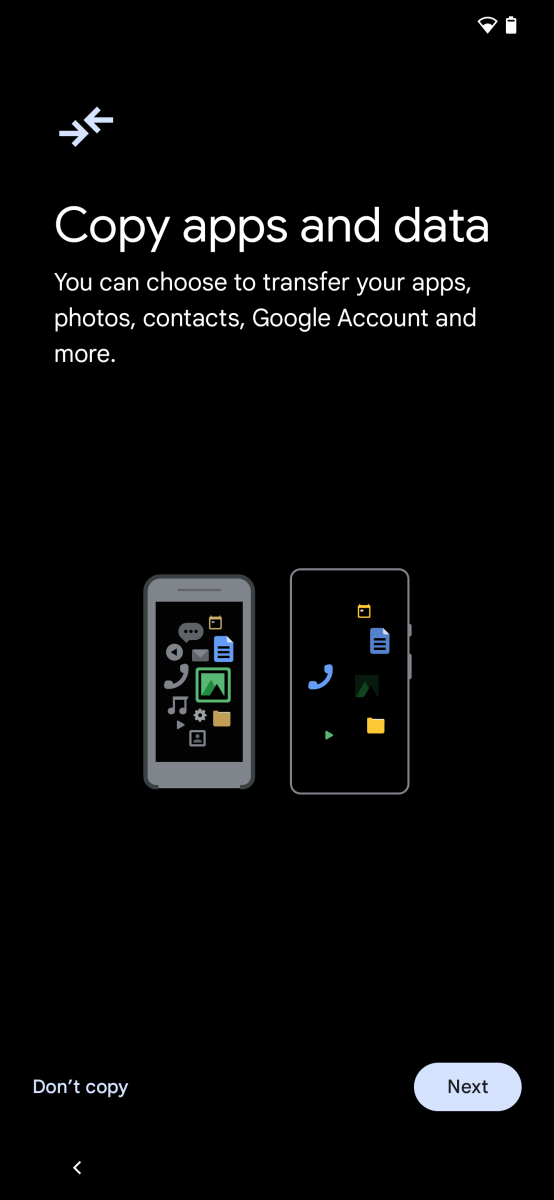
Next the phone will give you the option to copy apps and data over from your old phone. This includes your Google account, and also data such as text messages, photos, videos, apps, and settings.
You can select ‘Don’t copy’ here if you wish to set up the phone as new with no old data, or ‘Can’t use old device?’ if you do not have access to your old phone.
If you want to copy data, tap ‘Next’.
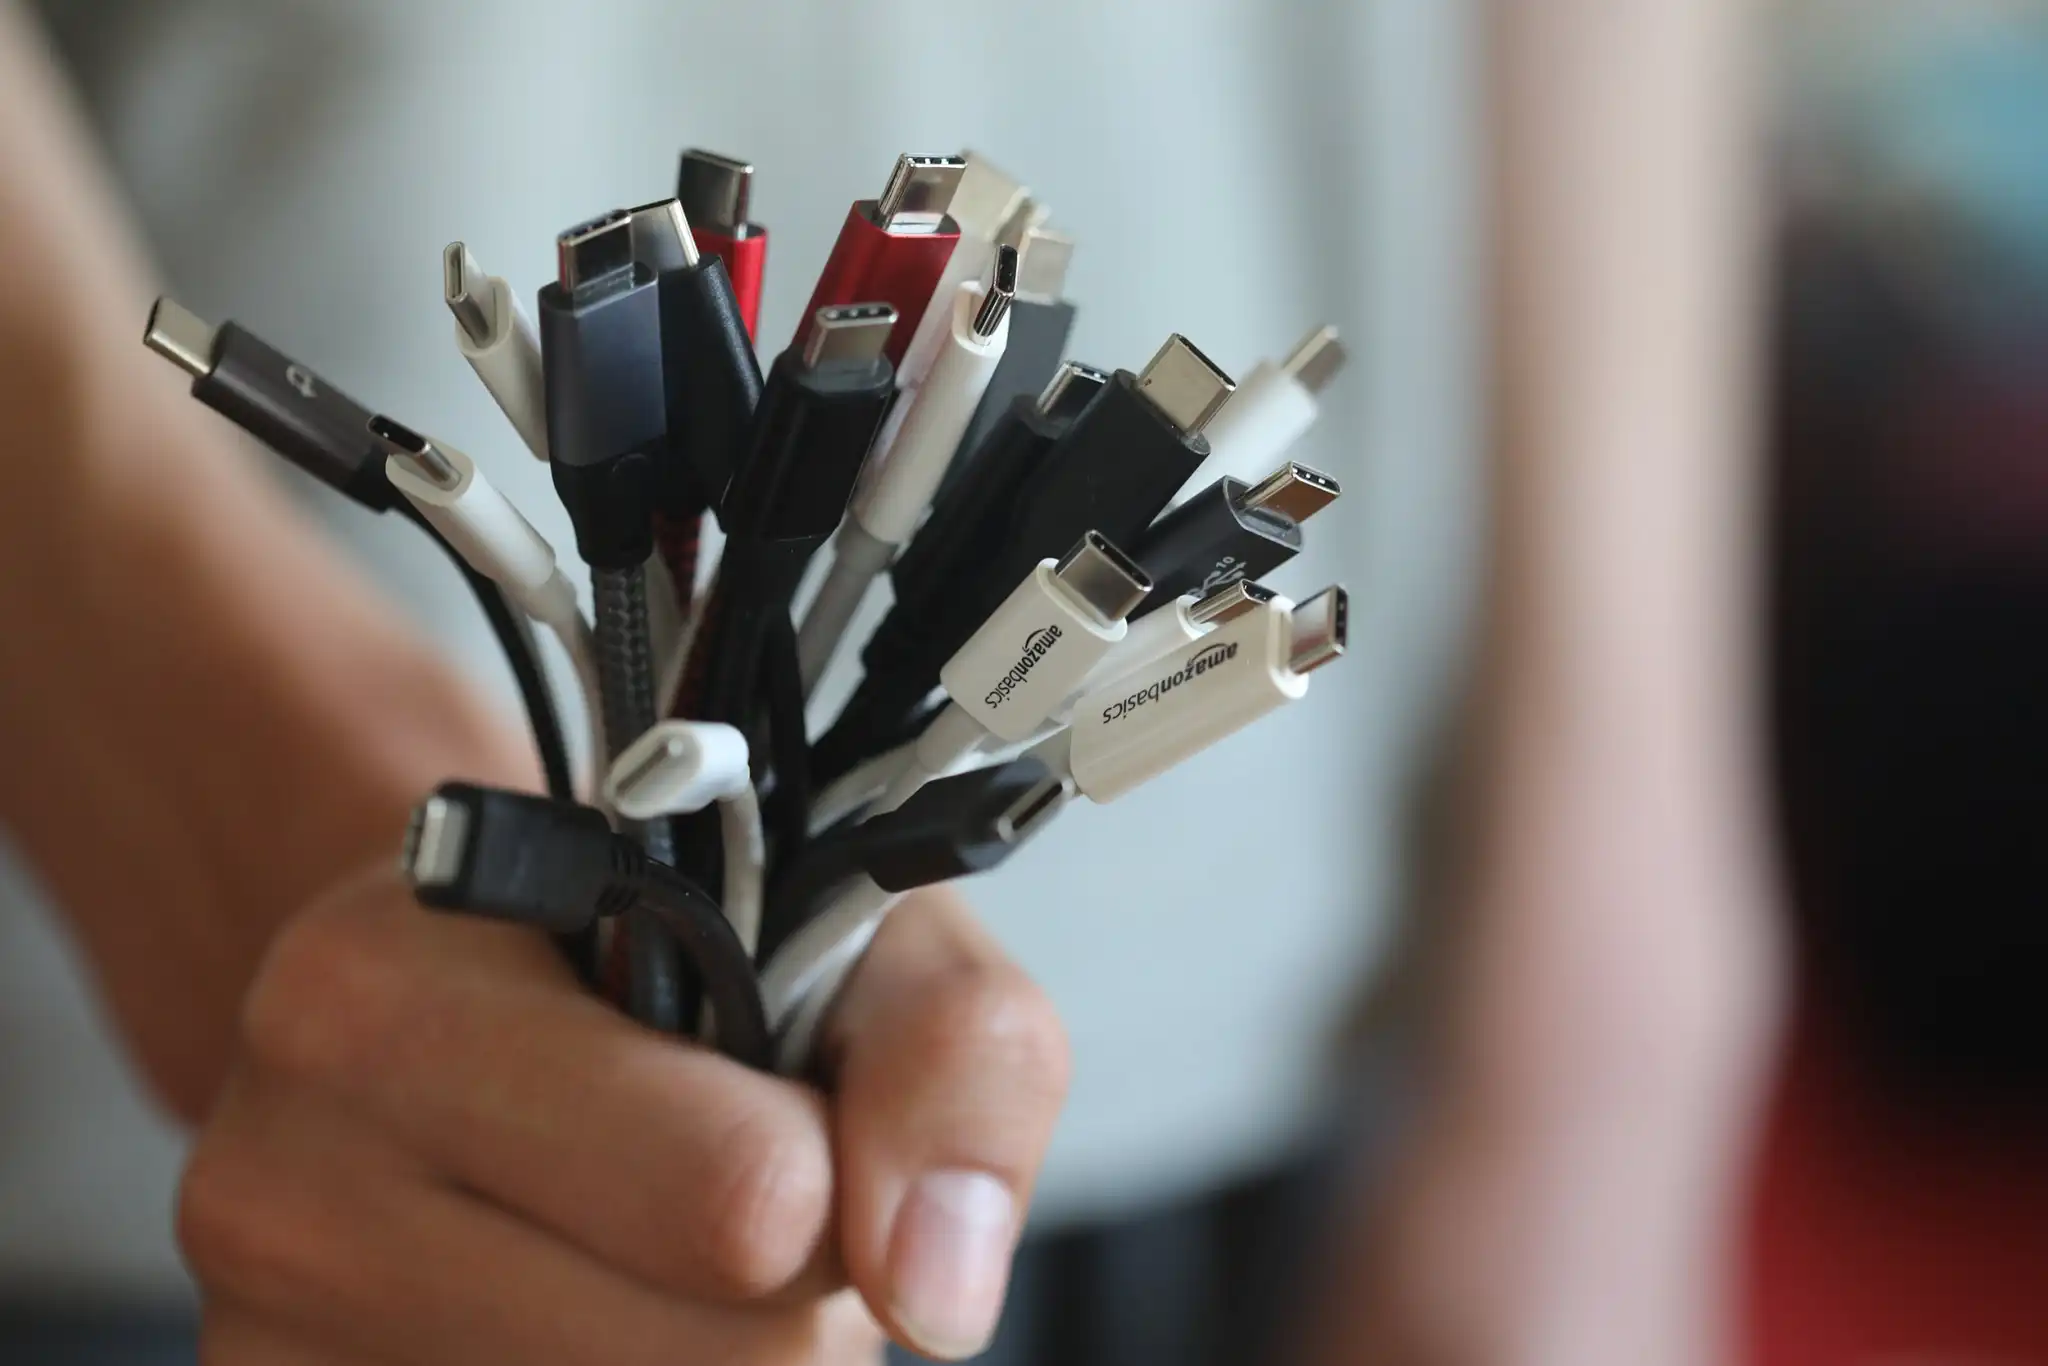
You can then use your old device to copy over data. First, the phone will suggest you will need the correct cable to do this.
If you have a cable with the two correct port connections, you can tap ‘Next’ and follow the on-screen instructions.
If you do not have the correct cable, you can still copy your data, but it will take longer. Tap, ‘No cable?’ or ‘Copy without cable’.
The set-up will give you different options depending on which you choose. You can copy data from an old Android phone or an iPhone, too.
This stage can take several minutes, depending on how much data you want to move. Be patient!
Add Google account
Henry Burrell / Foundry
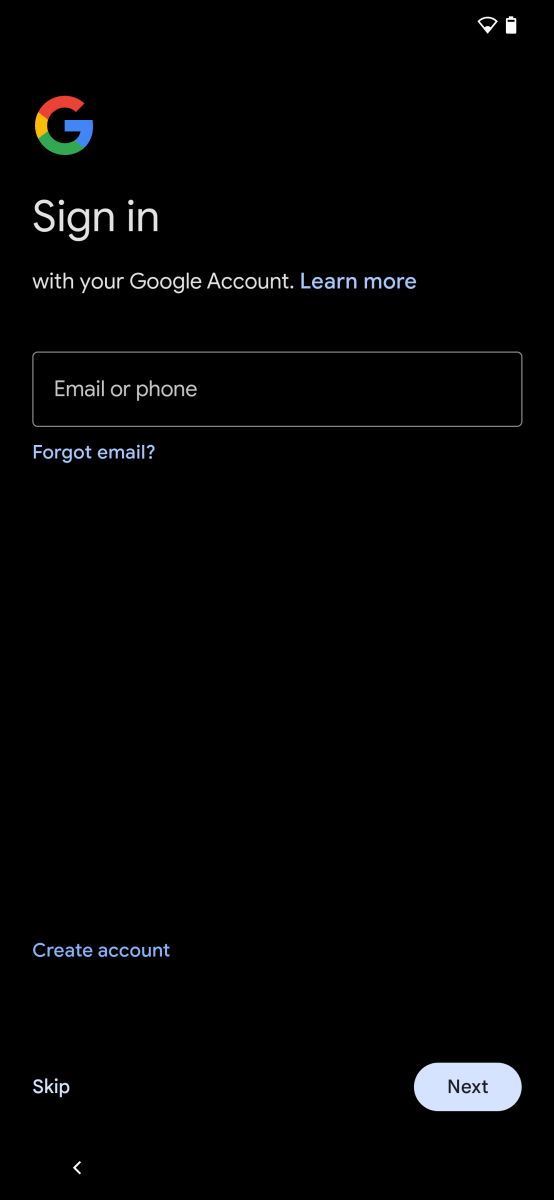
No matter which option you choose from the last step, at some stage, the phone will prompt you to sign in to your Google account. If you don’t have an existing one, you can create one here. This will give you a Gmail email address necessary to use an Android phone.
You can then select what you want to copy over from your old phone. You can select as much or as little as you want.
Accept Google settings
Henry Burrell / Foundry
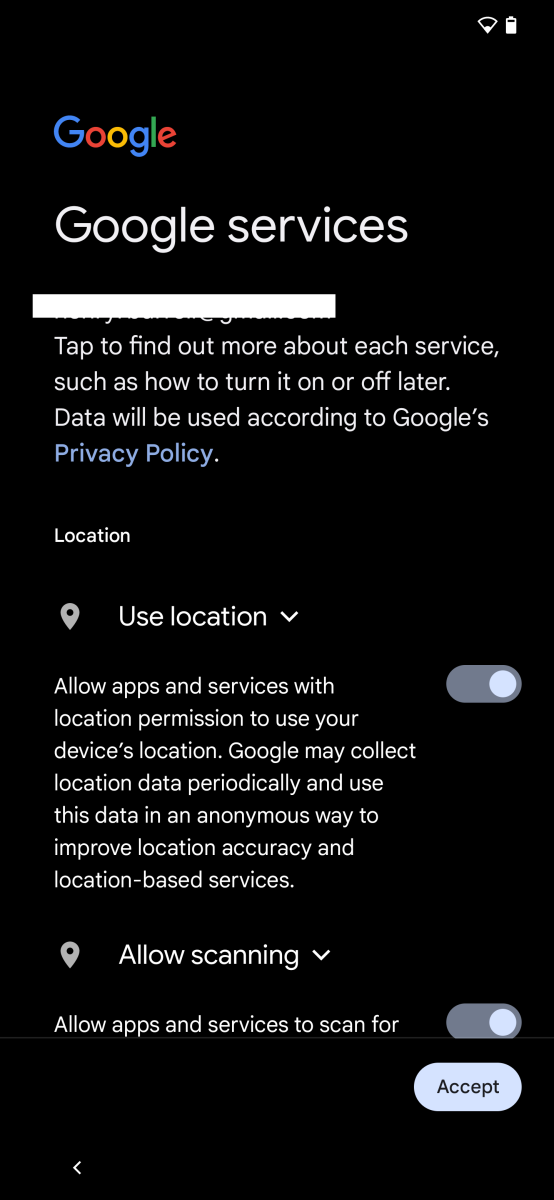
After you’ve copied across data from another phone or skipped that step, your Google account will be added to this phone
Here the set up will ask you whether you want to turn on things like location services, app scanning, and whether to send usage and diagnostic data to Google.
You need to select yes to location and app scanning if you want all the services to work properly on your phone. you can always stop certain apps from accessing your location later if you don’t want them to. Think of this step as a master ‘on’ switch – you need to say yes if you want commonly used apps like Google Maps to work.
Tap ‘Accept’ when you’ve selected what you want.
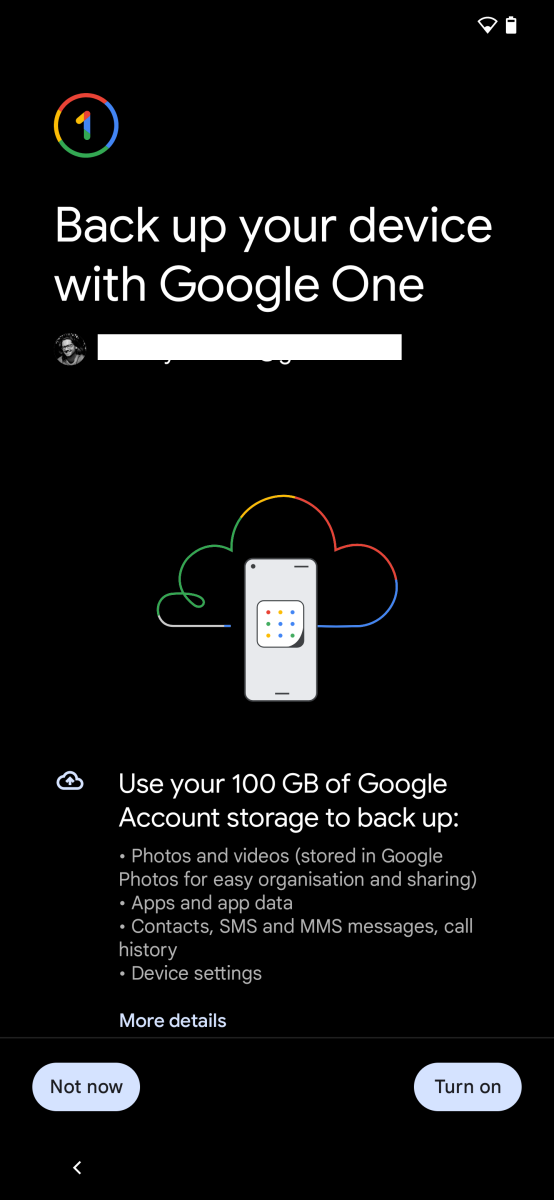
Accept or deny Google One backup
Henry Burrell / Foundry
With a Google account, you can here turn on whole device back up with the Google One service. This is built into your free Google account that backs up the data and settings of your phone to Google’s cloud servers.
If you lose your phone, you can use this cloud back up to restore your data and settings to a new phone. You get some gigabytes (GB) for free, but you will end up having to pay a small monthly fee for Google One if you want more storage. Here is our Google One guide.
Tap ‘Not now’ or ‘Turn on’ to continue
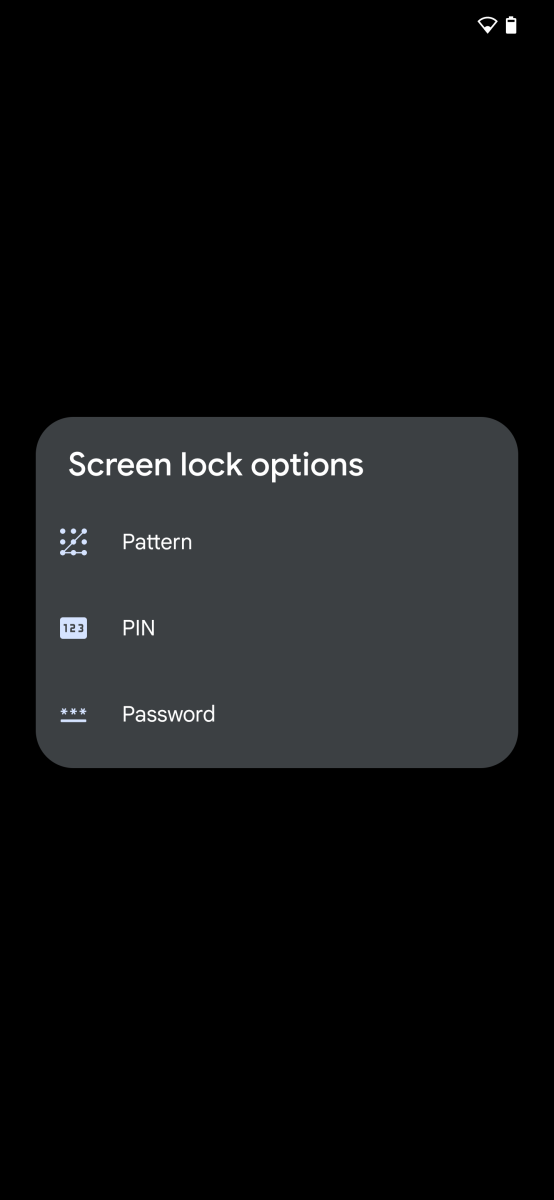
Set PIN code
Henry Burrell / Foundry
You can now set a PIN code. This is recommended as it stops anyone from unlocking your phone if you lose it.
By default Android will ask you set a PIN number of at least 4 digits. The longer the number you choose the better, though.
If you tap ‘Screen lock options’ you can alternatively choose to set a pattern or a password.
Enter your choice twice as per the on-screen instructions to proceed.
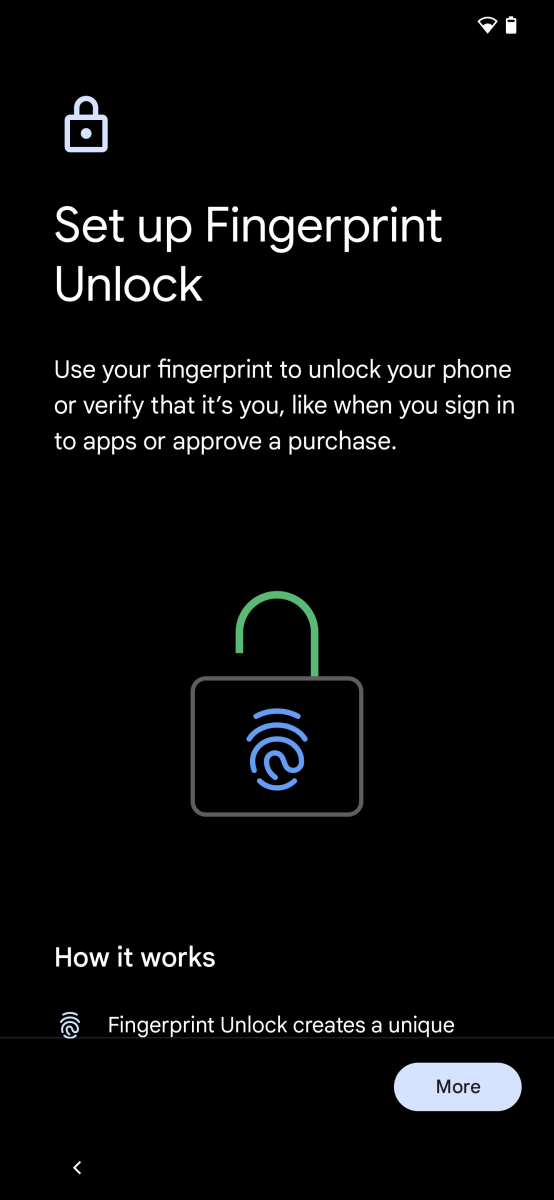
Set up fingerprint
Henry Burrell / Foundry
Some phones have in-built fingerprint sensors that allow you to unlock the phone with your thumb or fingerprint, as well as authorise things like payments in apps.
Follow the on-screen instructions to set up your fingerprint.
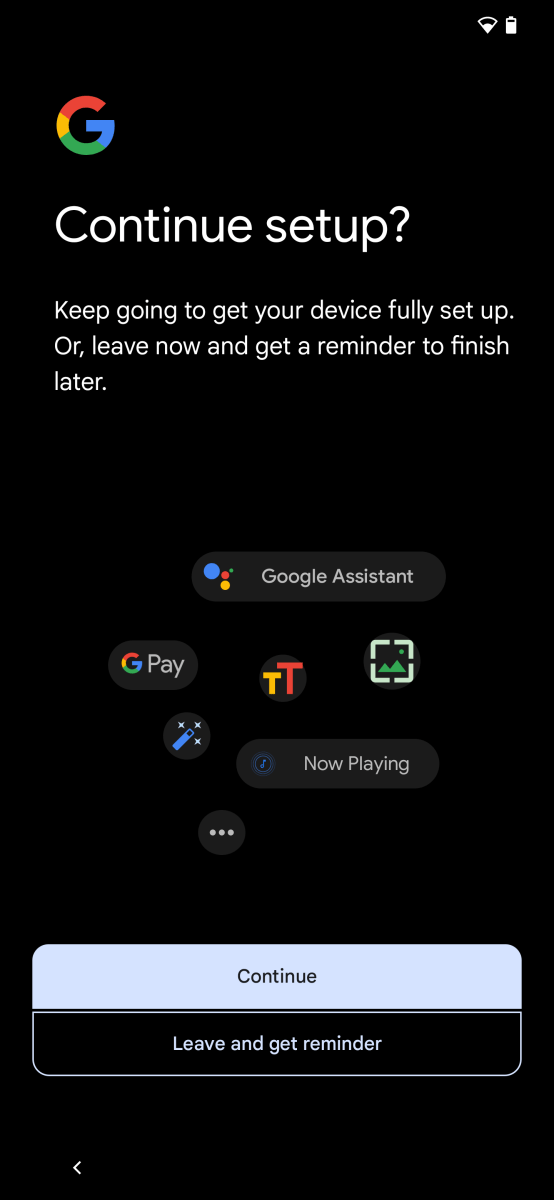
Continue setup or leave for later
Henry Burrell / Foundry
Many Android phones at this stage will ask you if you want to continue setup. This will include things like setting up Google Wallet for debit and credit card payments, selecting the text size of the phone, and other things.
You can tap ‘Continue’ or ‘Leave and get reminder’. The latter will make sure you get a notification later to do this step.
Gesture tutorial
Henry Burrell / Foundry
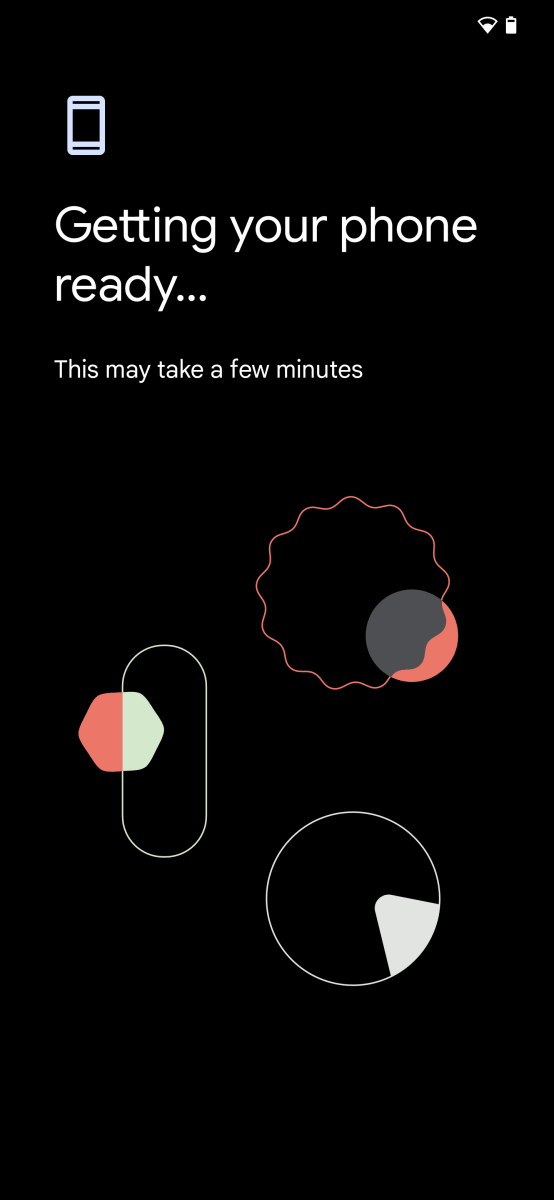
Now you’re nearly there.
Modern Android is navigated with gestures, and your phone might show you how to do that here.
Most will ask you to swipe up from the bottom of the screen to go home, swipe up and hold to enter the app picker, and swipe in from either side to go back. There might be a tutorial for you to get use to this at this point.
You are done!
Henry Burrell / Foundry
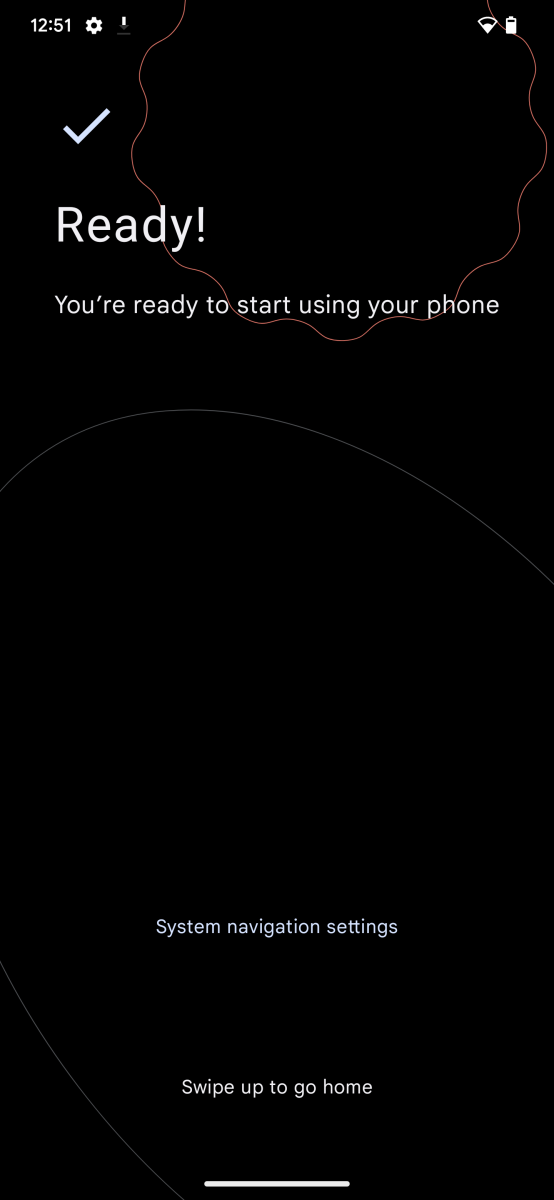
You are done!
Enjoy your new Android phone.
You might also want to know how to set up a new iPhone or iPad if you ever decide to turn to the other side of the force.

