When it finally comes time to retire an old laptop, it can feel like saying goodbye to an old friend. Unfortunately, this old friend has all your passwords and personal information in their head… and unless you make them forget, they might expose them to others. Before you sell, recycle, donate, or trash that laptop, you’re going to want to take a few simple steps to wipe all your data and protect yourself.
Before we get started, though, I need to get one PSA out of the way: always back up your data! If you have important files on your laptop, copy them elsewhere before reading on. You should also make note of any serial keys you might have, especially for your operating system. If that sounds overwhelming, don’t worry — you can use simple backup software that’ll handle most of it for you.
Once you’ve done that, move on to the steps below to ensure no one will reasonably be able to recover any of your personal information from your laptop, no matter what they do.
Disconnect your apps and services
Before we go about actually wiping any data from the laptop itself, it’s important to first disconnect and deactivate any and all of your linked accounts, online services, and cloud-synced data.
Your Microsoft account, OneDrive account, Google account, Apple iCloud account… all these (and more!) can remain twinned with your laptop, even after you wipe it clean of everything. Some apps, like Evernote, only allow a certain number of simultaneous installations across devices, and you might end up unable to use your favorite apps on a new laptop because you’ve run out of available devices.
Jon Martindale / IDG
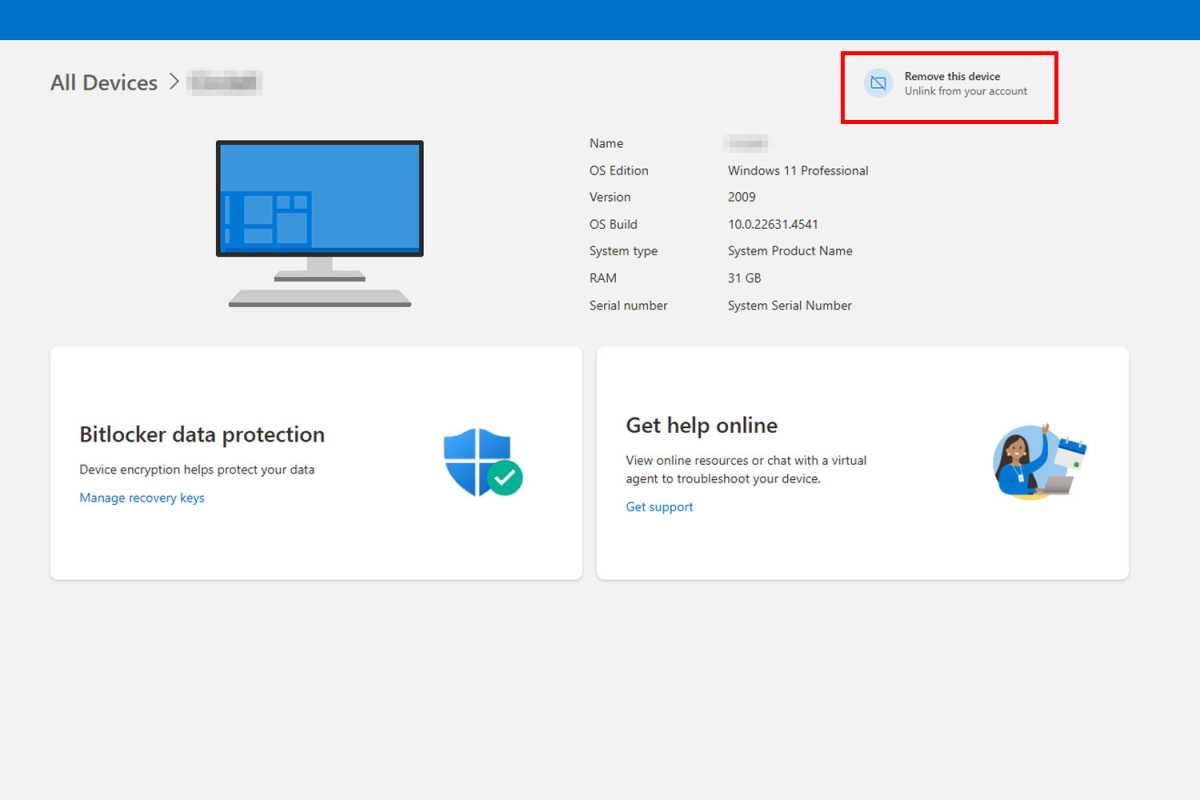
So, it’s wise to delink all of your accounts before you begin wiping your laptop for good. Some of these services, like Microsoft, will have the option to “Remove” devices from your account via their online account dashboards. Others, like iCloud, require you to sign out of your account on the device you want to remove. Others still, like Adobe’s Creative Cloud, that have a limited number of activated devices at a time, require you to sign out of one device before you can sign in on another.
The specifics for de-linking any particular app, online service, or cloud-synced data will depend on the app or service in question. For best results, you should just go through all your installed apps and services and sign out from everything. Better safe than sorry.
Factory reset your laptop
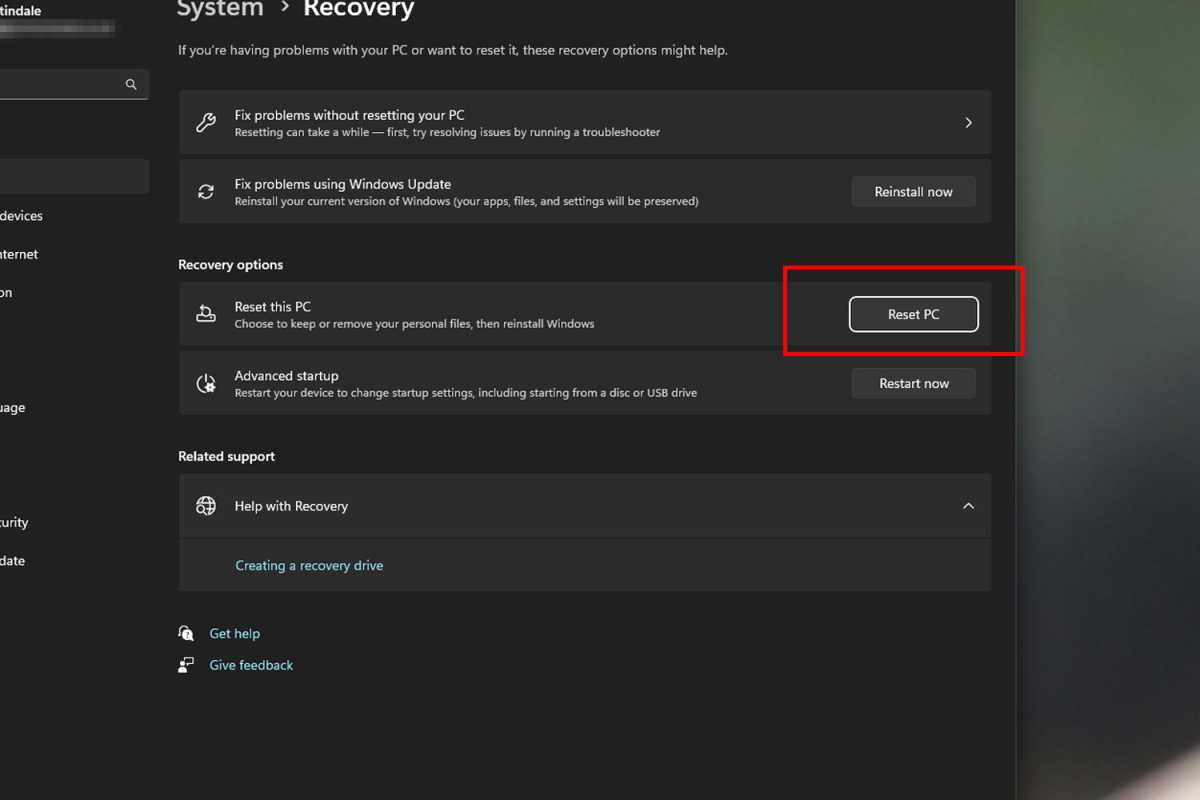
The most straightforward way to wipe your laptop before you sell, recycle, or donate it is to use Windows’ built-in Factory Reset. It deletes all your apps, settings, and personal files, so that there’s no personal information remaining that could be stolen by others.
Jon Martindale / IDG
We have a whole guide on how to factory reset your Windows 11 laptop so I’m not going to repeat it here. Just be sure to select the “Remove Everything” option, which will take care of all your personal data alongside the system’s apps and settings. (The exact process for older versions, like Windows 10, 8.1, and 7, may differ but are overall the same. It’s also a good idea to reset Windows once a year anyway.)
This method of cleaning out data is perfect for whenever you want to start any laptop over with a clean slate, like if you’re giving it to a family member. But if you’re selling to a stranger or recycling it, you might want to go one step further with the deeper clean below.
Securely erase your laptop’s drives
Here’s one problem with just using Factory Reset to wipe your laptop’s data before getting rid of it: While it causes Windows to “forget” all your data, the data itself is still stored on your drive. Windows might not be able to find it anymore, but it can still be found using other methods.
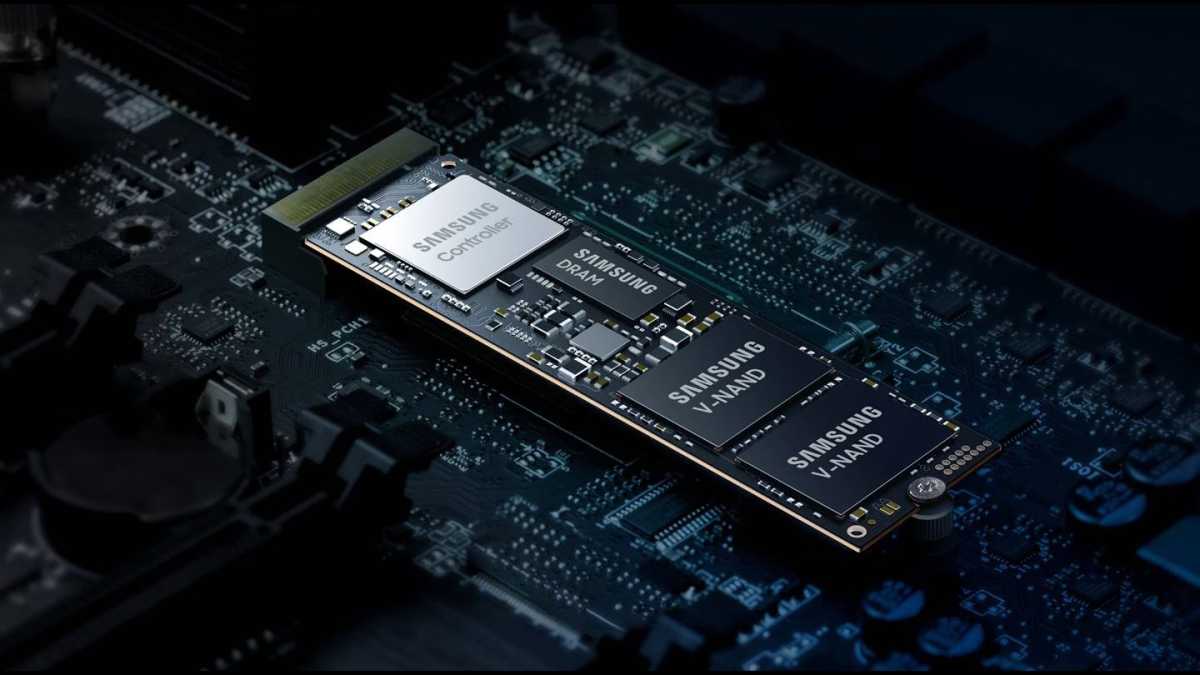
So, if you really want your data to be wiped clean, you need to overwrite the memory cells in your storage drive. The quickest and most effective way to do that is by securely erasing that hard drive or SSD. (If you want to go further, you can also securely erase all your other devices.
Samsung
In a nutshell, there are apps and services you can use that’ll handle the erasure for you. Run them two or three times if you want to be extra sure that your data is long gone. Just beware that SSDs have a finite number of write cycles before their memory cells wear down, which can contribute to an SSD failing earlier than expected.
One more thing: Secure erasing a drive will completely remove everything on it, including the operating system. If you’re selling or giving this laptop away to someone else, be sure you have Windows install media and a valid Windows product key before erasing the drive so you can re-install and get it up and running again afterwards.
Take a hammer to it
While secure erasing will defeat just about any attempt to recover data from a drive — especially if you erase a few times — there’s really only one way to be absolutely sure that no one can ever recover any data from a storage drive: You have to destroy it completely.
This is the best path if you’re recycling your laptop. Sure, it’s unlikely that someone’s going to dumpster dive and retrieve your drive, but you never know. It could happen. And if you want to completely eliminate that possibility, then you must destroy the drive. (You don’t have to destroy the entire laptop, of course. Just the SSD or hard drive.)
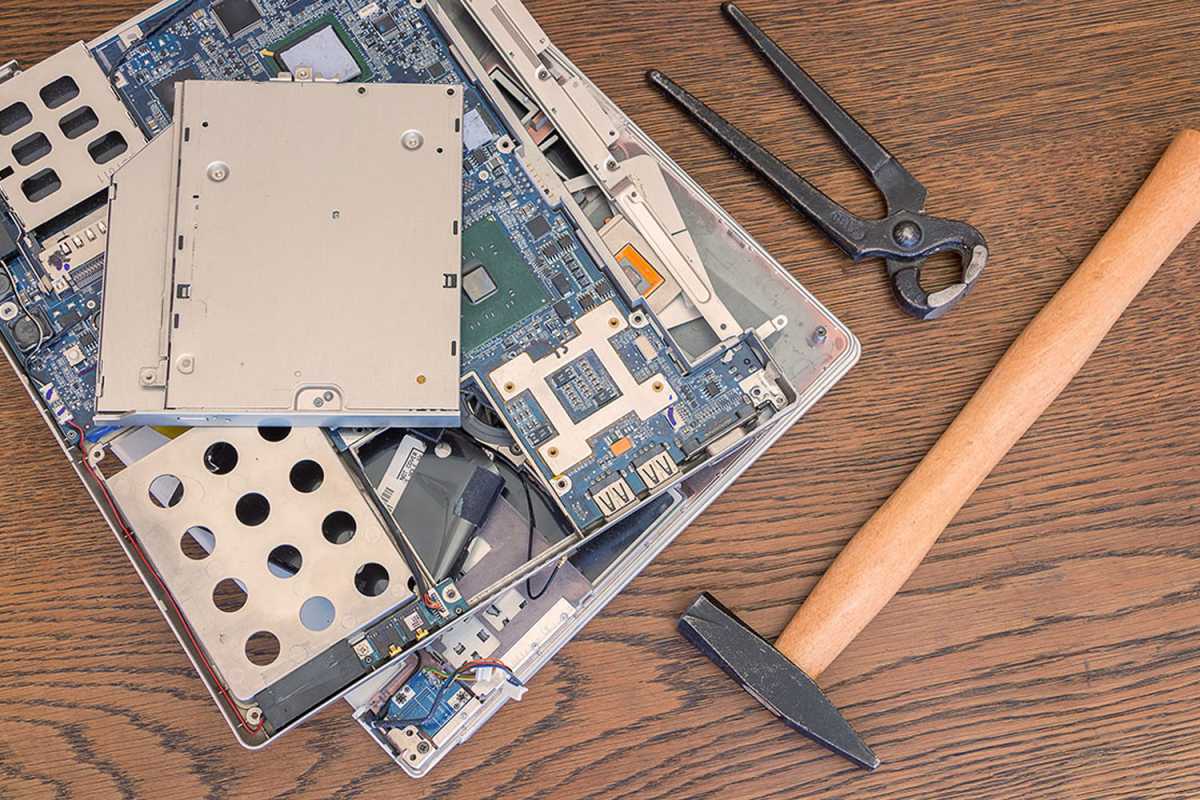
To do this safely, remove the SSD or hard drive from your laptop and place it on a hard surface outdoors. Depending on your tools available, you can drill holes in it, hit it with a sledgehammer, saw it in half, or all of the above. Go to town! Just be sure that the memory cells and/or spinning platters are physically damaged.
Ideally, you should place the drive inside a cardboard box or plastic bag to contain any pieces of metal or plastic that might go flying from impact. (It also makes disposal easier.) Wear protective equipment, too, including safety glasses. PCWorld isn’t responsible if you embed yourself with SSD bits while trying to destroy all your data.

