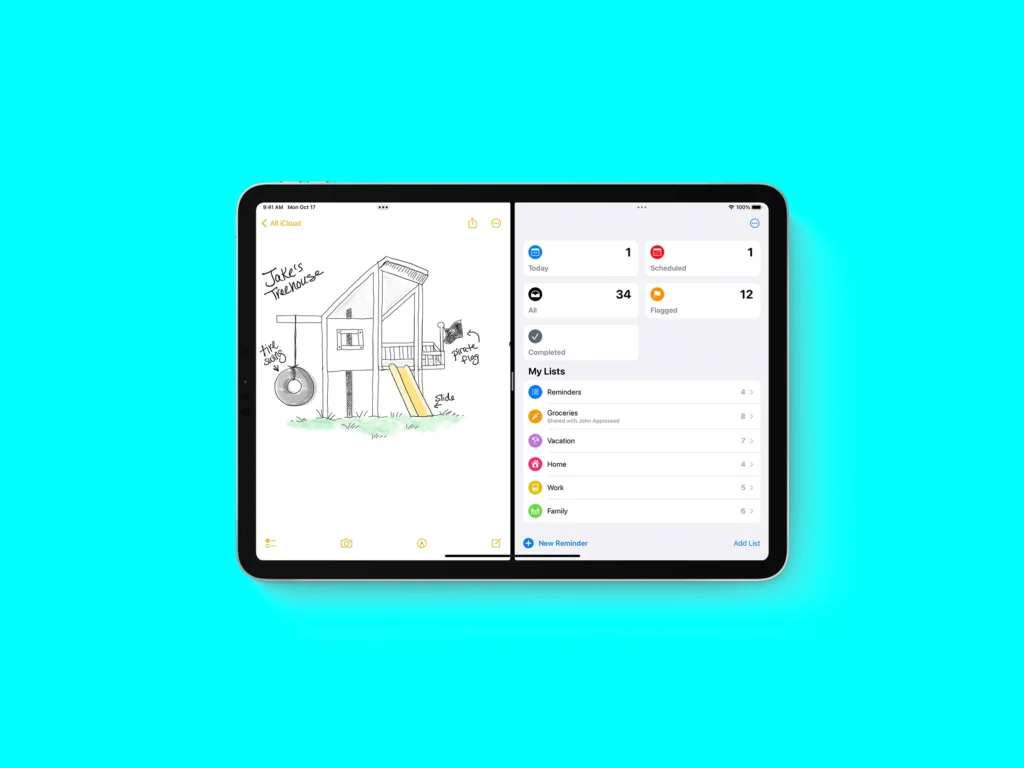
If you’re like me, managing a multitude of open tabs while working on your laptop or desktop can be a daunting task. The struggle of toggling through each tab to find what you need is both frustrating and time-consuming. Fortunately, there’s a solution – the split-screen mode on your Mac.
Setting Up Split View:
To enter Split View, ensure that neither window is in full-screen mode. Hover over the green button in the top left of one window, triggering a drop-down menu. Select either “Tile Window to Left of Screen” or “Tile Window to Right of Screen.” Your Mac will seamlessly enter split-screen mode.
With other open windows displayed on the opposite side, click the desired window to fill the remaining half. The size of the windows can be adjusted using the slider in the center of the screen.
Exiting Split Screen:
To exit split-screen mode, move your cursor to the top of the screen and click the red button to close a window or the green button to exit split view. Don’t worry – your other window is still open, hidden in full-screen mode. Press the Mission Control button (F3) to access it, and choose the window you want.
For Multitaskers:
For those needing more than two windows open, manual resizing is an option. While not as visually clean as tiled windows, it allows flexibility.
Keyboard Shortcuts:
Mac provides convenient keyboard shortcuts for split-screen. Use control + command + F for full-screen mode, then hit F3 for Mission Control. Drag and drop the second app next to your original window, and you’re in Split View.
Creating Your Shortcut:
For even faster access, create a custom keyboard shortcut in System Preferences. Navigate to Keyboard > Keyboard Shortcuts > App Shortcuts, and add a command named “Tile Window to Left of Screen” with your desired shortcut.
Troubleshooting:
If your Mac won’t enter split-screen mode, ensure you’re not in fullscreen mode and check Display settings in System Preferences. Update to MacOS 10.11 or later if needed. Not all apps support split screens, so be aware that some might not offer this feature.


